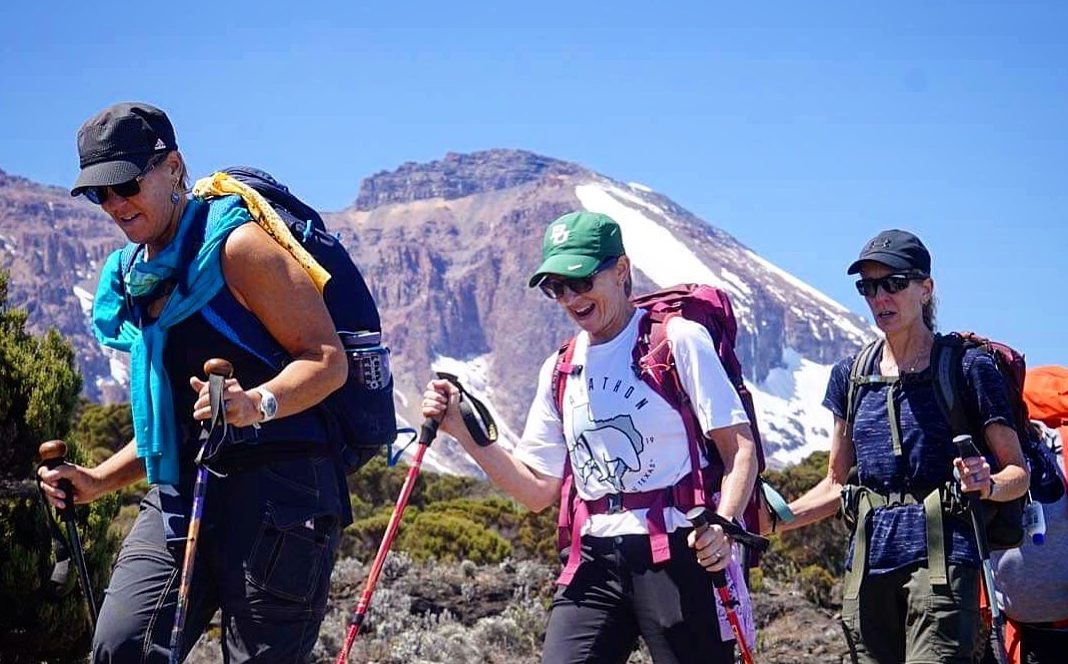
Kilimanjaro Single Rooming
Single Rooming Option
$1,000 USD
We are happy to organize single-room accommodations throughout the expedition for you. If you aren’t price-sensitive, you snore, or you are easily awakened by others who do, this might be a great option.
We feel that having a single room helps climbers stay healthy and adds a bit of comfort and personal space that can go a long way. If you would like a single-room option, please let us know.
Please note that tent accommodations on the mountain are provided on a double-occupancy basis for safety and warmth. If you would like a single tent on the mountain, we can arrange that for an additional single rooming fee.
Kilimanjaro Team Climb + Safari
$8,795 USD
- July 16 – 27, 2026 (Masters | 50+) – Guided by Dallas Glass
- July 27 – August 7, 2026 – Guided by Dallas Glass
- December 28, 2026 – January 8, 2027
Our Kilimanjaro expeditions run from July to August and again from December to January to take advantage of the best weather and most favorable summit conditions. Typically, the weather in these months is the driest and warmest of the year.
- If these dates don’t work for you, or you would like a private trip and private guide, we also build custom itineraries for many of our climbers.
- You can climb Kilimanjaro as a stand-alone activity, or you can round out your experience in Tanzania with our custom-tailored add-ons, including a safari or a Zanzibar Getaway.
This expedition is our traditional guided team climb, which ascends the stunning Machame Route. Provided are guidance, leadership, and expedition oversight by renowned expedition leader Mike Hamill, local guides, logistics, team gear, porters, food, and support for a summit attempt on Kilimanjaro.
In addition, this program also includes our thoughtfully crafted African Safari itinerary to strike the perfect balance between thrilling adventures and well-deserved relaxation, ensuring you make the most of your time in Tanzania. Your journey will take you through Tarangire National Park, famed for its majestic baobab trees and large elephant herds, and conclude in the breathtaking Ngorongoro Crater, often referred to as ‘Africa’s Eden.
Team Departure + African Safari Itinerary
This itinerary is only a rough estimate and will be determined by weather and conditions. This is adventure travel, meaning things rarely go as planned, and this schedule will likely change. Climbers need to be adaptable and positive.
We always recommend climbers arrive in Arusha one day early to avoid travel delays or issues with lost baggage. Added expenses (hotel/food/sightseeing) of this extra day are the client’s responsibility.
- Day 1: Arrive in Tanzania at Kilimanjaro International Airport, transfer to hotel
- Day 2: Gear checks, team meeting, and check out the town
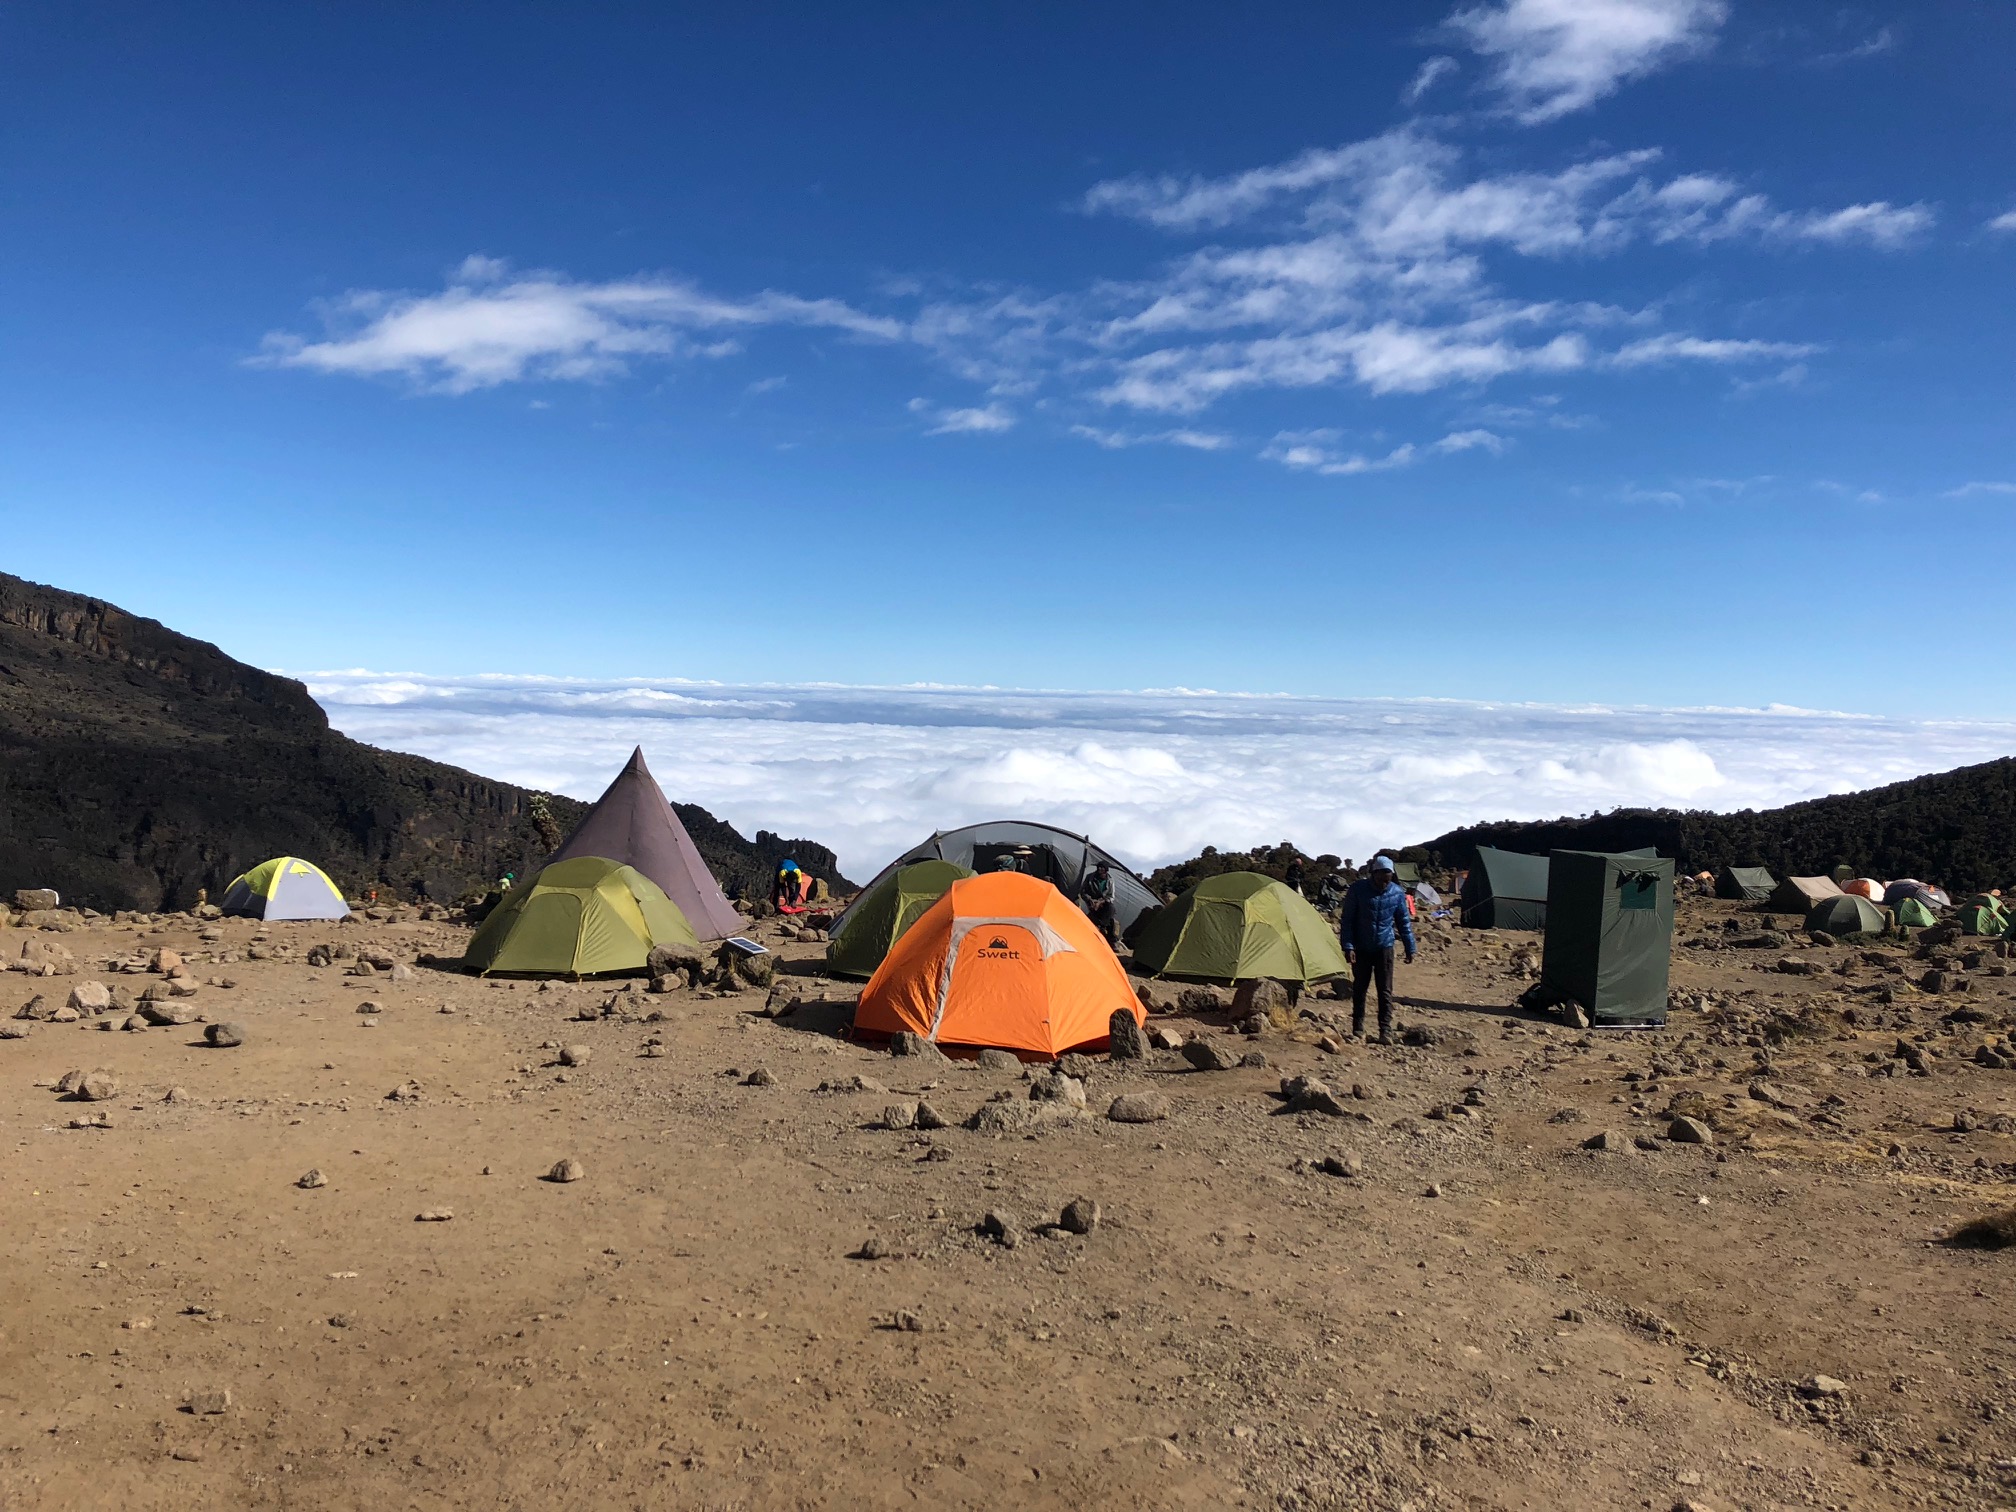
- Day 3: Drive to Kilimanjaro National Park gate (5,800ft) and climb through the rainforest to Machame Camp (10,000ft)
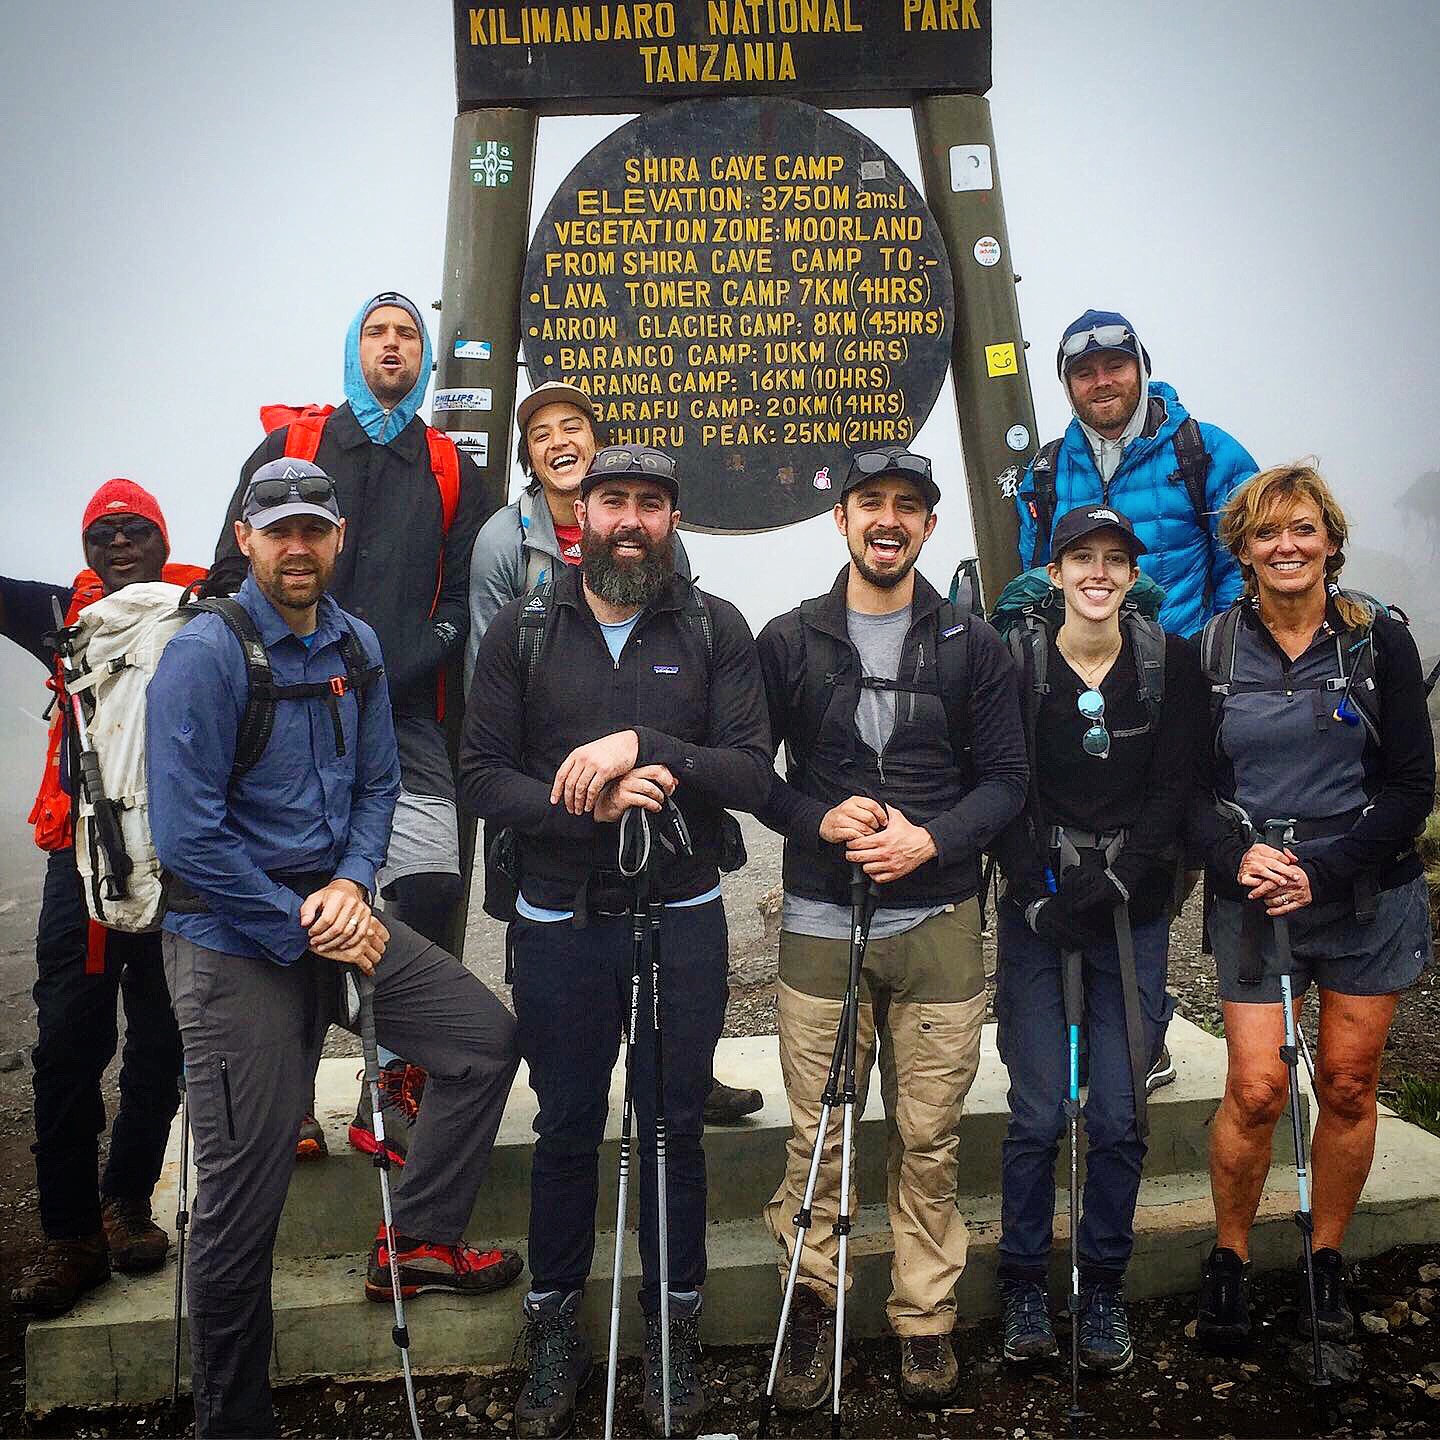
- Day 4: Continue to climb through Heather-Moorlands to the Shira Plateau Camp (12,300ft)
- Day 5: Continue the climb to Barranco Camp, climbing over a pass at nearly 15,000ft underneath the precipitous Breach Wall before descending to 12,800ft
- Day 6: Climb the Barranco Wall to about 14,500ft before again descending to Karanga Camp at around 13,000ft
- Day 7: Climb to our high camp at 15,500ft before turning in early for our summit climb early the next morning.
- Day 8: Summit Day! We awake in the wee hours of the morning (night), working our way to the “Roof of Africa” at 19,344ft. The day is cold and can be windy and snowy, so make sure you have proper warm gear! After standing on top, we descend back to high camp and take a brief respite before packing up and heading down to our final camp at 12,000ft
- Day 9: Pack camp and descend to the trailhead. Here, we bid farewell to our porters and guides before returning to town for lunch. Celebration Dinner
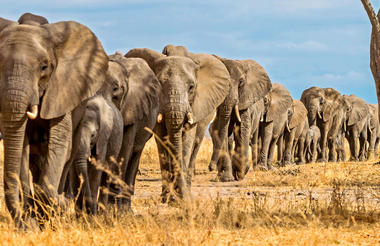
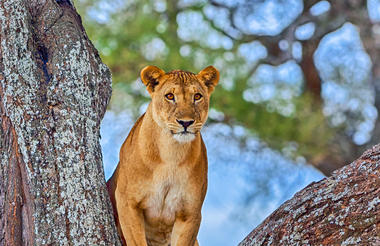
- Day 10: This morning, your guide will pick you up from the hotel and depart for Tarangire National Park. Tarangire is one of Tanzania's largest national parks and a sanctuary for a famously large elephant population. Majestic baobab trees are an interesting feature of the park. Animals concentrate along the Tarangire River, which provides the only permanent water supply in the area. There is a great diversity of wildlife, including lion, leopard, cheetah, and up to six thousand elephants. Enjoy your afternoon game drive before sleeping within Tarangire National Park.
- Day 11: Start your day with a thrilling morning game drive in Tarangire National Park, where the golden savannah awakens with life. Witness herds of elephants, predators on the prowl, and vibrant birdlife in their natural habitat. After a relaxing lunch, embark on another exciting afternoon game drive to uncover more of Tarangire's hidden treasures. As the day winds down, begin your scenic journey to the Ngorongoro Conservation Area. On your way, you will pass through the town of Karatu in the green hills of Tanzania’s northern highlands. Presided over by the towering Ol Deani Volcano, this small, colourful town serves as a popular overnight stop for visitors exploring the area’s many game parks.
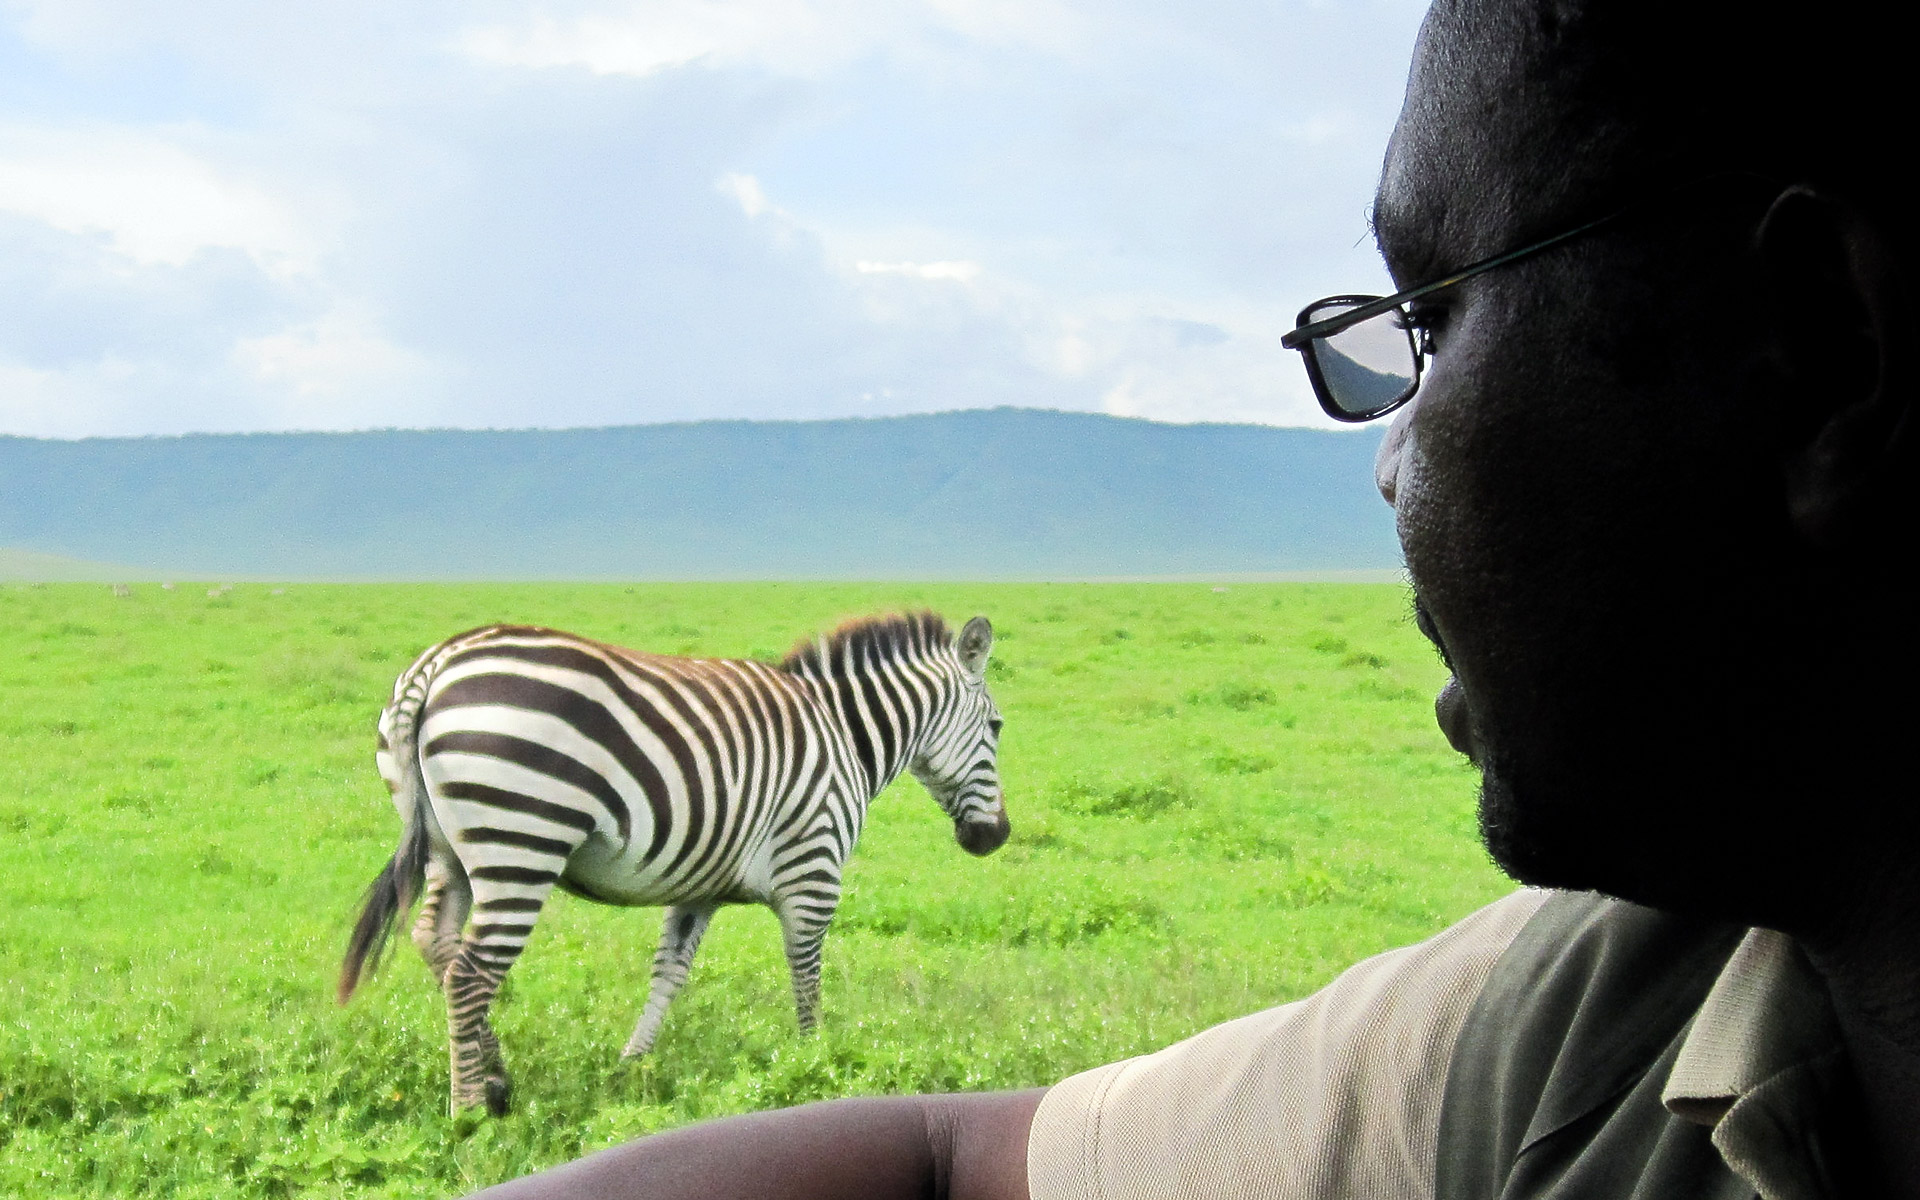
- Day 12: Today, you will descend into the Ngorongoro Crater, a wonderful haven for wildlife. Ngorongoro is unique in that almost all the wildlife lives within the crater walls, hence you have the opportunity to find game easily. Rhino in particular can be seen regularly, as well as prides of lion and other predators like cheetah. Enjoy lunch by the hippo pond, then you will commence with your journey back to civilization. You will then be dropped off at JRO Airport in the evening in time for your flight.
Our expeditions are designed to be fully inclusive, except for some services/items of a personal nature, like flights, gear, and insurance. Here’s a detailed list so you know what to expect.
Included:
- Guides for both the expedition and safari
- Porters during your climb
- All expedition accommodations, including three nights at a hotel in Arusha
- All safari accommodations, including one night near Tarangire National Park and another near the breathtaking Ngorongoro Crater
- All transport within the itinerary, including all safari game drives
- Airport transfers from the Kilimanjaro International Airport (JRO)
- All expedition meals, including a celebration dinner on the final evening
- All safari meals, including breakfast, lunch, and dinner
- All group gear: four-season tents, cooking gear, group duffels, stoves, etc.
- Satellite phone: available to clientele at $3/min
- Group first aid equipment
Excluded:
- Flights to and from Arusha, Tanzania
- Any extensions before or after the specified itinerary (we are happy to help you plan these)
- Personal gear: all personal climbing gear is the responsibility of the client
- 3 lbs. personal snack food (real food and stuff you know you will want to eat at altitude when you don’t feel like eating: nuts, jerky, granola bars, dried fruit, candy, etc.)
- In the event of a rescue, evacuation, or early departure from the group, any rescue expenses incurred or excess expenses above and beyond our normal trip costs, including transport, hotels, evacuation, flight changes, and gear shipping, are the responsibility of the client.
- Porter tip pool ($300)
- Guide tip (Customary but optional)
- Required trip insurance policy (for trip cancellation, interruption, rescue & evacuation, medical treatment, repatriation, etc.)
All prices are in US Dollars.
CTSS requires clients to buy trip insurance for all expeditions. Please see our page on trip insurance and cancellation policy for more information.
All payments once submitted are non-refundable and non-transferable. If balances are not received by specified dates, the client forfeits their place on the program and any prior fees paid.
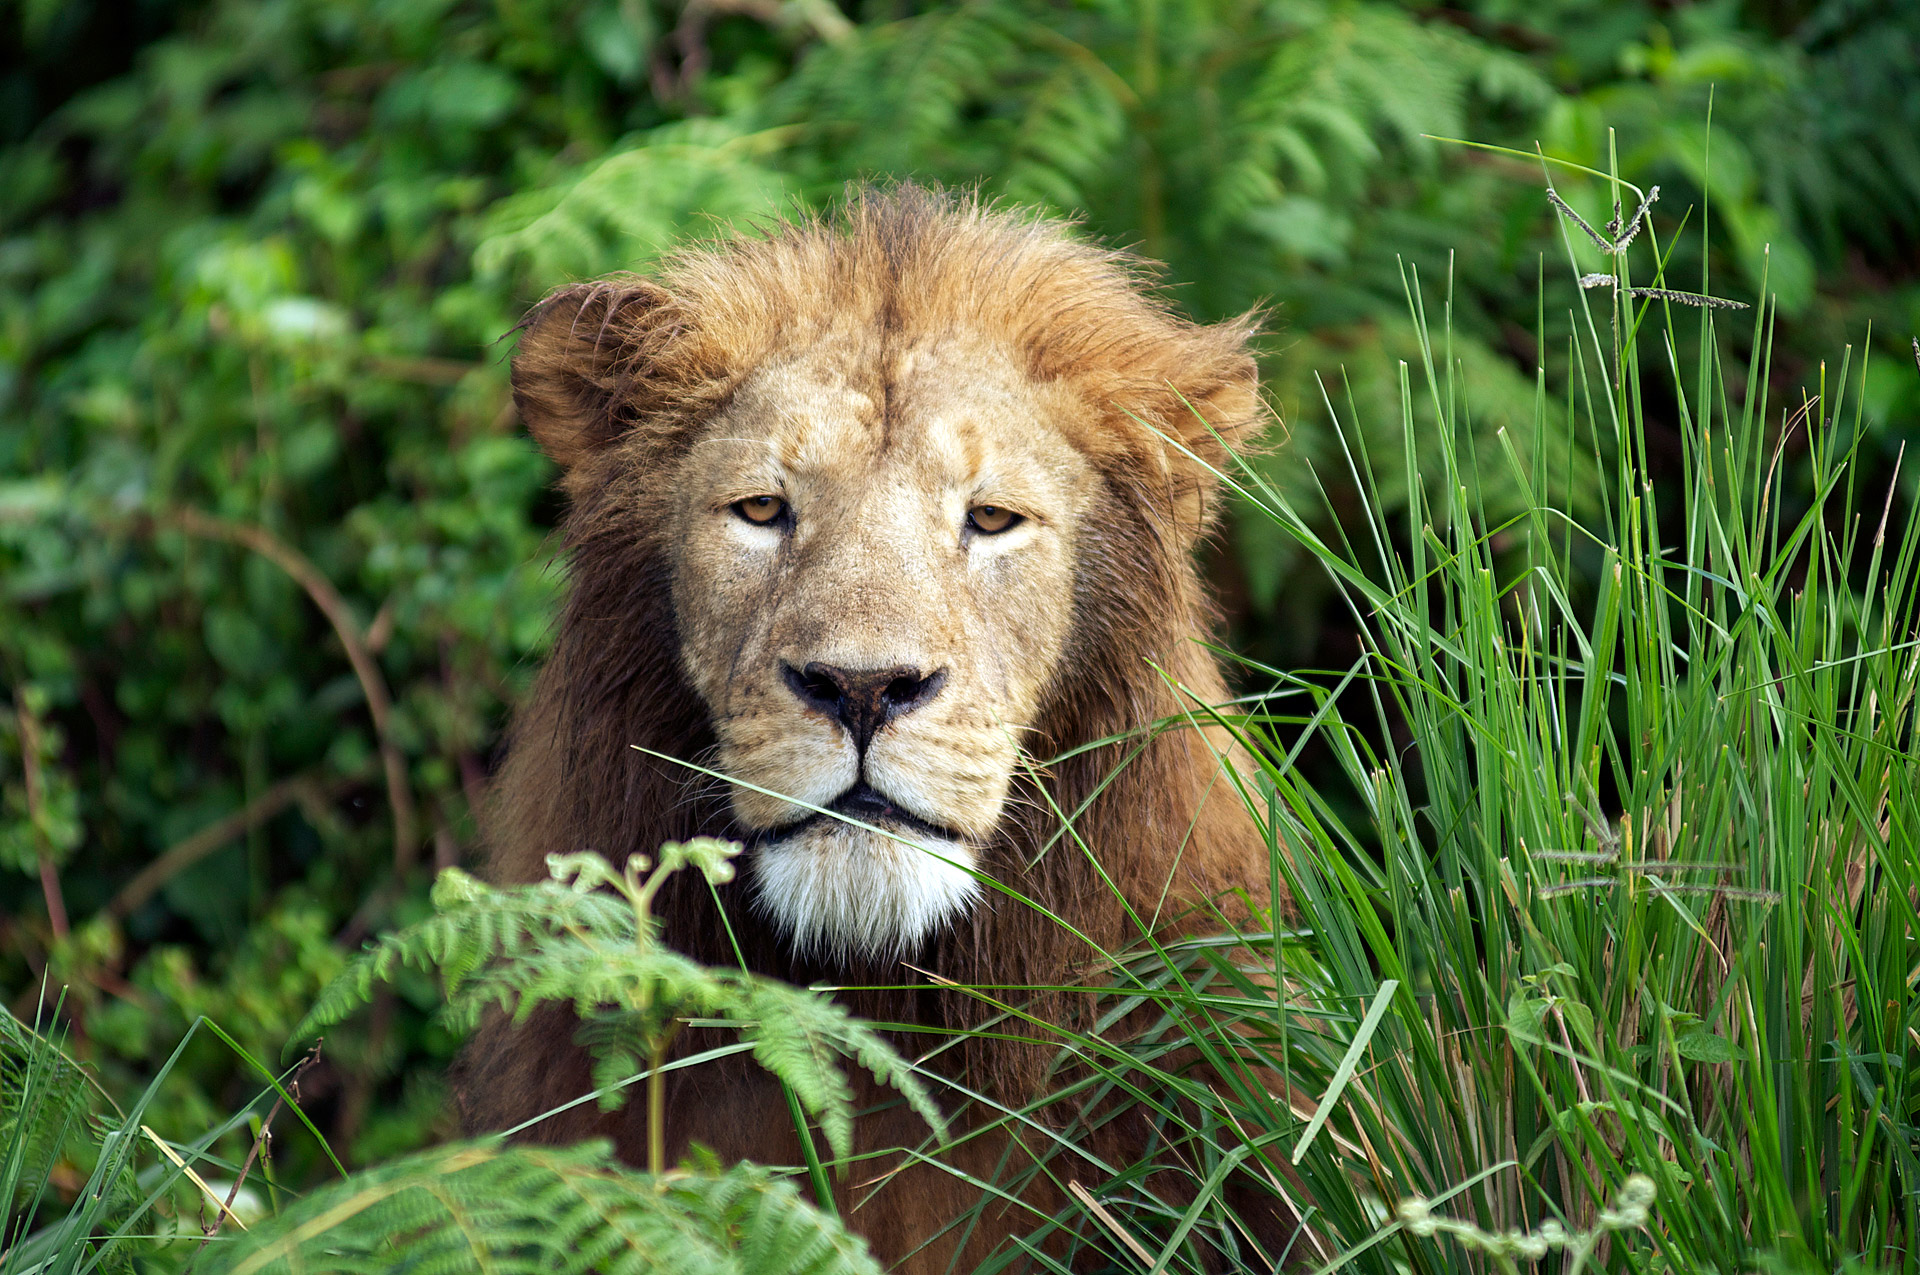
Illiniza Norte Summit!
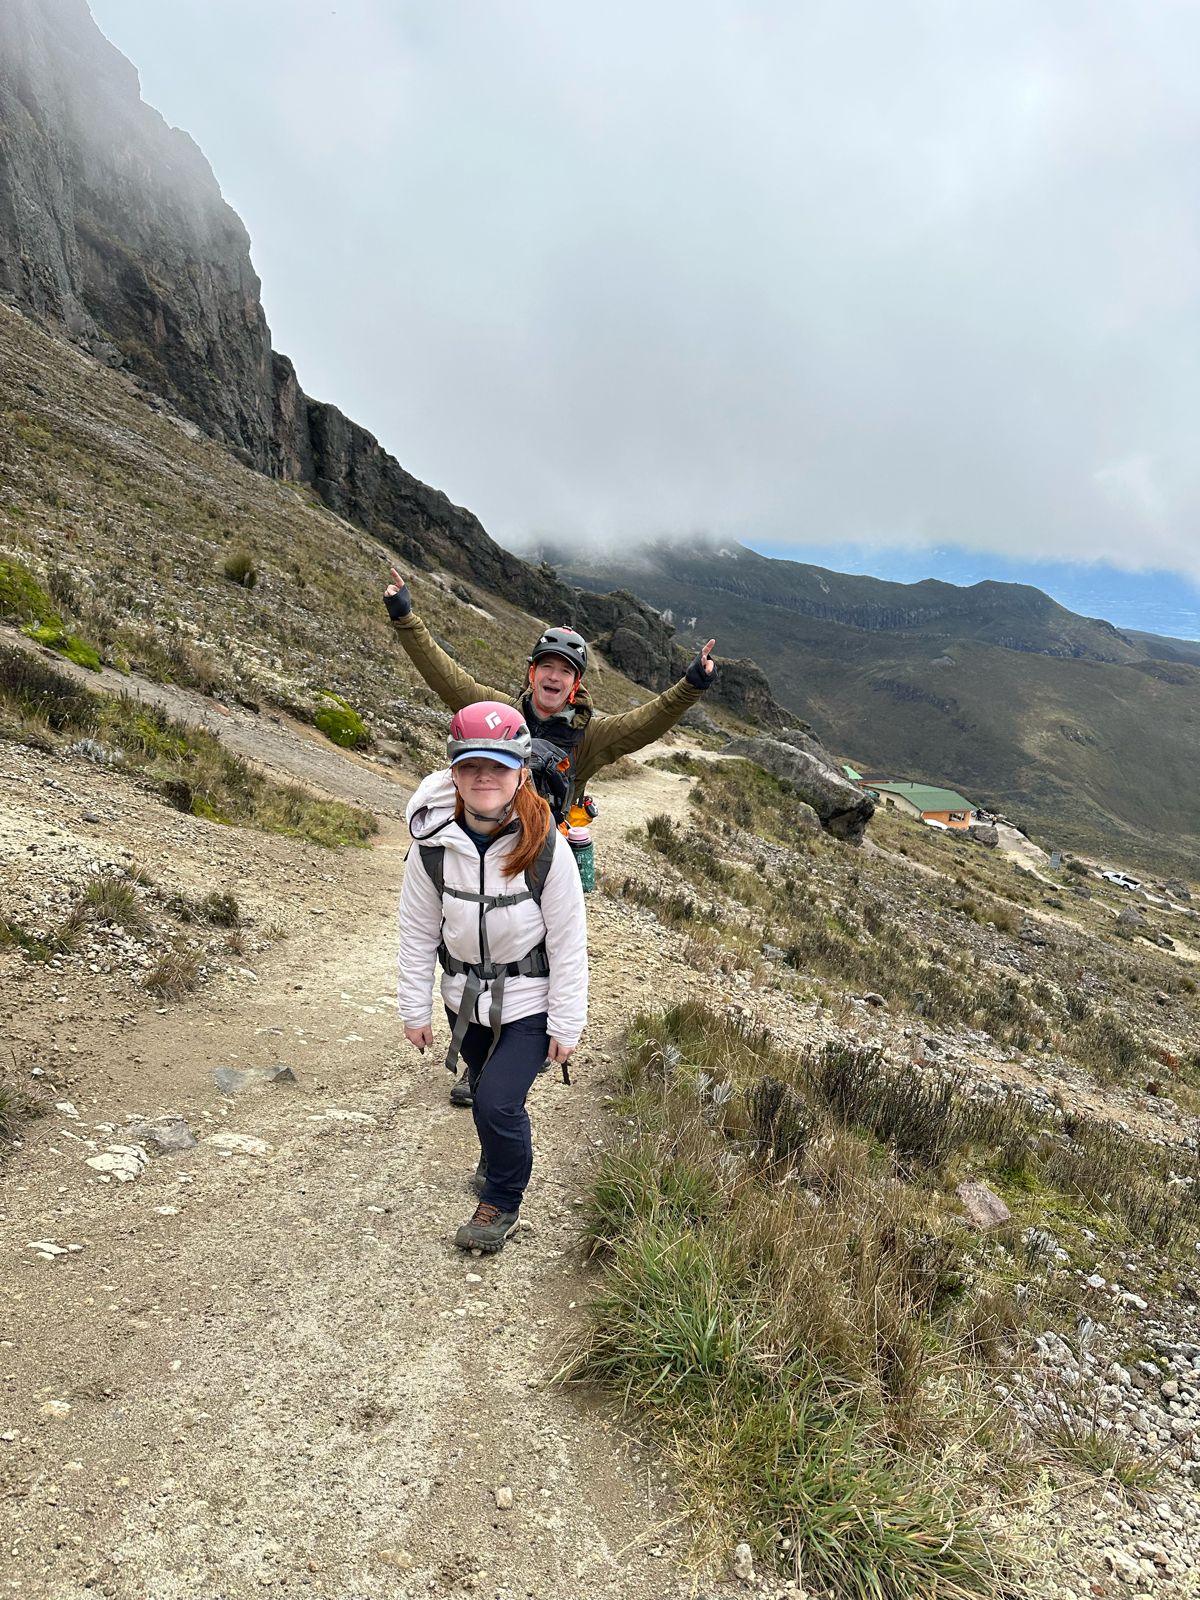
On Monday, our team ascended to the Nuevos Horizontes, a mountain hut on Illiniza, where they spent the night in preparation for their climb.
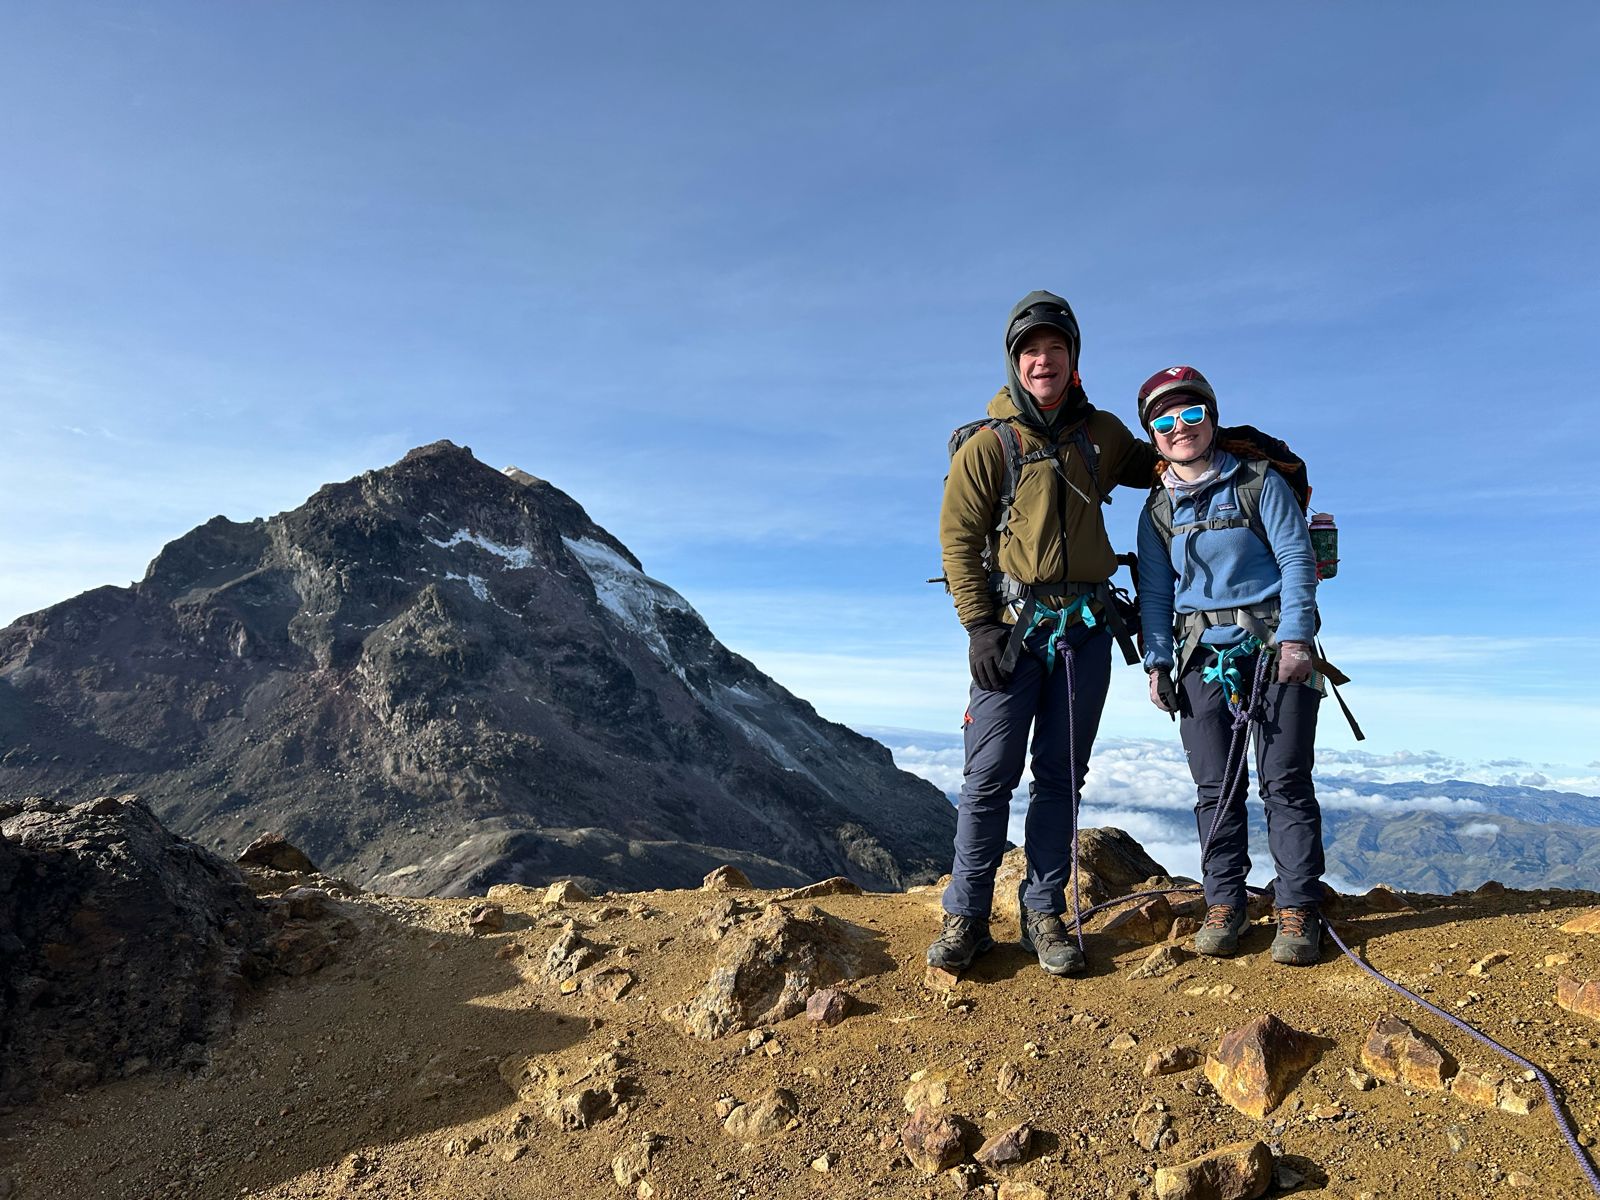
Yesterday, the team climbed Illiniza Norte (16,818ft) under beautiful weather conditions with just a bit of wind - it doesn't get better than that!
Our local guide, Edgar, reports that the team is feeling fast and strong, and it shows. They climbed Illiniza Norte in 5 hours round trip - wow! Today, the team heads to Volcano Antisana, which is the fourth-highest volcano in Ecuador, at 18,875 ft (5,753 meters). There, they will spend four days learning and practicing as part of the team's training for Denali.
Photos from CTSS Guide Edgar Parra
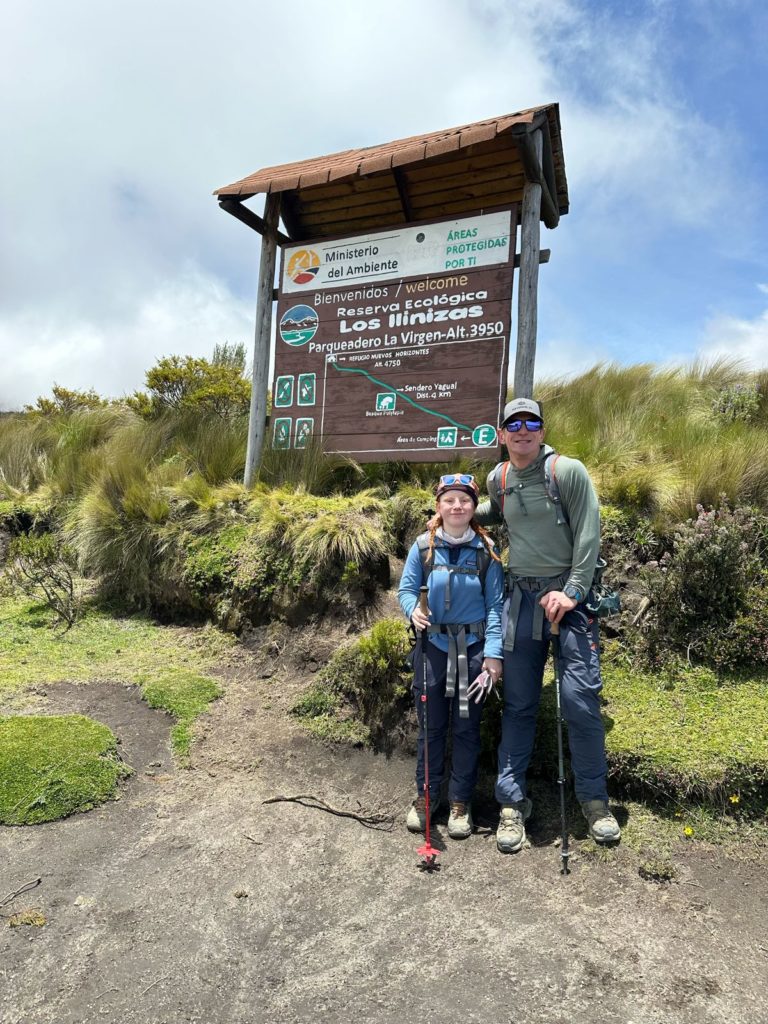 Acclimatization hikes are done now it's time for Illiniza Norte (16,818ft)!
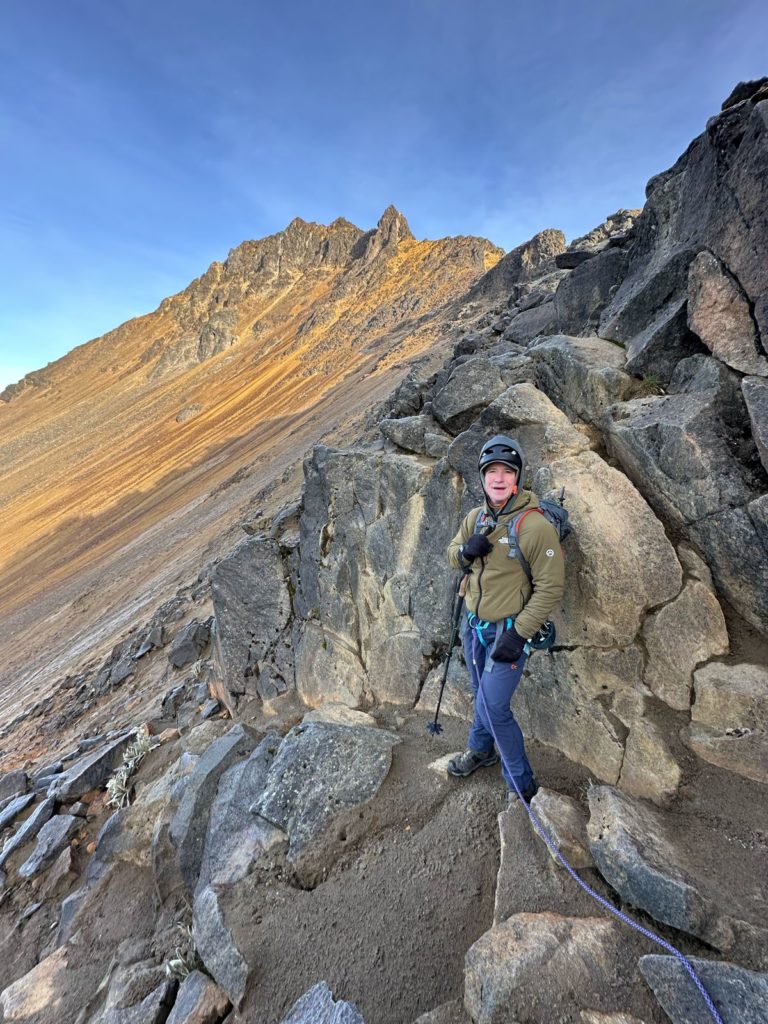 This is Ecuador climbing at it's finest! Perfect conditions, craggy volcanoes, and alpine starts.
 All smiles from Ecuador as our private team makes their way above the clouds.
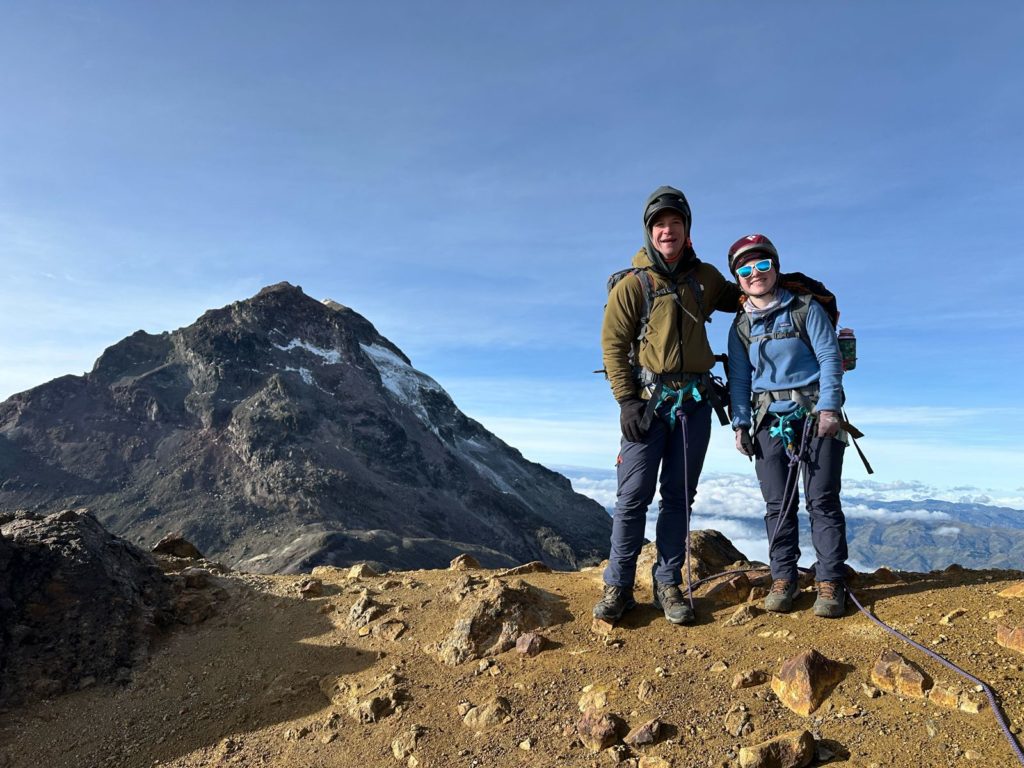 5 hour ascent of Illiniza Norte (16,818ft) for this powerhouse team.
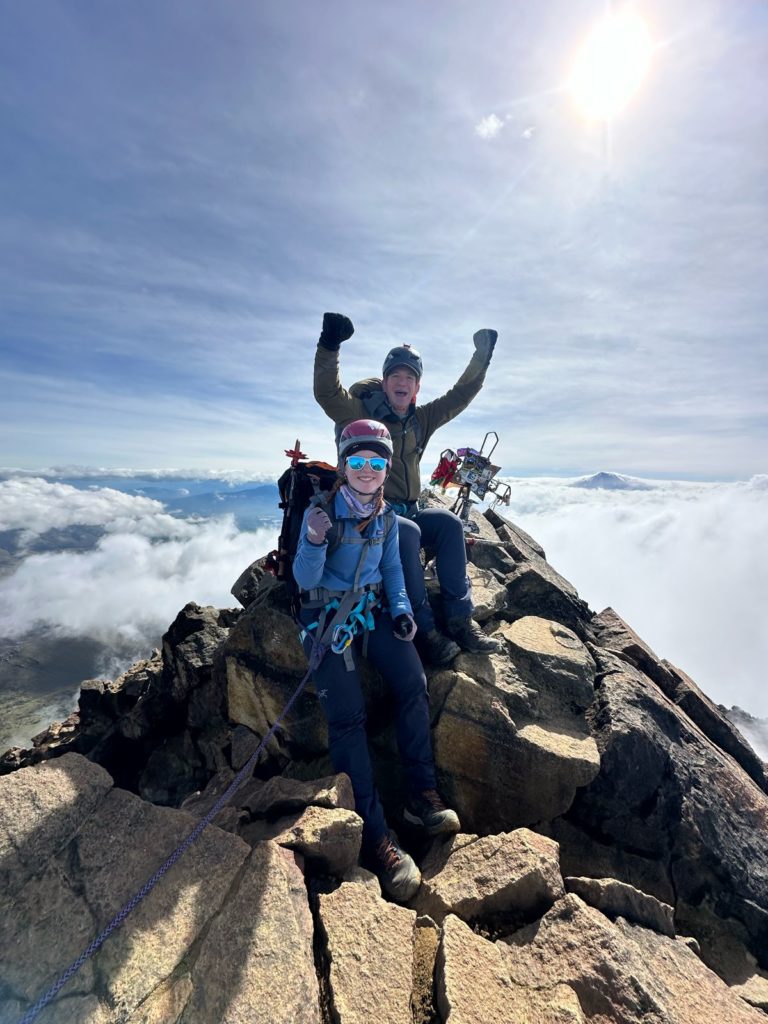 Summit Success on Illiniza Norte (16,818ft)
Quito, Ecuador Acclimatizations
Our Ecuador private expedition is off to an exciting start!
The small but mighty team took the teleférico (cable car) to Pichincha, an active stratovolcano near Quito. This cable car is one of the highest aerial lifts in the world, rising from 3,117 meters (10,226 feet) to an impressive 3,945 meters (12,943 feet). From there, they hiked up to 14,000 feet to acclimate.
Yesterday, they hiked Guagua Pinhincha (15,696ft) for more acclimatization before starting to climb. Our local guide reports that everyone is enjoying themselves and having a fantastic time.
Today, they are headed for the Nuevos Horizons Refuge and will start their climb of Illiniza Norte tomorrow.
Photos from CTSS Guide Edgar Parra
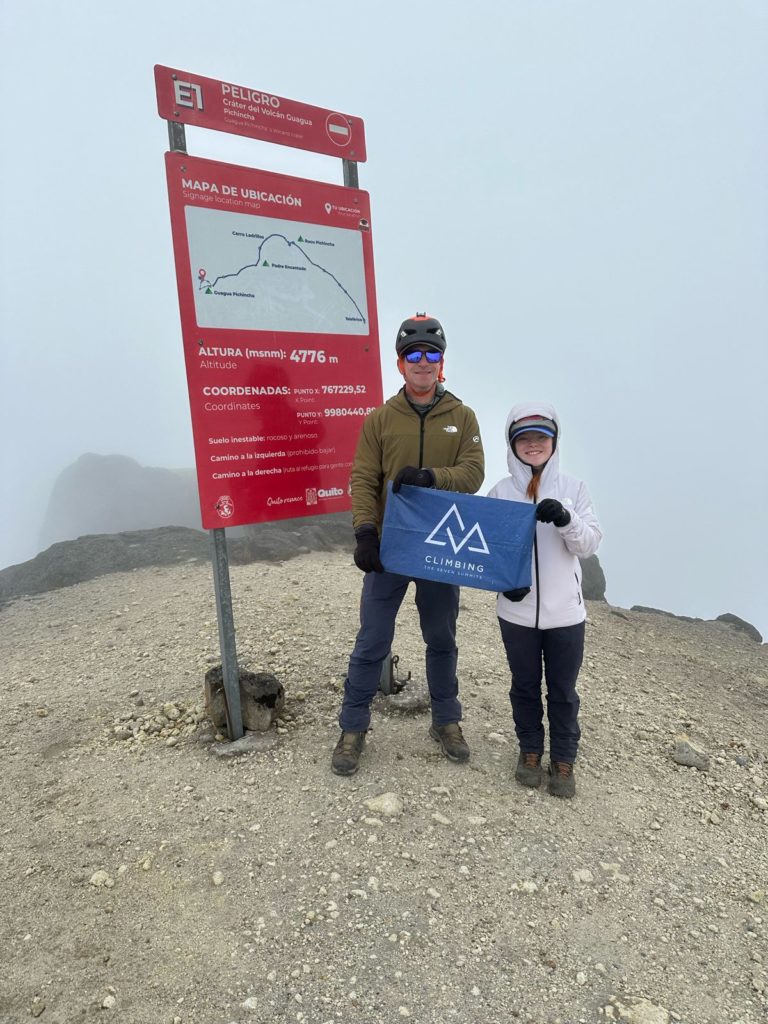
Guagua Pinhincha (15,696ft) for an acclimatization hike!
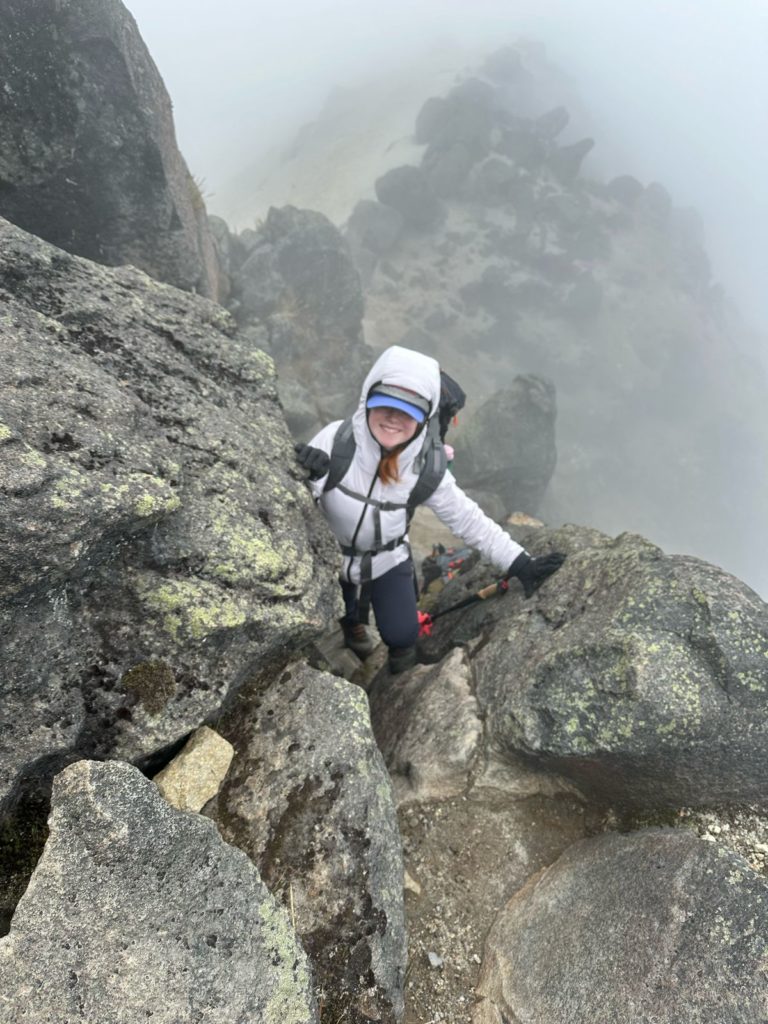
Feeling good in Ecuador for our private team!

Hello from Quito, Ecuador and the highest aerial lifts in the world!
Kilimanjaro Advice from Mike Hamill
A Personal Welcome to 'Climbing the Seven Summits' Kilimanjaro Expedition from Mike Hamill
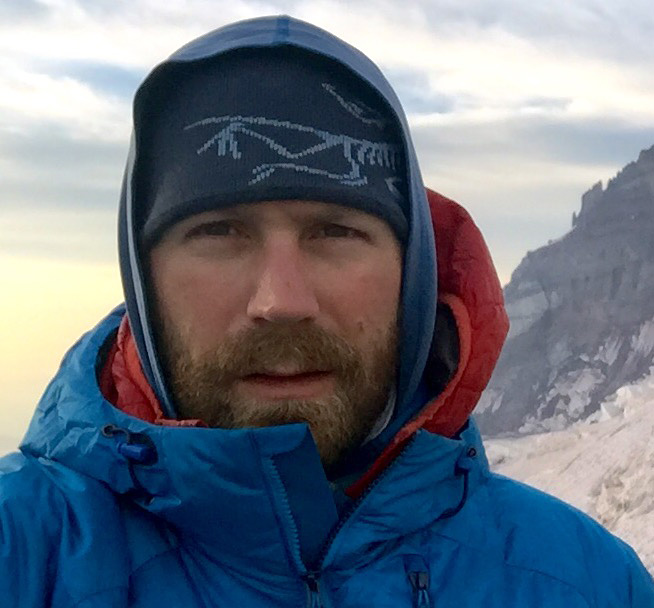
Mount Kilimanjaro is one of my favorite Seven Summits. I never get bored of climbing it and love the opportunity to mix expedition life with safari and sightseeing in Tanzania. It is a fantastic choice for both beginner and seasoned mountaineers because of its accessibility, stunning landscapes, cultural richness, and enjoyability.
It offers a non-technical climb, meaning that no prior climbing experience or specialized gear is required. This accessibility makes it an ideal choice for individuals who are new to high-altitude trekking and mountaineering but eager to give it a go and take on a significant challenge.
That said, Kilimanjaro shouldn’t be underestimated. The best advice I can offer is to focus on:
- Physical Preparation: Commit to your training well in advance to build your cardiovascular endurance and strength gradually. Hiking, mountain biking, running, and stair climbing are great ways to prepare your body for the demands of the climb. Low intensity with a long duration is the key. The more work you put in before the climb, the more enjoyable it will be.
- Acclimatization: Kilimanjaro is a high-altitude mountain, so it’s crucial to acclimatize properly to reduce the risk of altitude sickness. We chose the Machame Route, which allows for gradual altitude gain and includes rest days for acclimatization. Make sure you visit your doctor before your trip to ask for advice about altitude medications and how you can optimize your body’s response to the increasing elevations.
- Hydration and Nutrition: Staying hydrated will really help with your acclimatization. Drink plenty of water throughout the climb, even when you don’t feel thirsty. Just stay on top of it with frequent sips. Carry high-energy snacks to maintain your energy levels, as you are likely to have a suppressed appetite with the altitude and forget to eat. Make sure you fuel up at meals as best you can. It is much harder for the body to recover from a calorie deficit than it is to keep your energy levels high in the first place.
- Pace Yourself and Listen to Your Body: Even if you feel strong and super fit, start slowly so you can move consistently throughout the climb. This is a long game. Don’t push yourself too hard, as this can lead to exhaustion and exacerbate your likelihood of altitude sickness. Mountaineering is a tortoise-type pursuit. Don’t be a hare!
- Mental Preparation: Climbing Kilimanjaro is as much a mental challenge as it is a physical one. Stay positive, take each day at a time. On tougher days just focus on each step, and celebrate your progress along the way. Visualize yourself reaching the summit to stay motivated.
- Follow the Guide’s Instructions: Listen to your guides. They have extensive experience climbing Kilimanjaro and understand the mountain’s challenges. Follow their instructions regarding safety, pacing, and acclimatization. They will also bring your expedition alive with their local knowledge and great campfire stories!
- Respect the Environment: Kilimanjaro is a protected area with fragile ecosystems. Respect the environment by staying on designated trails, disposing of waste properly, and following Leave No Trace principles.
Reaching the summit of Kilimanjaro is an incredibly rewarding experience that will stay with you for a lifetime, and we can’t wait to be a small part of your journey to the Roof of Africa!
Kilimanjaro Training & Prerequisites
Experience Level
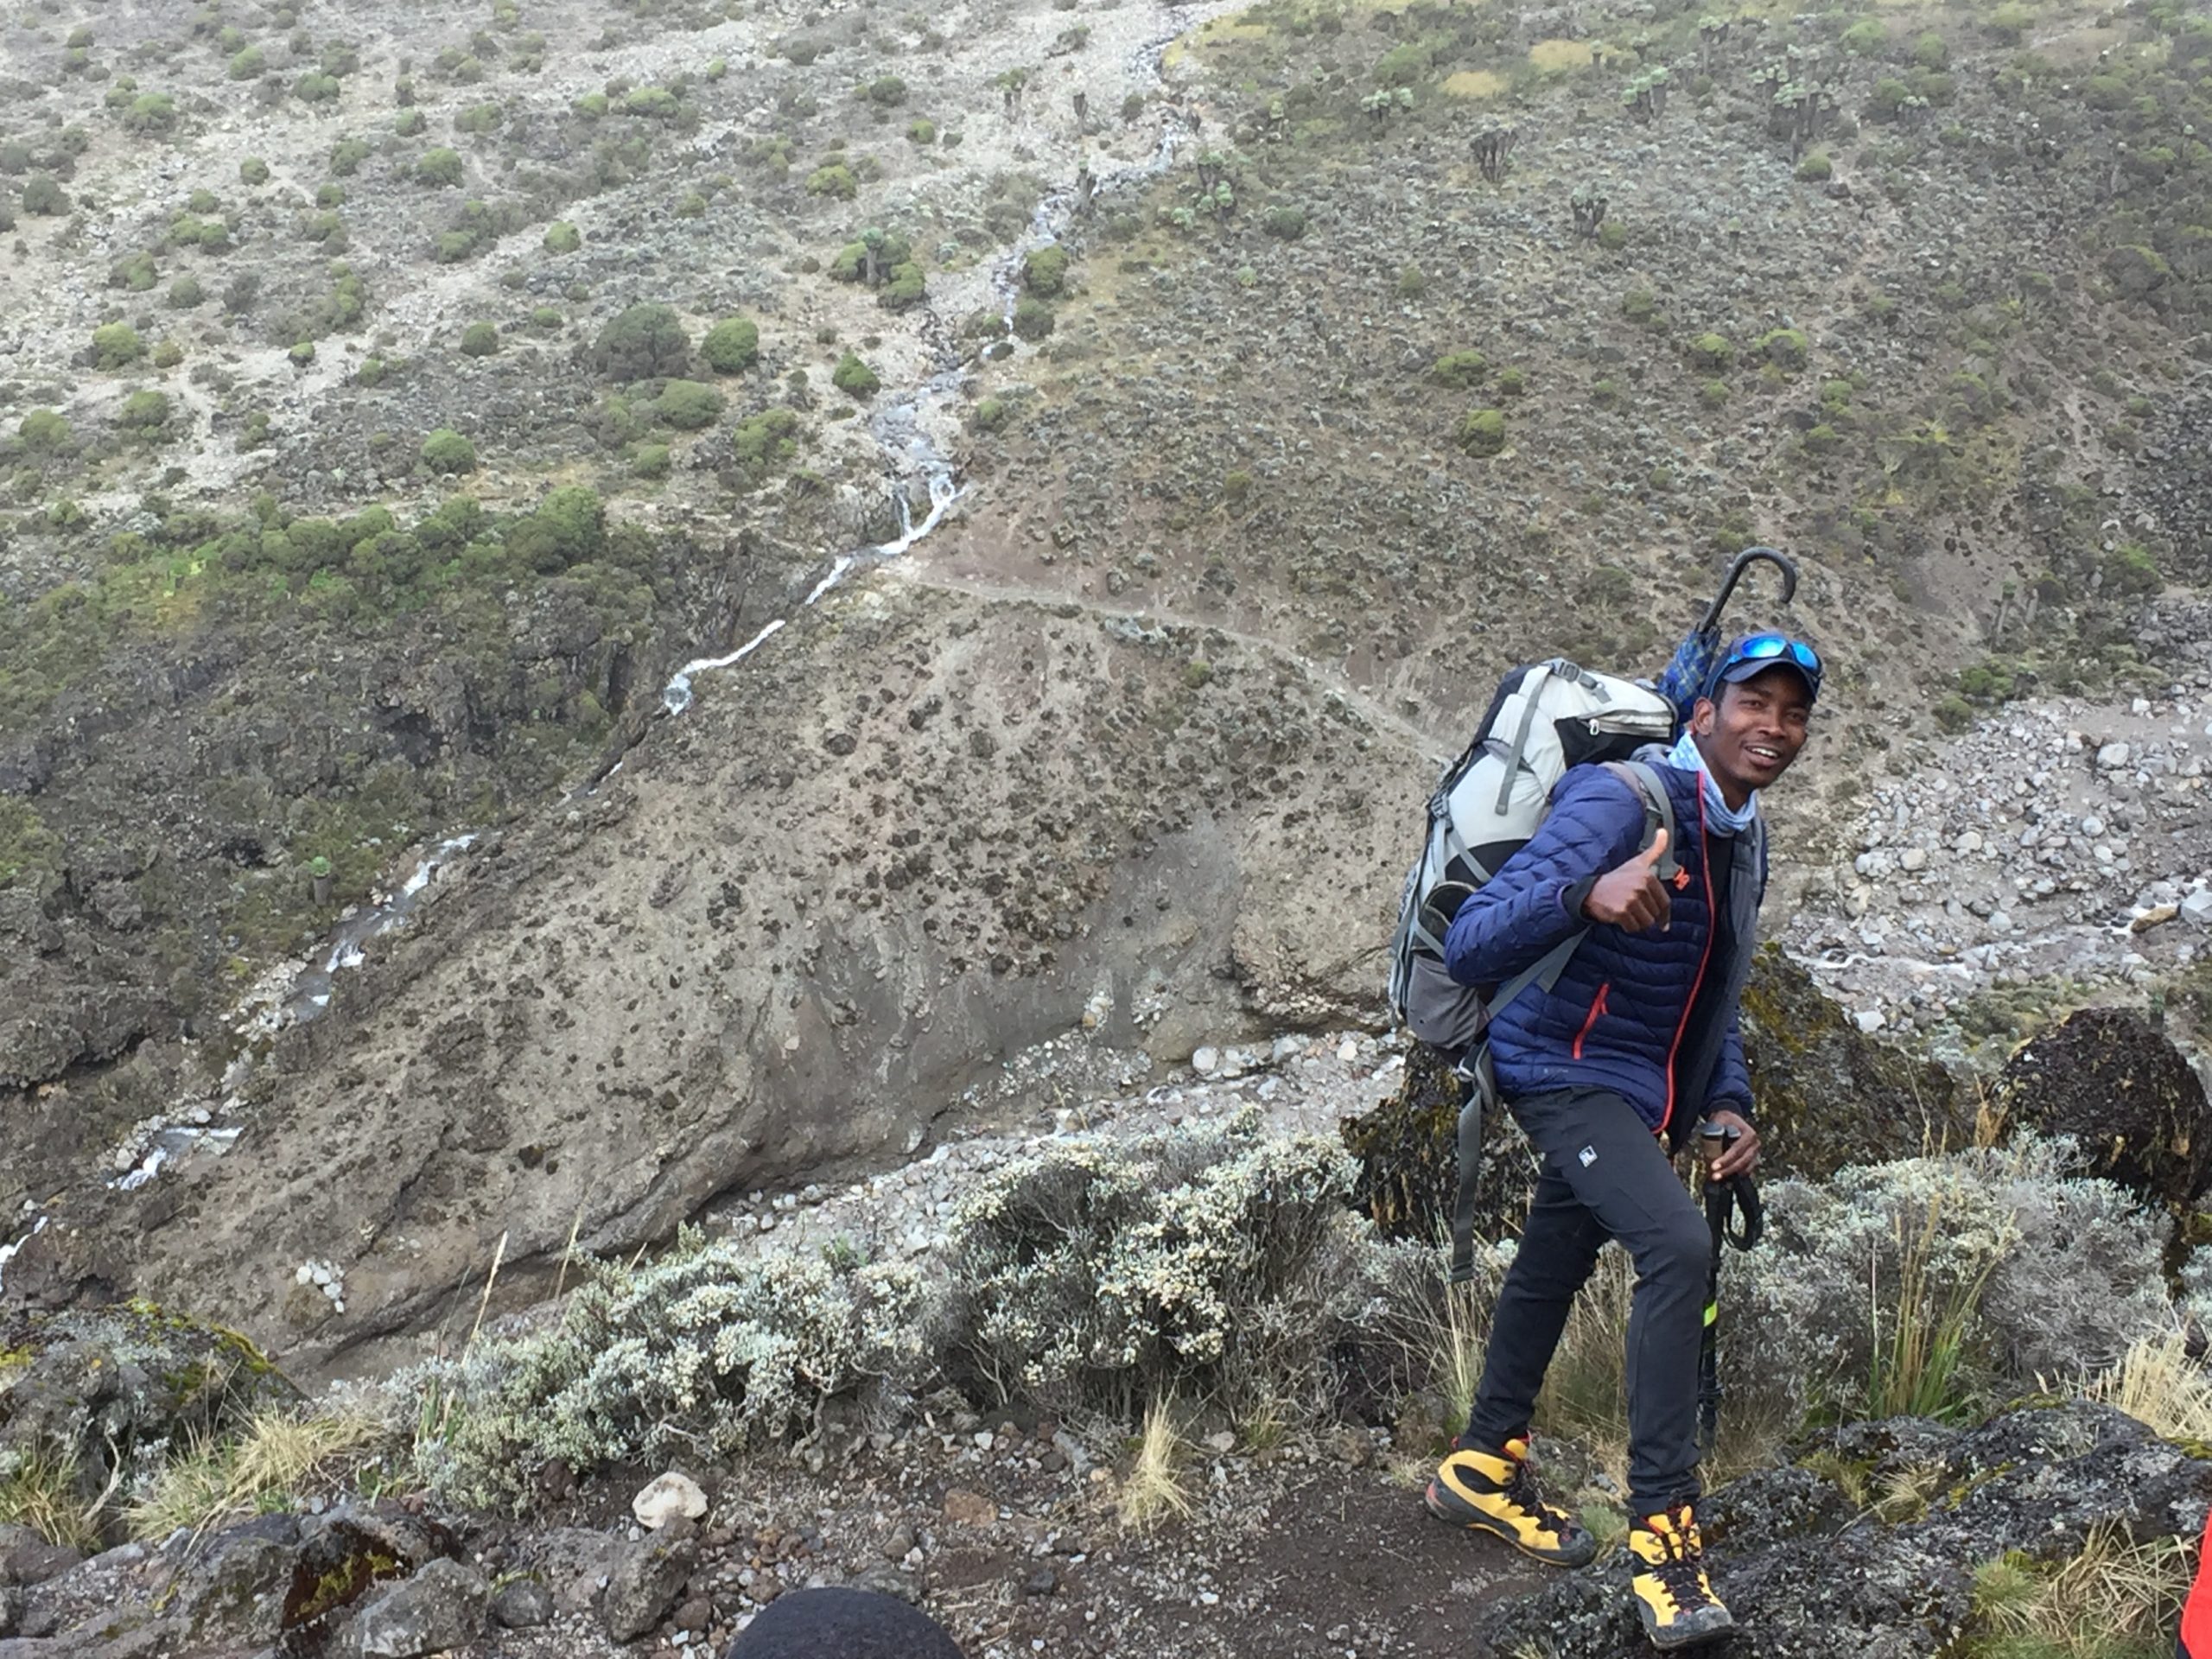
Kilimanjaro is a great trip for everyone in that there are no technical prerequisites – you don’t need any prior technical mountaineering or rock climbing experience.
That said, there is a prerequisite that you are physically very fit and healthy. Kilimanjaro shouldn’t be dismissed as ‘easy’ just because it is suitable for beginners. Like any large high-altitude climb, it should not be underestimated.
If you are looking for a skills-based course and climb to hone your technical mountaineering skills, check out our Australian Alpine Academy and Mount Baker Alpine Academy.
Physical Training
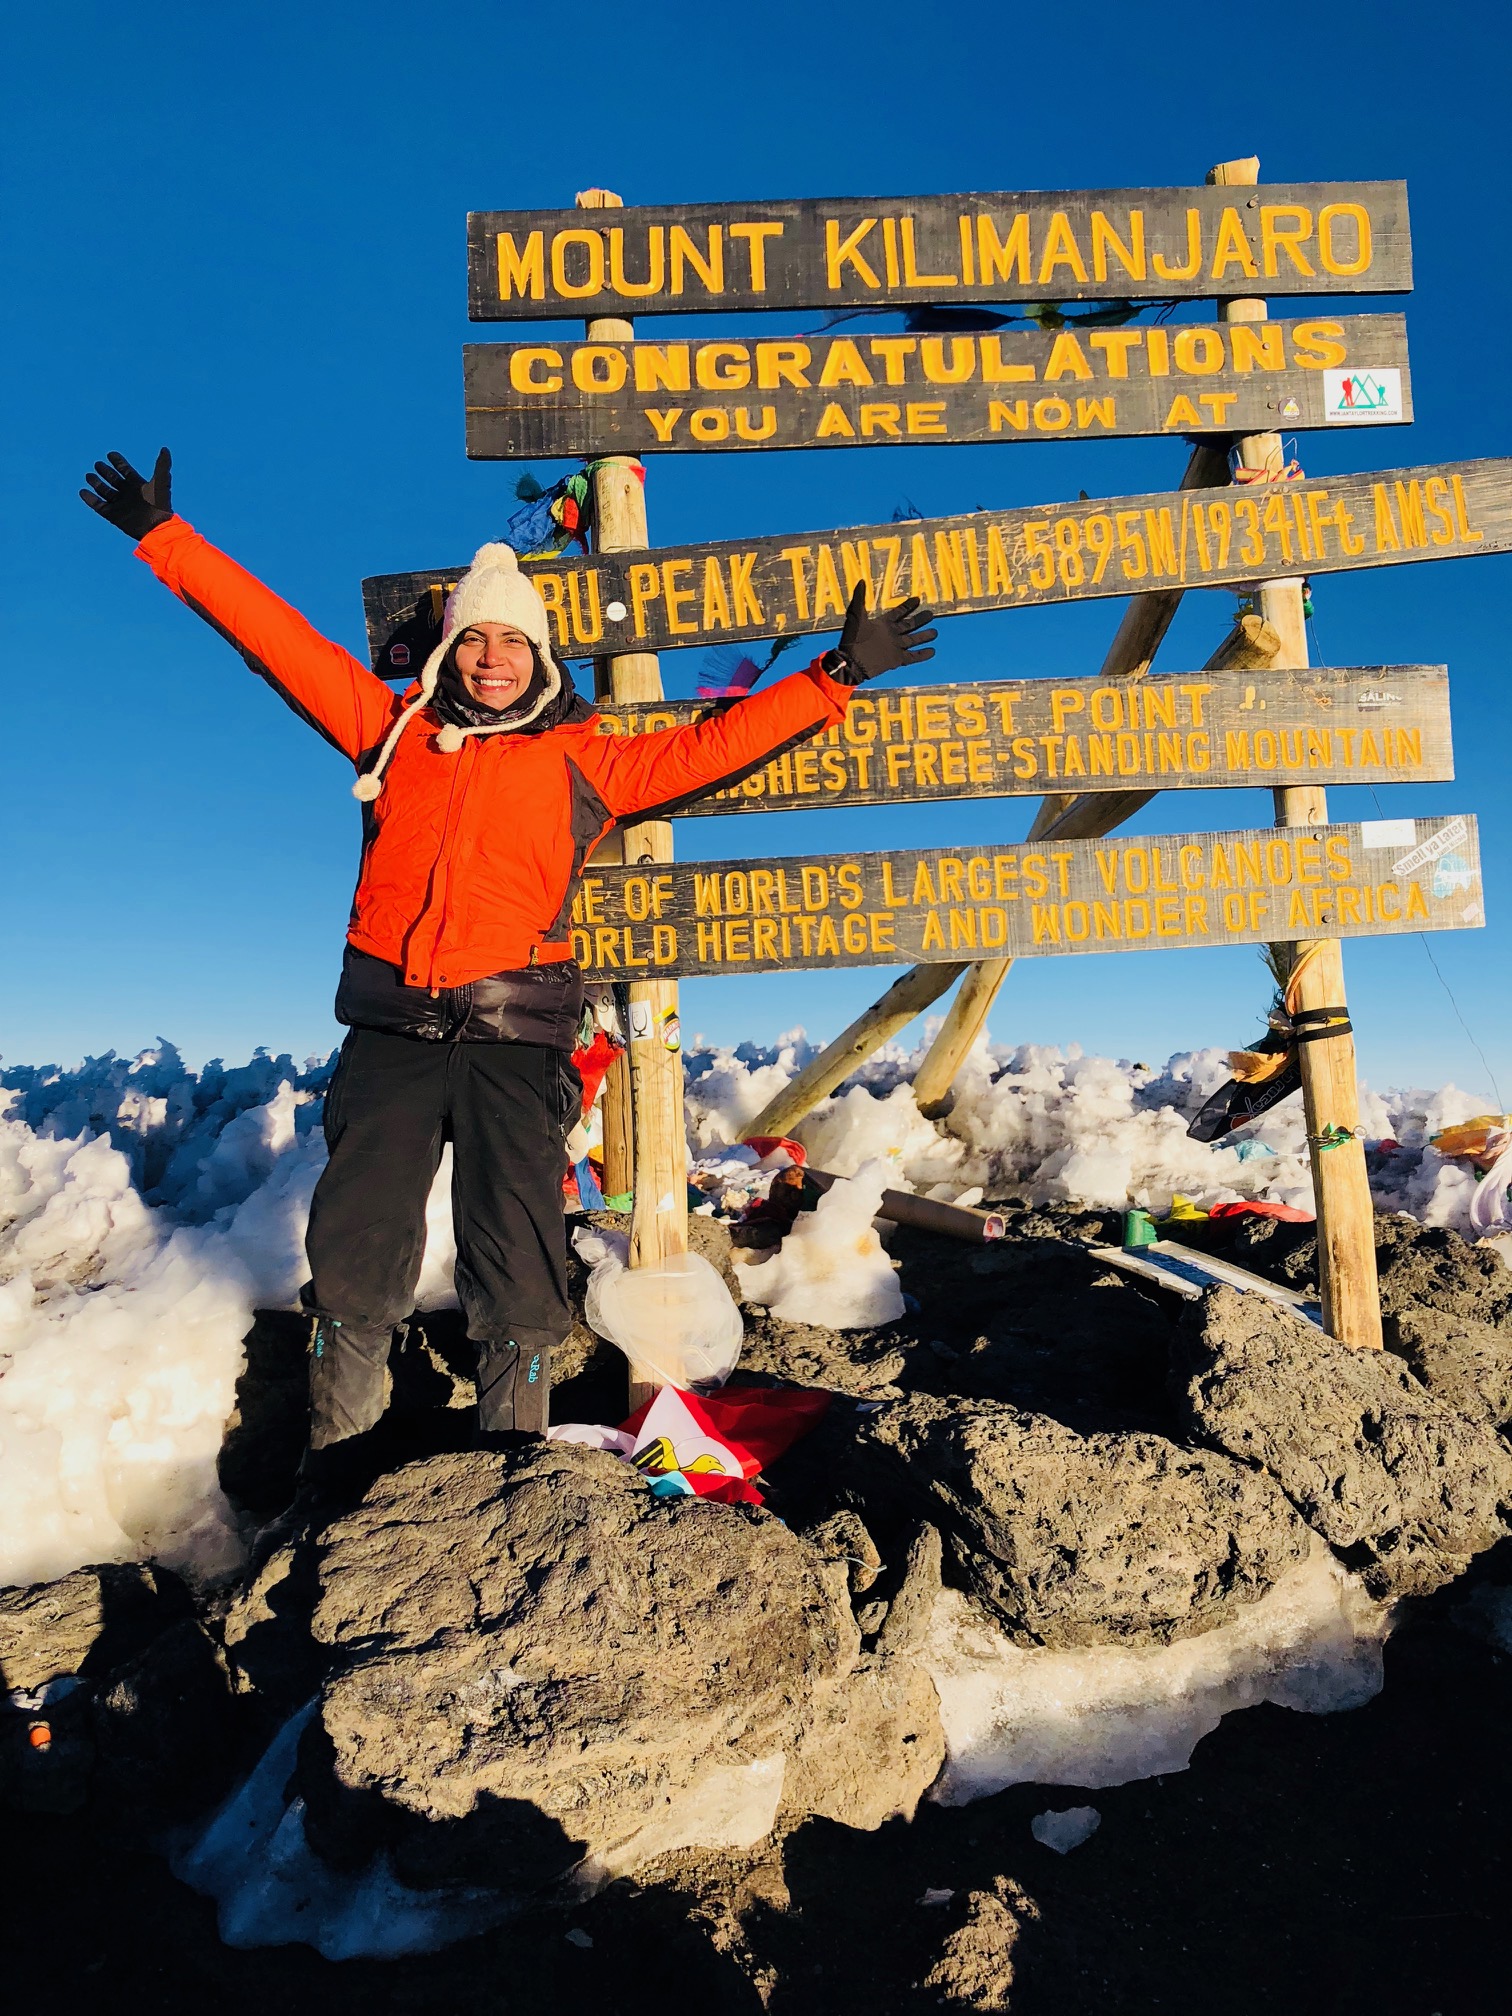
You need to be very physically fit and able to dedicate time to ‘climbing-specific training’ in the lead-up to your expedition. Being in top shape will also ensure you enjoy your climb, feel good throughout, and get the most out of the experience.
It is vital that your training closely simulates what you will be doing on the mountain. Traditional gym workouts or general fitness plans aren’t targeted enough. Instead, you need to emulate long physical days (8+ hours) in the mountains
We recommend that you:
- Start specific mountaineering training at least three months in advance
- Train at least 4-5 days a week for an hour or more
- Focus on high-volume but low-intensity training
- Don’t forget the cardio, strength training, and stretching.
- A good goal is to be able to comfortably climb 1,500 vertical feet per hour with a 40lb pack.
- Schedule a few weekends where you can do two or more full days back to back. Multi-day hikes carrying a pack with good elevation gains and descents are ideal.
Mindset
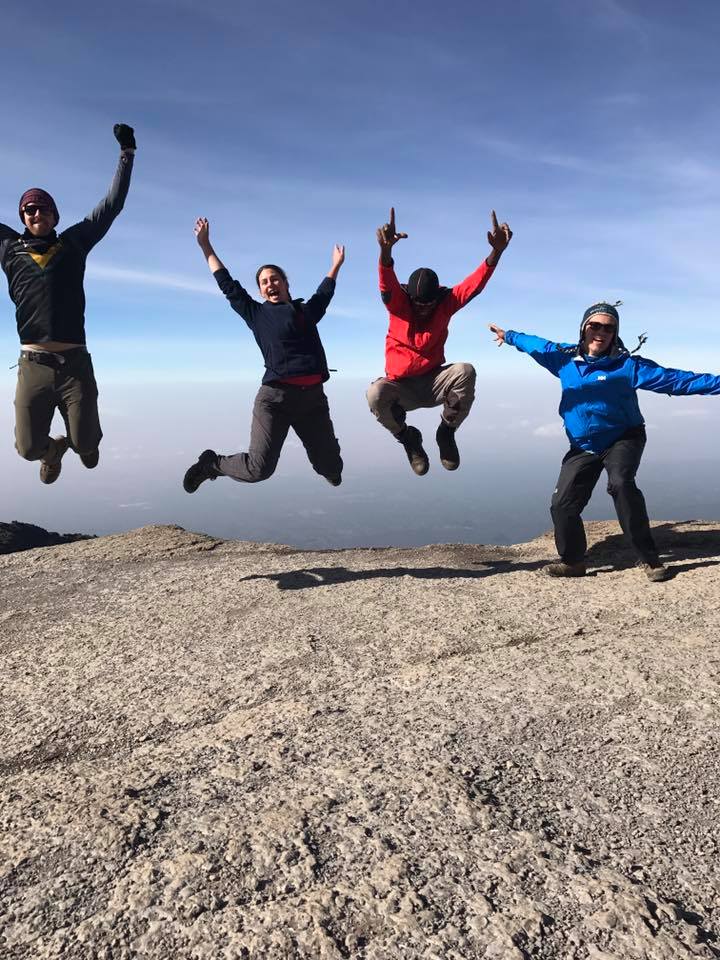
Mindset and mental preparation are integral to your success on any peak. You should be prepared:
- To be away from home/work for the duration of your climb
- Have a desire for rugged adventure travel
- Be open to receiving and deferring to guidance, support, and advice from your guides/expedition leaders (even if you are an experienced mountaineer)
- Be comfortable having open conversations with your guides
- Be able to work well in a team environment by being supportive and respectful of fellow teammates
- Be humble, respectful, and considerate even under pressure
Kilimanjaro Expedition Beta & Route
Elevation: 19,341 feet
Duration: 10 Days
Continent: Africa
Route: Machame Route
Difficulty: Beginner – Intermediate
Location
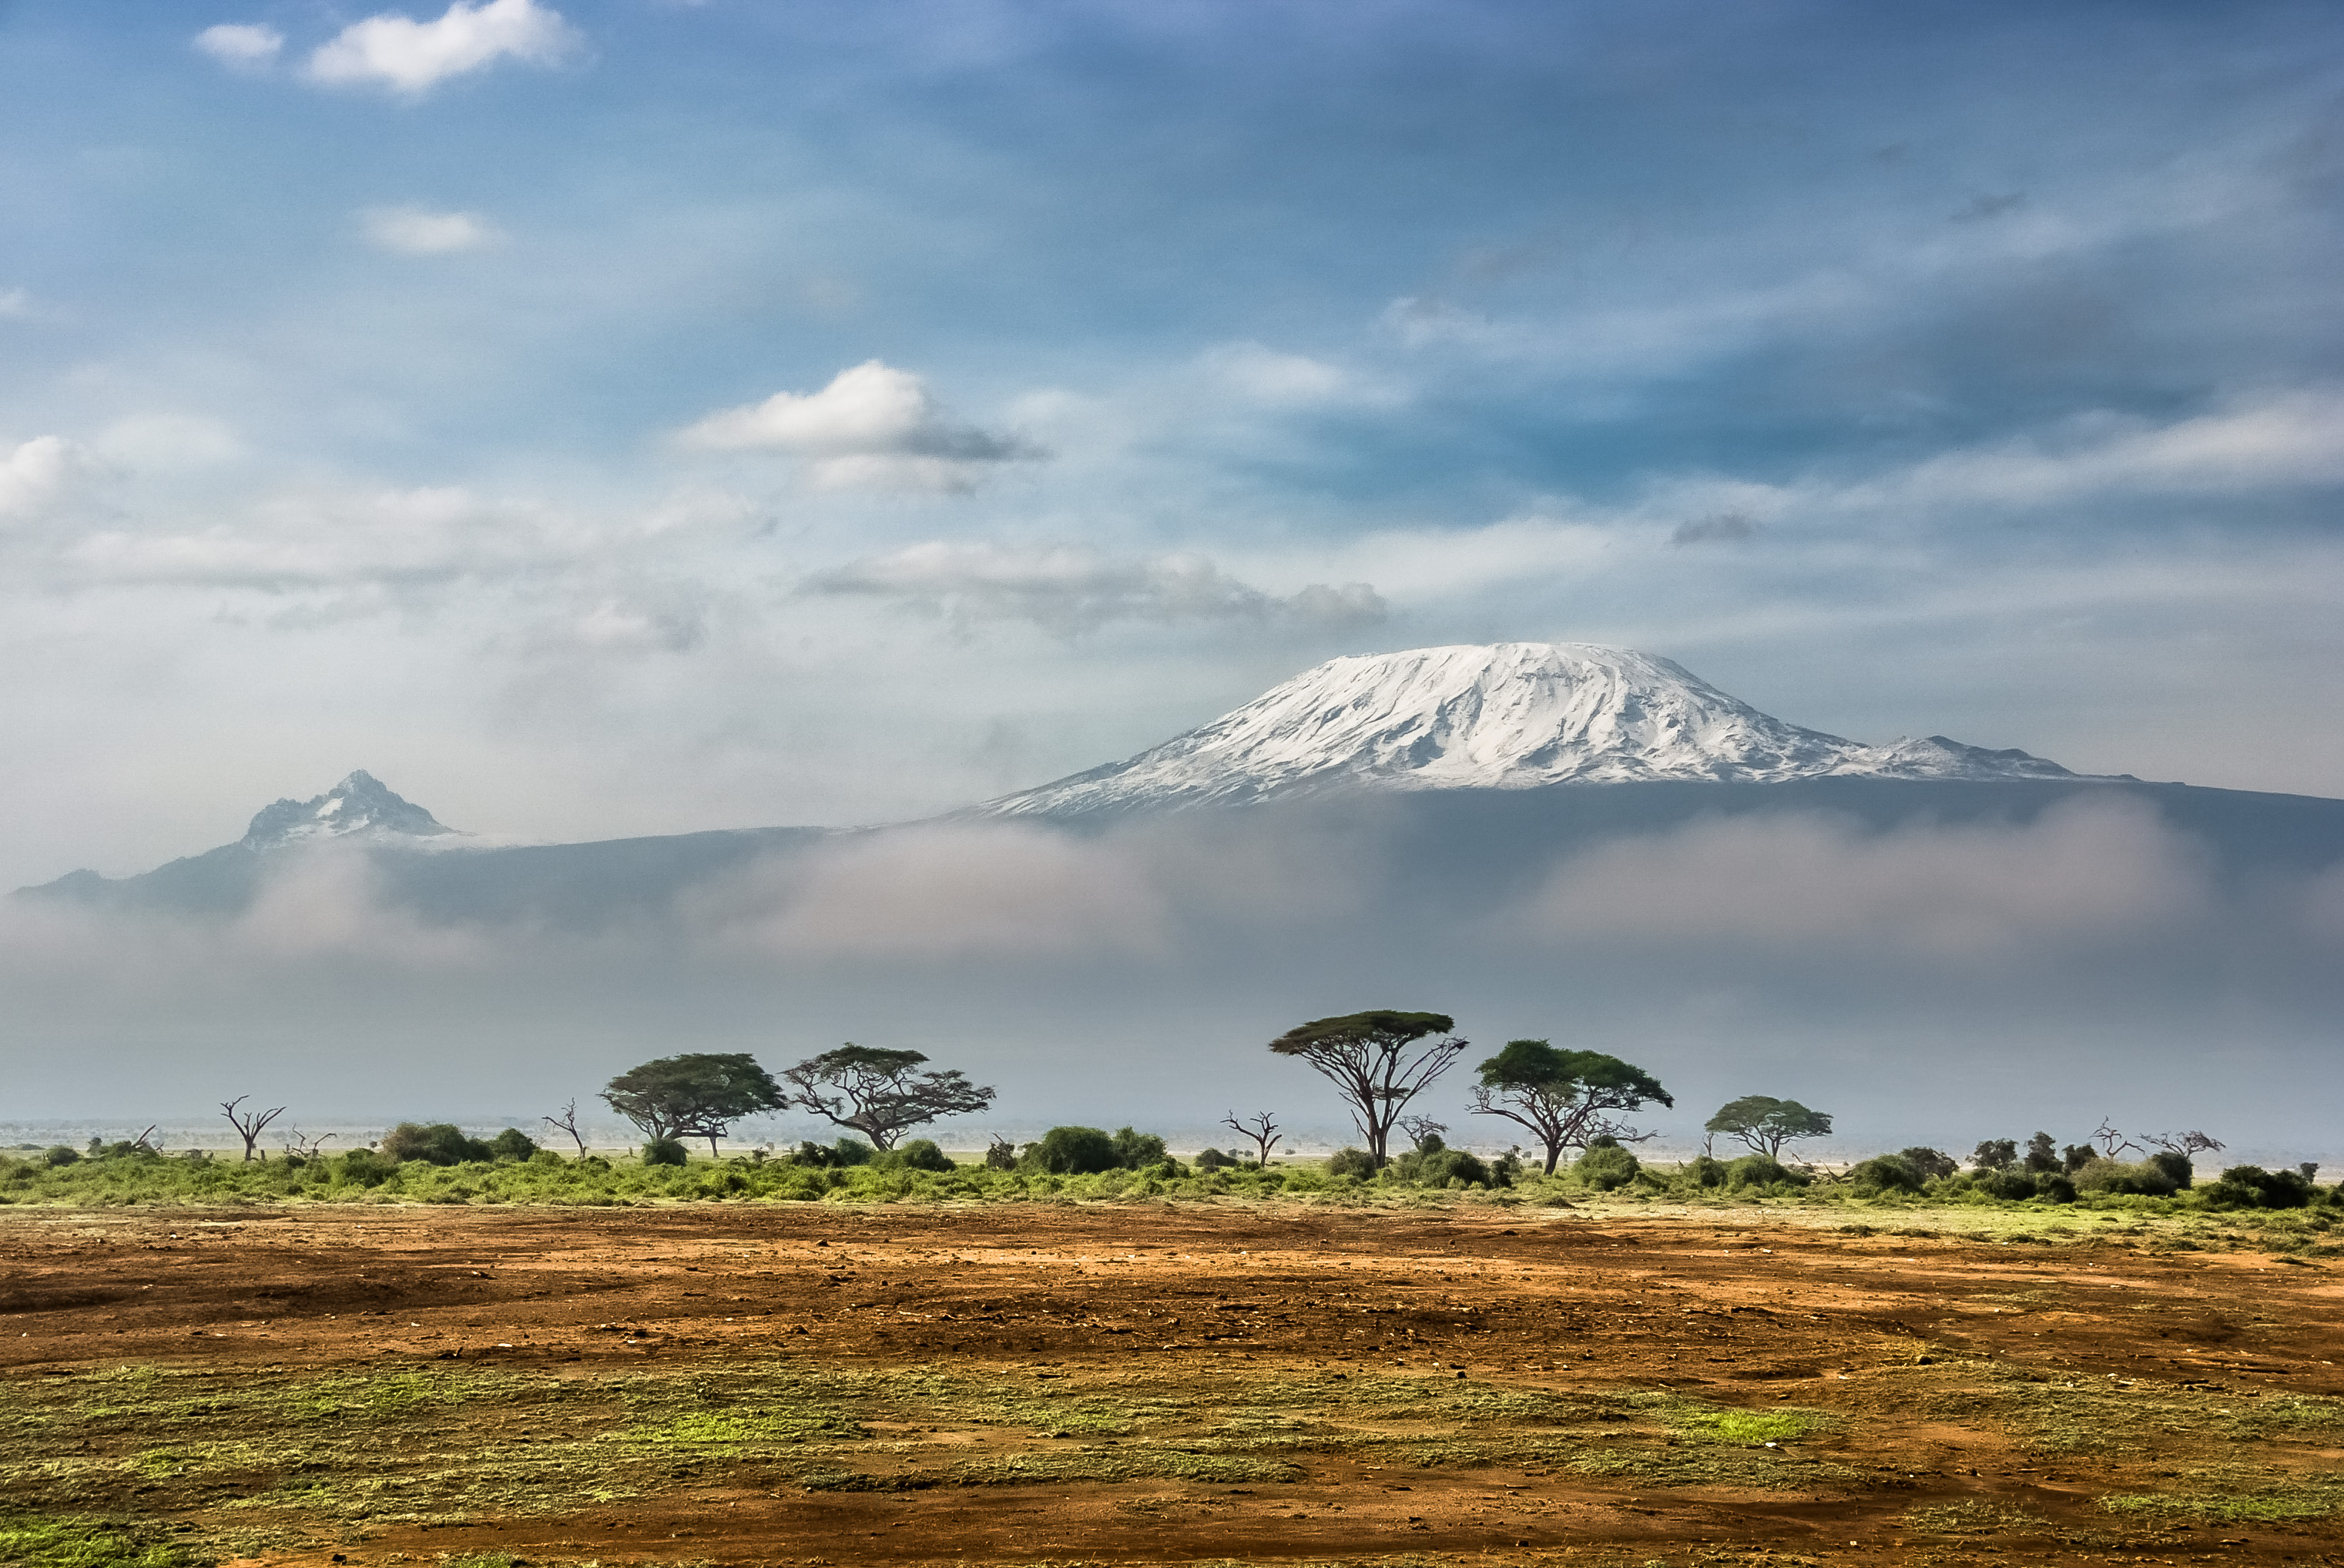
Mount Kilimanjaro, sits 200 miles (322 km) south of the equator in Tanzania, a country located approximately halfway up the eastern seaboard of Africa.
The mountain lies close to the Kenyan border, in Kilimanjaro National Park, which was established in 1973 and officially opened in 1977. It encompasses 756 square miles (1957 sq km) of terrain above the 9000-foot (2700 m) contour line. The lands below this delineation are inhabited by local Chagga tribespeople. Many of our porters (who will help you trek with just a daypack and save energy for your summit) are extremely hard-working Chagga tribespeople residing on the flanks of Kilimanjaro itself.
Tanzanians in general are uniquely cheerful and hospitable and make great hosts for your climb and will joyfully share their culture with you.
Route Choice
We have chosen the Machame Route on Kilimanjaro for the best summit chances and a chance to experience standing on top of the “Roof of Africa.”
Every expedition originates in Arusha, Tanzania, the gateway to Kilimanjaro, where the team will meet the day before for gear checks, a guide briefing, and to address any last-minute logistics.
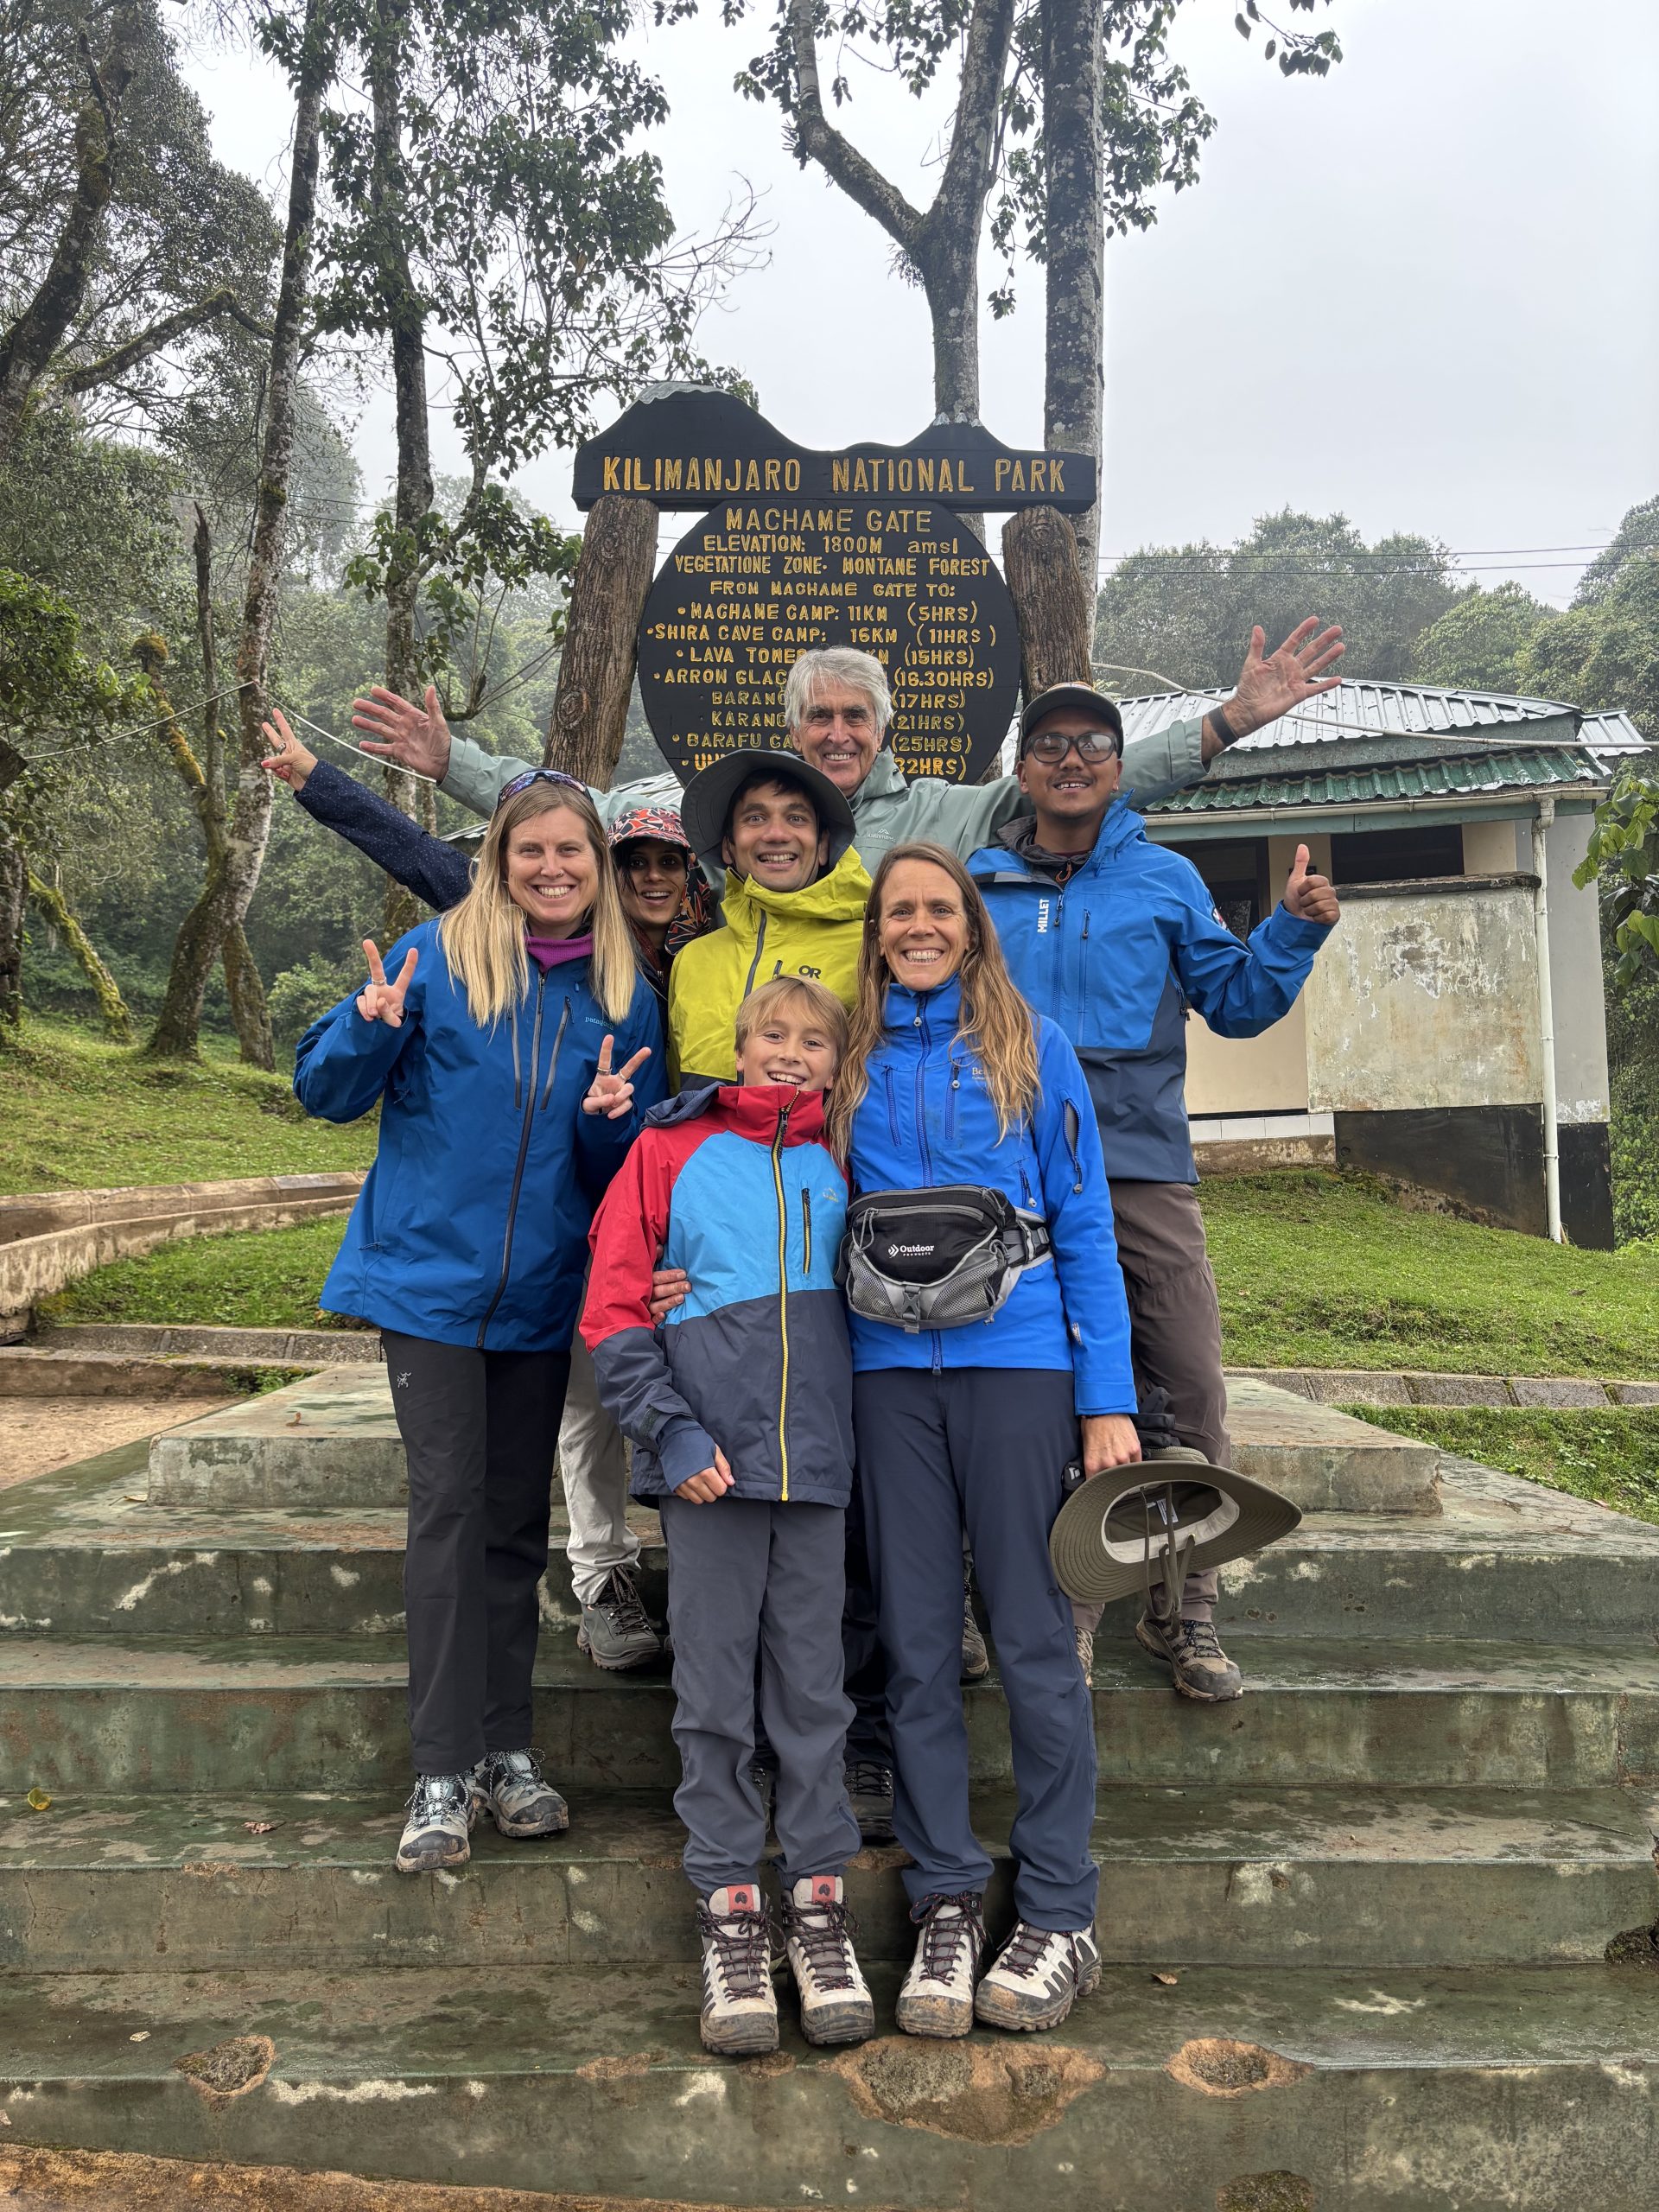
On day 3, you will head to the Machame Gate as a team, where you will begin your climb and enter Mount Kilimanjaro National Park. The route will wind itself through a verdant rainforest filled with chattering birds and blue monkeys before making your way to Machame Camp for the evening.
As we leave Machame Camp behind, we also leave behind the rainforest. We will continue ascending into the heather moorlands, where the vegetation becomes less dense, and views of Mount Meru come into sight on a clear day. We rest for the evening at Shira Camp.
Today, day five is a walk-high and sleep-low day, which is ideal for acclimatization. We will make our way into the alpine desert, with the looming form of the Kibo Massif ahead. Kibo, along with Mawenzi and Shira, are the three peaks of Kilimanjaro. We will pass through a strange yet beautiful Garden of the Senecios, where giant groundsels and lobelias dominate the landscape. This is one of our favorite areas on the entire trail. We rest for the evening at Barranco Camp.
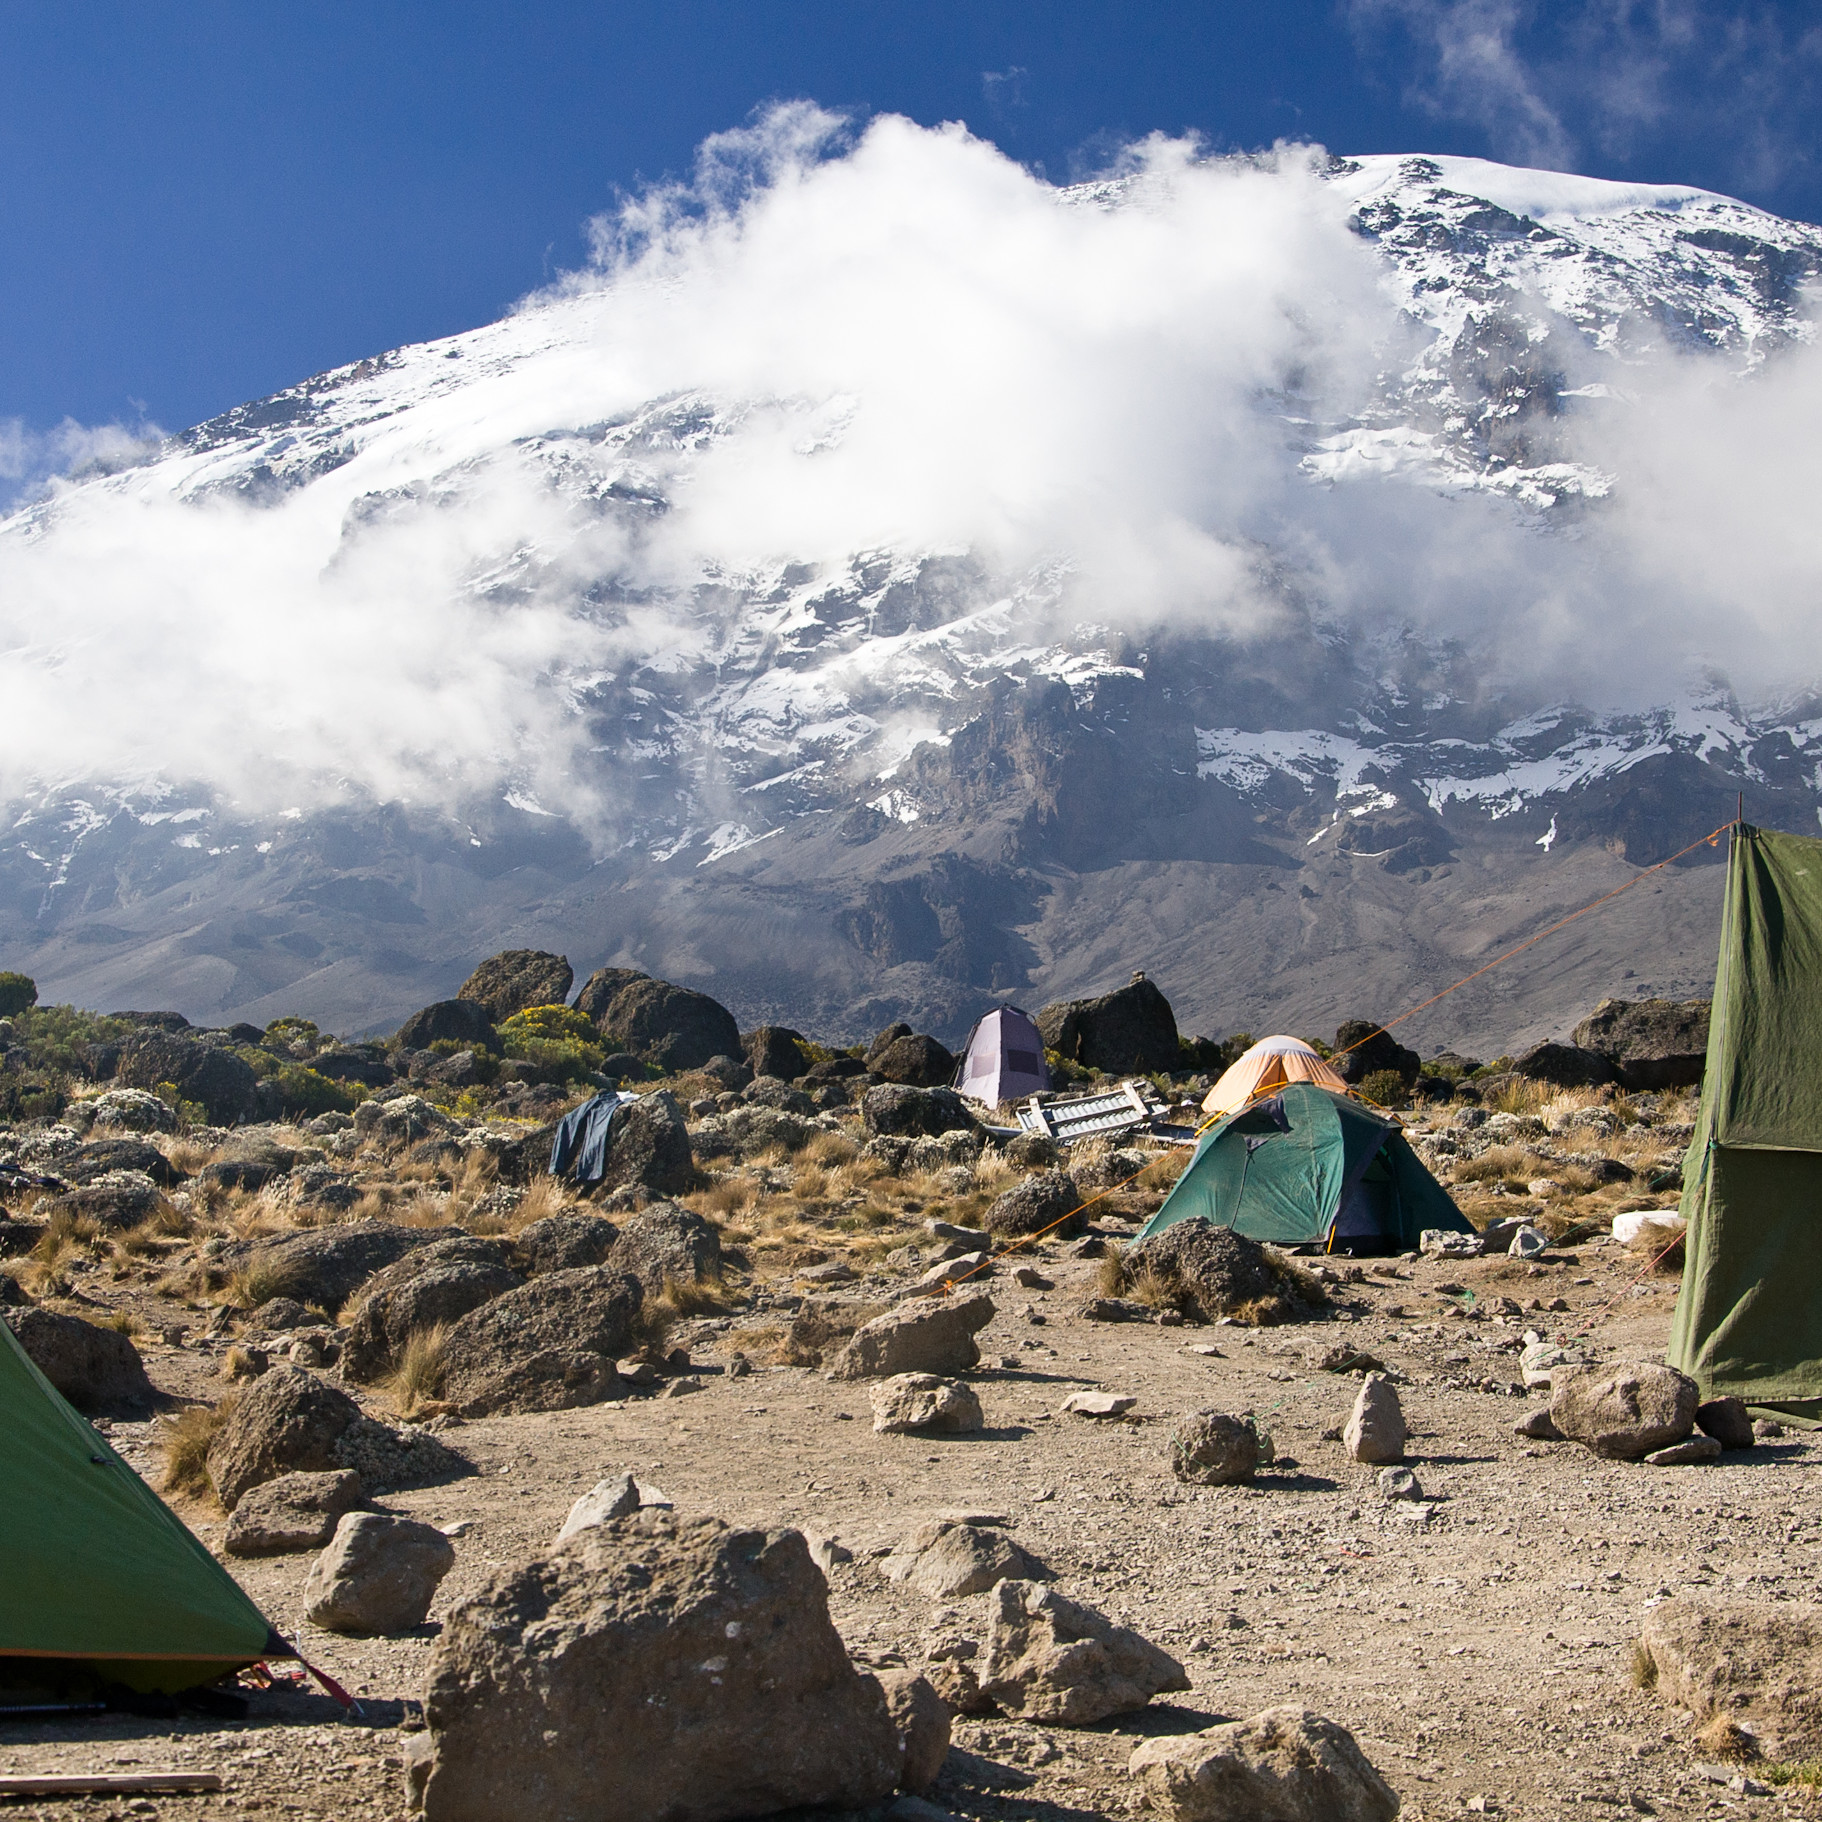
A relatively short day is up next, but you will be taking on the famed Barranco Wall. Be prepared to use all four limbs to traverse the wall to the top of the Karanga Valley. From here, you will follow an undulating trail on your way to Karanga Camp for the evening. The evening views from Karanga Camp are particularly spectacular as the sun sets over glacial valleys and ice fields that tower 3,000 feet above you.
Today, we get ourselves into position to summit Kilimanjaro the following day. We ascend steeply through scree fields and vast stretches of desolate alpine desert landscapes. With an alpine start looming, an early dinner and rest are on deck for the team.
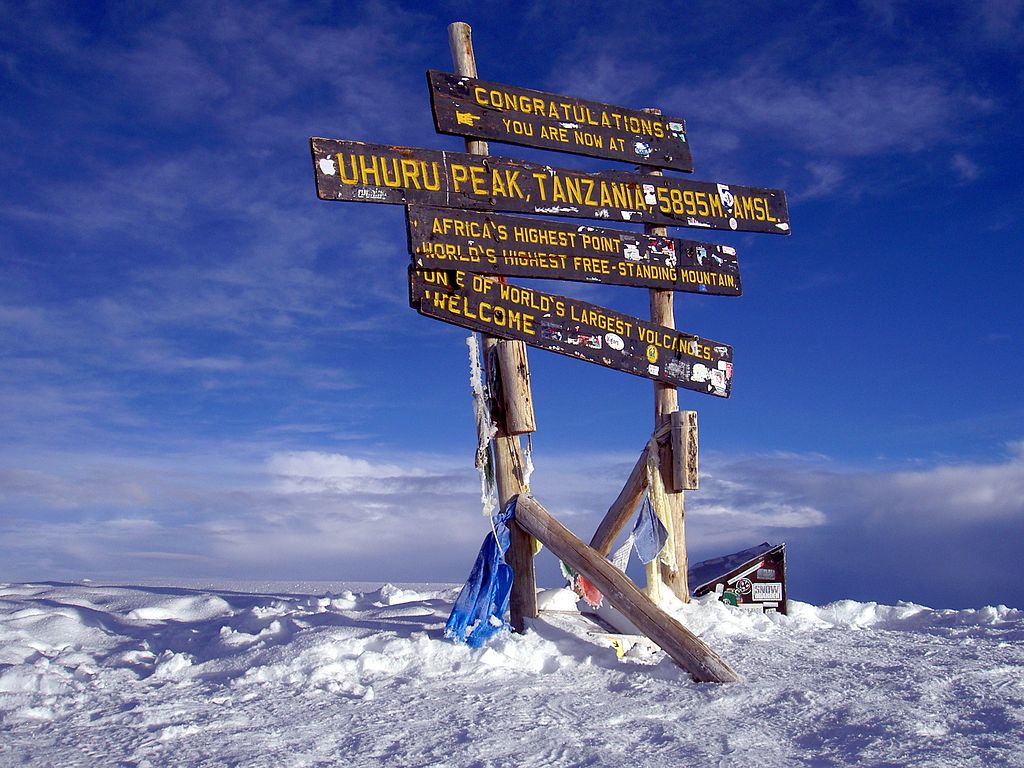
An alpine start (usually 1:00 am) kicks off our summit attempt to Uhuru Peak, the highest point in Africa! Patience and persistence are the name of the game today to reach the summit, with this being the coldest, windiest leg of your climb. The trail is tougher, with a sustained switchback climb through steep scree. Slowly and with regular stops is the best way to do it. By dawn, as the first rays of light start to appear across the Tanzanian landscape, you arrive near the rim at Stella Point, at an altitude of 18,652ft. Here, you are rewarded with the most glorious sunrise you are ever likely to see, appearing over Mawenzi Peak. After Stella Point on the Crater Rim, it is just over an hour’s walk to the summit, but it will most certainly feel longer. After a short celebration at the summit, we will start our sustained descent to Mweka Camp.
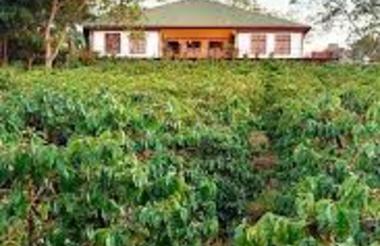
On our last day on the trail, we will wind ourselves once again through the tropical rainforest that is alive with birdsongs and a lush understory of vegetation. Our route winds down to the Kilimanjaro National Park gate at Mweka. After a short walk through coffee and banana farms, we arrive at Mweka Village, where our vehicle awaits and transfers us to the lodge in Arusha for a well-deserved shower, celebration dinner, and overnight stay.
How to Choose The Right Kilimanjaro Expedition
How to Choose The Right Kilimanjaro Expedition
Share Expedition
Researching and choosing the right expedition company to support you and help guide you through all logistics, as well as be there for you on the mountain is important.
While Kilimanjaro is beginner friendly, it is still a serious undertaking that takes you to extreme altitude so you want to do your homework so you feel 100% confident in your choice and can focus on the climb.
We encourage you to look closely at both the big picture and the small details. Look at a company’s priority on safety, the quality and experience of their guides, their reputation, and their level of ‘care factor’.
Safety & Success
Your safety and success are the top priorities, in that order.
Climbing the Seven Summits, at its core, is a climbing and mountaineering guide service vs. a run-of-the-mill tour operator.
As such we have a greater focus on safety at altitude, pull from a deeper knowledge base navigating mountainous terrain, have better strategies to mitigate weather and a better grasp of how to empower climbers to succeed, than say your average adventure tour provider might.
Our clientele’s well-being factors into every decision we make while on expeditions. Although we like to stand on the top of mountains more than anyone, we believe that climbing is a round-trip endeavor, and getting you back to your loved ones safely is paramount. We are conservative in our approach and plan and execute our expeditions from a ‘mountaineers’ perspective’ with extra acclimatization, higher redundancies, and the highest quality gear to ensure a safe environment in which to climb.
We are proud to have maintained a 100% client success rate for all our Kilimanjaro expeditions. This is a testament to our approach, quality of service, and attention to detail.
Leadership
Guidance on Kilimanjaro is often overlooked and underestimated. Look for guides who are seasoned experts with a strategy that is patient, conservative, and well-planned to give you the best opportunity for success.
They should be adept at managing the team, able to make sound decisions, have a deep understanding of alititude illness signs and symptoms, have a hunger to summit whenever it is safe to do so, and have a proven track record.
Our Guides are true mountain leaders, not just tour guides. They lean on their extensive experience on Kilimanjaro (for instance; one of our favorite Kilimanjaro Guides Gerry has over 500x Kili Summits!) and further afield across the Seven Summits (for instance regular Kili Team Guide Tendi Sherpa has 15x Everest summits!) to help guide you through the many nuances of climbing Kilimanjaro to help you be successful and lay the foundations for a successful mountaineering career if you chose to climb beyond Kilimanjaro.
Often, being able to troubleshoot problems before they occur can make the difference, and this is where CTSS’s handpicked Guide team and their vast experience becomes crucial.
Our Leadership also extends beyond the mountain, for instance, our pre trip team will work with you to make sure you’re as prepared as possible to reach your goal; from answering questions, providing detailed gear lists, advice on training etc. CTSS’s Leadership and Guiding approach is holistic.
Acclimatization Schedule
For most people, Kilimanjaro is their first experience at altitude and acclimatizing is a critical aspect of a successful summit attempt. The mountain’s summit is 5,895 meters (19,341 feet) at the summit and if not properly managed, there is a very real risk of altitude-related illnesses such as acute mountain sickness (AMS), high-altitude pulmonary edema (HAPE), and high-altitude cerebral edema (HACE).
CTSS recognizes that everyone (regardless of their fitness) acclimatizes slightly differently so we offer a longer, gentler acclimatization itinerary, route and progression to help climbers adjust to the altitude gradually, reducing the risk of these conditions.
In contrast, many Kilimanjaro operators race their clients up the mountain, in large, understaffed groups to cut corners on costs. They have a “churn and burn” approach, (especially if they only offer Kilimanjaro climbs because they know you are unlikely to return so aren’t worried about your satisfaction) whereas CTSS is highly invested in our reputation for safety and success and work tirelessly to maintain our hard-earned status.
We also hope you will love climbing so much, that you will continue your climbing journey with us beyond Kili and are therefore invested in you having the best opportunity to reach the summit feeling the best you can!
Seven Summits Specialists
Kilimanjaro is often the starting point for budding mountaineers who go on to enjoy a lifelong passion. If you are considering Kilimanjaro as a progression to bigger objectives, like the Seven Summits, then having a Guide Service who can help advise, coach and direct you not only through your Kilimanjaro journey but BEYOND it, is a huge asset.
CTSS will help you prepare, progress, improve with real time Guide feedback, and plan your next steps.
Values & Philosophy
Does an operator have strong values?
This is sometimes a little harder to identify as it’s more a feeling than a sales pitch, but you should get a feel for a company through their little interactions, their care factor, their responses to you as an individual and your questions, their attention to detail, their corporate social responsibility and approach to sustainability and protecting the environment.
For instance; is your chosen Kilimanjaro Guide Service a member of KPAP? KPAP stands for the Kilimanjaro Porters Assistance Project and is an independent, non government body that ensures fair wages, proper working conditions and ethical treatment of high altitude porters on Kilimanjaro. CTSS has been a proud member of KPAP since the inception of our Kilimanjaro program.
On a personal level, mountaineering can be high risk and stressful so it is important pick an operator who has strong core values and a team mentality that aligns with yours so that when things get challenging you can rely on open lines of communication, knowing they will do what they can to support you. It is this team cohesiveness that flows through to each individual climber and helps them stand on top.
Kilimanjaro Travel Guide
Kilimanjaro Travel Guide
Expedition Meets in: Arusha, Tanzania
Continent: Africa
Currency: Tanzanian Shilling
Population: 63.59 million
Official Language: Swahili and English
Seasons to climb: December to mid-March and mid-June to the end of October
Things You Need to Know:
Meeting Location:
The first day of your itinerary is your arrival day, meaning you can arrive at Kilimanjaro International Airport at any time on that first day. You can spend this day settling in, relaxing, and shaking off the jetlag. Our hotel in Arusha provides very comfortable accommodations. Feel free to explore the hotel, but please don’t wander too far until you’ve made contact with one of your guides. They will swing by as soon as possible to introduce themselves and answer any questions.
You will formally meet the team on Day 2 for Gear Checks and a Guide Briefing. On this day, your guides will lead a compulsory briefing to go over all the specifics of your expedition and climbing schedules, weight limits for the porters, how to pack for the upcoming week, and any updated logistics. If you have any questions, this is a great time to ask them.
Tourist Visas:
A tourist visa is required for Tanzania. This can be granted on arrival at Kilimanjaro International Airport. There is a $100 USD fee for this visa, which needs to be paid in cash on arrival, so please be prepared. This can be paid in a number of different currencies, but it is advised to have USD to make the process smoother. Note: it is your responsibility to ensure that you can get a visa on arrival from your country.
Getting There:
Kilimanjaro International Airport (JRO) is the starting point for our adventure. Qatar Airways and Ethiopian Airlines are the most common carriers, but there are several others available depending on where you are connecting. We ask that you keep us informed of your travel details by forwarding us a copy of your flight itineraries, both inbound and outbound. A CTSS representative will pick you up at the airport, so please advise us well in advance of any changes to your arrival time and flight number. If you experience a delay in traveling, let us know immediately.
Domestic Transportation:
Your domestic transportation in Tanzania is included in your expedition.
Money:
In Tanzania, the unit of currency is the Tanzanian shilling, which is divided into 100 cents. Notes are issued in denominations of 500, 1000, 2000, 5000, and 10000 shillings. Coins are issued in denominations of 50, 100, and 200 shillings.
Banks are open from 9:00 am to 3:00 pm, Monday to Friday. Many banks are equipped with 24-hour ATM machines. Credit cards and traveler’s checks are not widely accepted in Tanzania. Where they are accepted, high service fees and poor exchange rates should be expected. Major foreign currencies – particularly the US dollar – are accepted in Tanzania and are convertible at banks and Bureaus de Changes in the main towns and tourist areas. If bringing cash in US dollars, please make sure bank notes are in good condition, with no cuts or damage, and are not older than 2004. Most banks offer higher exchange rates for US $100 / US $50 bank notes compared to US $20 / US $10 or US $5 bank notes.
Tipping:
Tipping in Tanzania isn’t mandatory but highly appreciated. The rule of thumb is: If you’re happy, leave a tip by rounding up a bill to the nearest thousand or five thousand shillings (about 3-5%).
We require all climbers to contribute to the Porter Tip Pool (US $300) at the end of their expedition. It is customary to tip your guides, but not mandatory. We recommend tipping your guide 10 to 20 percent of the total cost. If you have multiple guides, you can tip the lead guide, and they can split that up amongst the other guides.
Adapters:
In Tanzania, there are two associated plug types, D and G. Plug type D is the plug that has three round pins in a triangular pattern, and plug type G is the plug that has two flat parallel pins and a grounding pin. Tanzania operates on a 230V supply voltage and 50Hz.
Tap Water:
When on the mountain, all water that is provided is safe to drink. When in the towns, it is recommended that you only drink bottled water to ensure your safety, as the water system in Tanzania is not always reliable, and tap water is not safe to drink.
Language:
Tanzania has two official languages, Swahili and English. Although English is widely spoken in Tanzania’s tourism sector, Swahili is still the most commonly used language. Swahili derives approximately 60% of its words from Arabic and is used in a number of East African nations. The most common phrase, hakuna matata, meaning no worries, found fame in the Disney movie The Lion King and will be used a lot throughout your trip.
Personal Safety:
Tanzania and Arusha are considered generally safe, but it’s wise to exercise caution against petty pickpocketing by avoiding leaving valuables in plain sight. Given the diversity of guests, it’s essential to remain vigilant. Keep valuables in a hotel safe if possible. Behave in Tanzania as you would at home. Be respectful, and always let your guide know if you’re going to leave the hotel. In general, we prefer to travel and stick together as a team.
Vaccinations:
We strongly encourage all travelers to be properly vaccinated for common viruses. The WHO and CDC recommend people traveling to Tanzania are vaccinated against hepatitis A, hepatitis B, typhoid, yellow fever, rabies, meningitis, polio, measles, mumps and rubella (MMR), Tdap (tetanus, diphtheria, and pertussis), chickenpox, shingles, pneumonia, and influenza. Many of these people are covered already, but it may be worth checking with your local doctor regarding your vaccination history. Yellow fever vaccines are not mandatory in Tanzania but are required in nearby Kenya. Please consult your local physician for more information on yellow fever to decide if this vaccine is right for you.
Malaria:
Tanzania is classified as a high-risk area for Malaria. This risk is only prevalent in the lower altitudes and once we start our time on the mountain, the risk is virtually zero as there are no mosquitos at altitude. It is recommended that all clients talk to their GP about some malaria-preventative medication for their time in Arusha and at lower altitudes. Many of these medications are broad-spectrum antibiotics
that can be useful for preventing any infection.
Accommodations:
All of your accommodations are included in your expedition. If you would like to stay longer or arrive earlier in Tanzania, we can help you organize and plan your additional excursions.
Gear Storage:
Our on-the-ground team will help coordinate gear and luggage storage.
Cell Phone Coverage:
Phone reception in the region has improved over recent years, and you can now get some form of reception for most of your time on the mountain. Some people even report getting cell phone reception at the summit! There are numerous phone providers that service the region, and if you require a local prepaid SIM card, the team at the hotel will be able to assist you when you arrive.
Plastic Bags:
Please note that, as of 2016, Tanzania has banned the use of plastic bags in a bid to tackle pollution and protect the environment. Travelers to Tanzania will no longer be allowed to bring plastic carrier bags into the country. This ban targets all plastic bags that are imported, exported, manufactured, sold, stored, supplied and used.
Trip Insurance
https://climbingthesevensummits.com/insurance/
Application Process & Payments
https://climbingthesevensummits.com/application-process-payments/
Kilimanjaro Team Climb
$5,695 USD
- July 27 – August 5, 2026: Guided by Dallas Glass
- December 28, 2026 – January 6, 2027
- July 3 – 12, 2027
Our Kilimanjaro expeditions run from July to August and again from December to January to take advantage of the best weather and most favorable summit conditions. Typically, the weather in these months is the driest and warmest of the year.
- If these dates don’t work for you, or you would like a private trip and private guide, we also build custom itineraries for many of our climbers.
- You can climb Kilimanjaro as a stand-alone activity, or you can round out your experience in Tanzania with our custom-tailored add-ons, including a safari or a Zanzibar Getaway.
This expedition is our traditional guided team climb, which ascends the stunning Machame Route. Provided are guidance, leadership, and expedition oversight by renowned expedition leader Mike Hamill, local guides, logistics, team gear, porters, food, and support for a summit attempt on Kilimanjaro.
Team Departure Itinerary
This itinerary is only a rough estimate and will be determined by weather and conditions. This is adventure travel, meaning things rarely go as planned, and this schedule will likely change. Climbers need to be adaptable and positive.
We always recommend climbers arrive in Arusha one day early to avoid travel delays or issues with lost baggage. Added expenses (hotel/food/sightseeing) of this extra day are the client’s responsibility.
- Day 1: Arrive in Tanzania at Kilimanjaro International Airport, transfer to hotel
- Day 2: Gear checks, team meeting, and check out the town
- Day 3: Drive to Kilimanjaro National Park gate (5,800ft) and climb through the rainforest to Machame Camp (10,000ft)
- Day 4: Continue to climb through Heather-Moorlands to the Shira Plateau Camp (12,300ft)
- Day 5: Continue the climb to Barranco Camp, climbing over a pass at nearly 15,000ft underneath the precipitous Breach Wall before descending to 12,800ft
- Day 6: Climb the Barranco Wall to about 14,500ft before again descending to Karanga Camp at around 13,000ft
- Day 7: Climb to our high camp at 15,500ft before turning in early for our summit climb early the next morning.
- Day 8: Summit Day! We awake in the wee hours of the morning (night), working our way to the “Roof of Africa” at 19,344ft. The day is cold and can be windy and snowy, so make sure you have proper warm gear! After standing on top, we descend back to high camp and take a brief respite before packing up and heading down to our final camp at 12,000ft
- Day 9: Pack camp and descend to the trailhead. Here, we bid farewell to our porters and guides before returning to town for lunch. Celebration Dinner
- Day 10: Departure day. If you are joining us for an add-on extension, a safari, or a Zanzibar Getaway, your transfer will happen today.
Our expeditions are designed to be fully inclusive, except for some services/items of a personal nature, like flights, gear, and insurance. Here’s a detailed list so you know what to expect.
Included:
- Guides and porters
- All accommodations, including three nights at a hotel in Arusha
- All transport within the itinerary.
- Airport transfers from the Kilimanjaro International Airport (JRO)
- All meals, including a celebration dinner on the final evening.
- All group gear: four-season tents, cooking gear, group duffels, stoves, etc.
- Satellite phone: available to clientele at $3/min
- Group first aid equipment
Excluded:
- Flights to and from Arusha, Tanzania
- Any extensions before or after the specified itinerary (we are happy to help you plan these)
- Personal gear: all personal climbing gear is the responsibility of the client
- 3 lbs. personal snack food (real food and stuff you know you will want to eat at altitude when you don’t feel like eating: nuts, jerky, granola bars, dried fruit, candy, etc.)
- In the event of a rescue, evacuation, or early departure from the group, any rescue expenses incurred or excess expenses above and beyond our normal trip costs, including transport, hotels, evacuation, flight changes, and gear shipping, are the responsibility of the client.
- Porter tip pool ($300)
- Guide tip (Customary but optional)
- Required trip insurance policy (for trip cancellation, interruption, rescue & evacuation, medical treatment, repatriation, etc.)
All prices are in US Dollars.
CTSS requires clients to buy trip insurance for all expeditions. Please see our page on trip insurance and cancellation policy for more information.
All payments once submitted are non-refundable and non-transferable. If balances are not received by specified dates, the client forfeits their place on the program and any prior fees paid.
