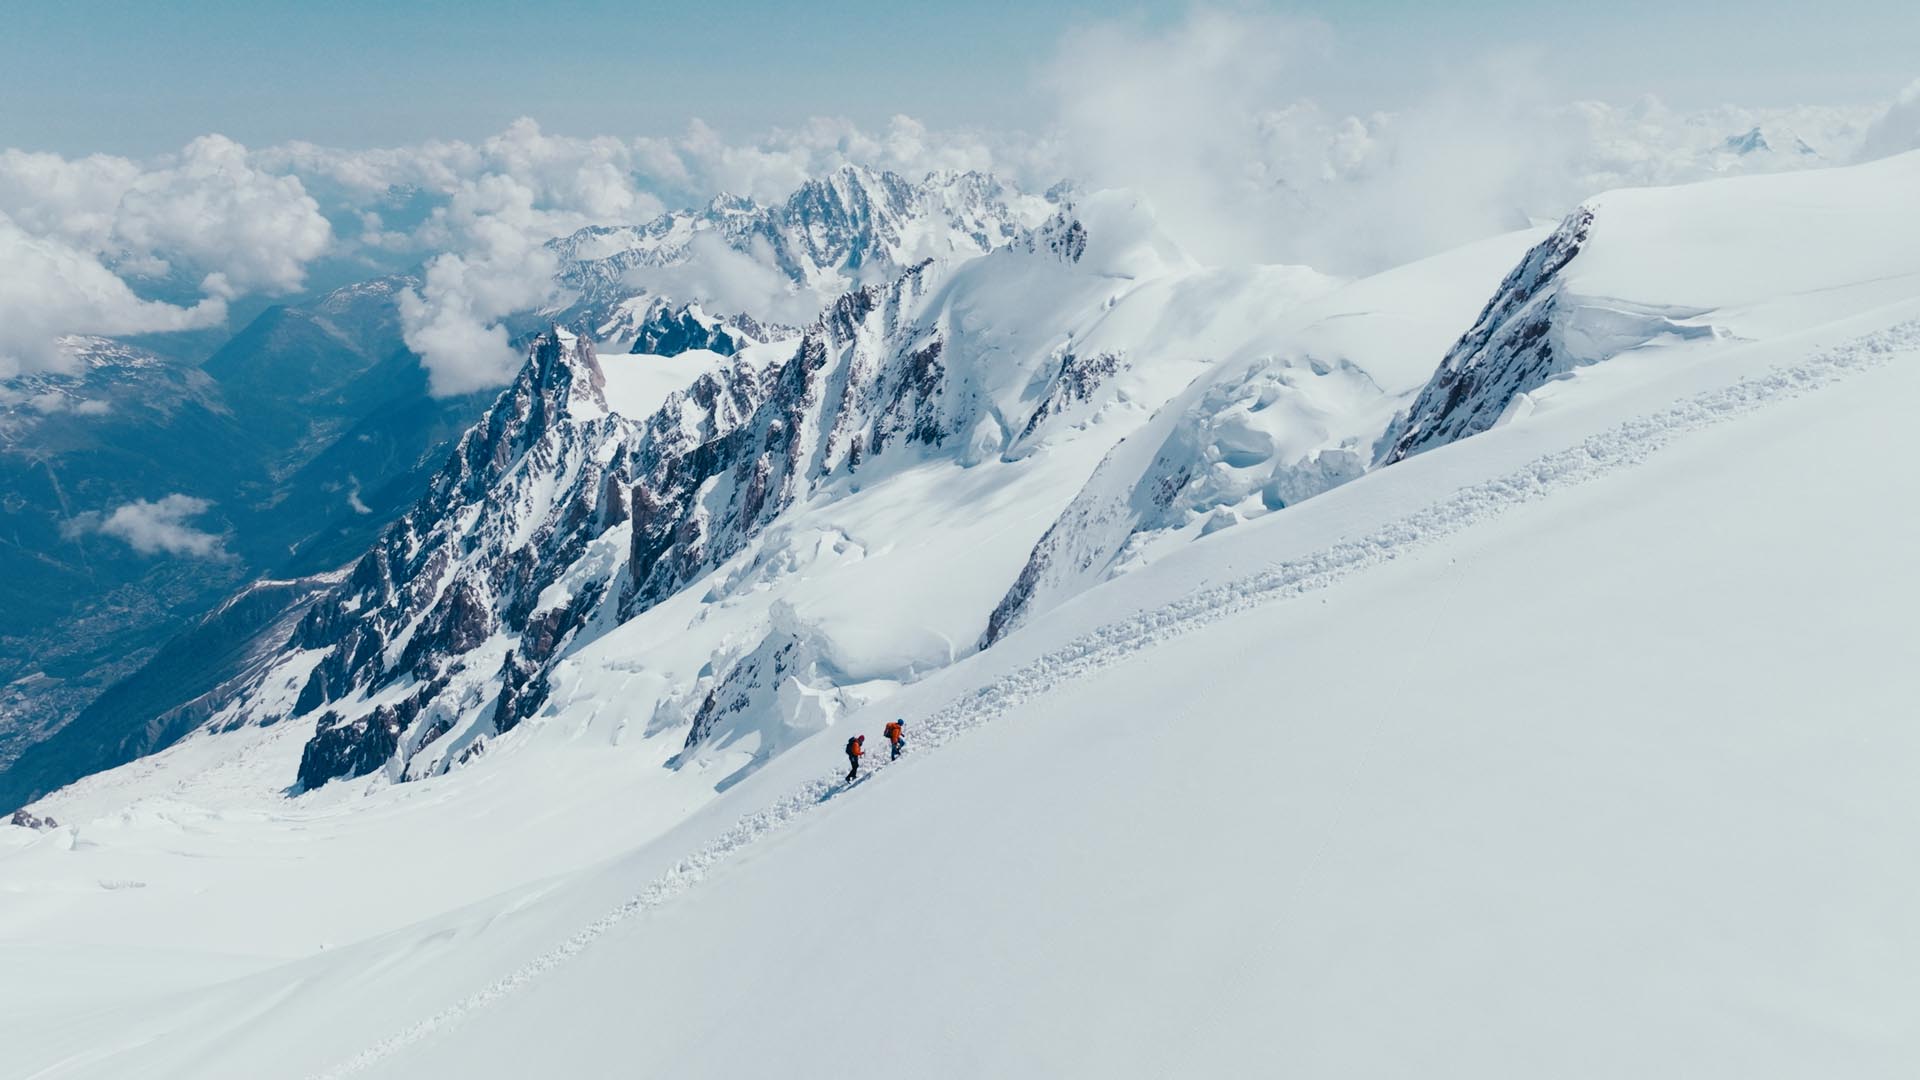
Alpine Athletics Team Arrives in Quito, Ecuador
Our private Alpine Athletics Ecuador Volcanoes expedition is off to a great start!
The entire team safely arrived in Quito yesterday. Once on the ground, the team gathered for gear checks and guide briefings to ensure everyone was ready for the upcoming expedition.
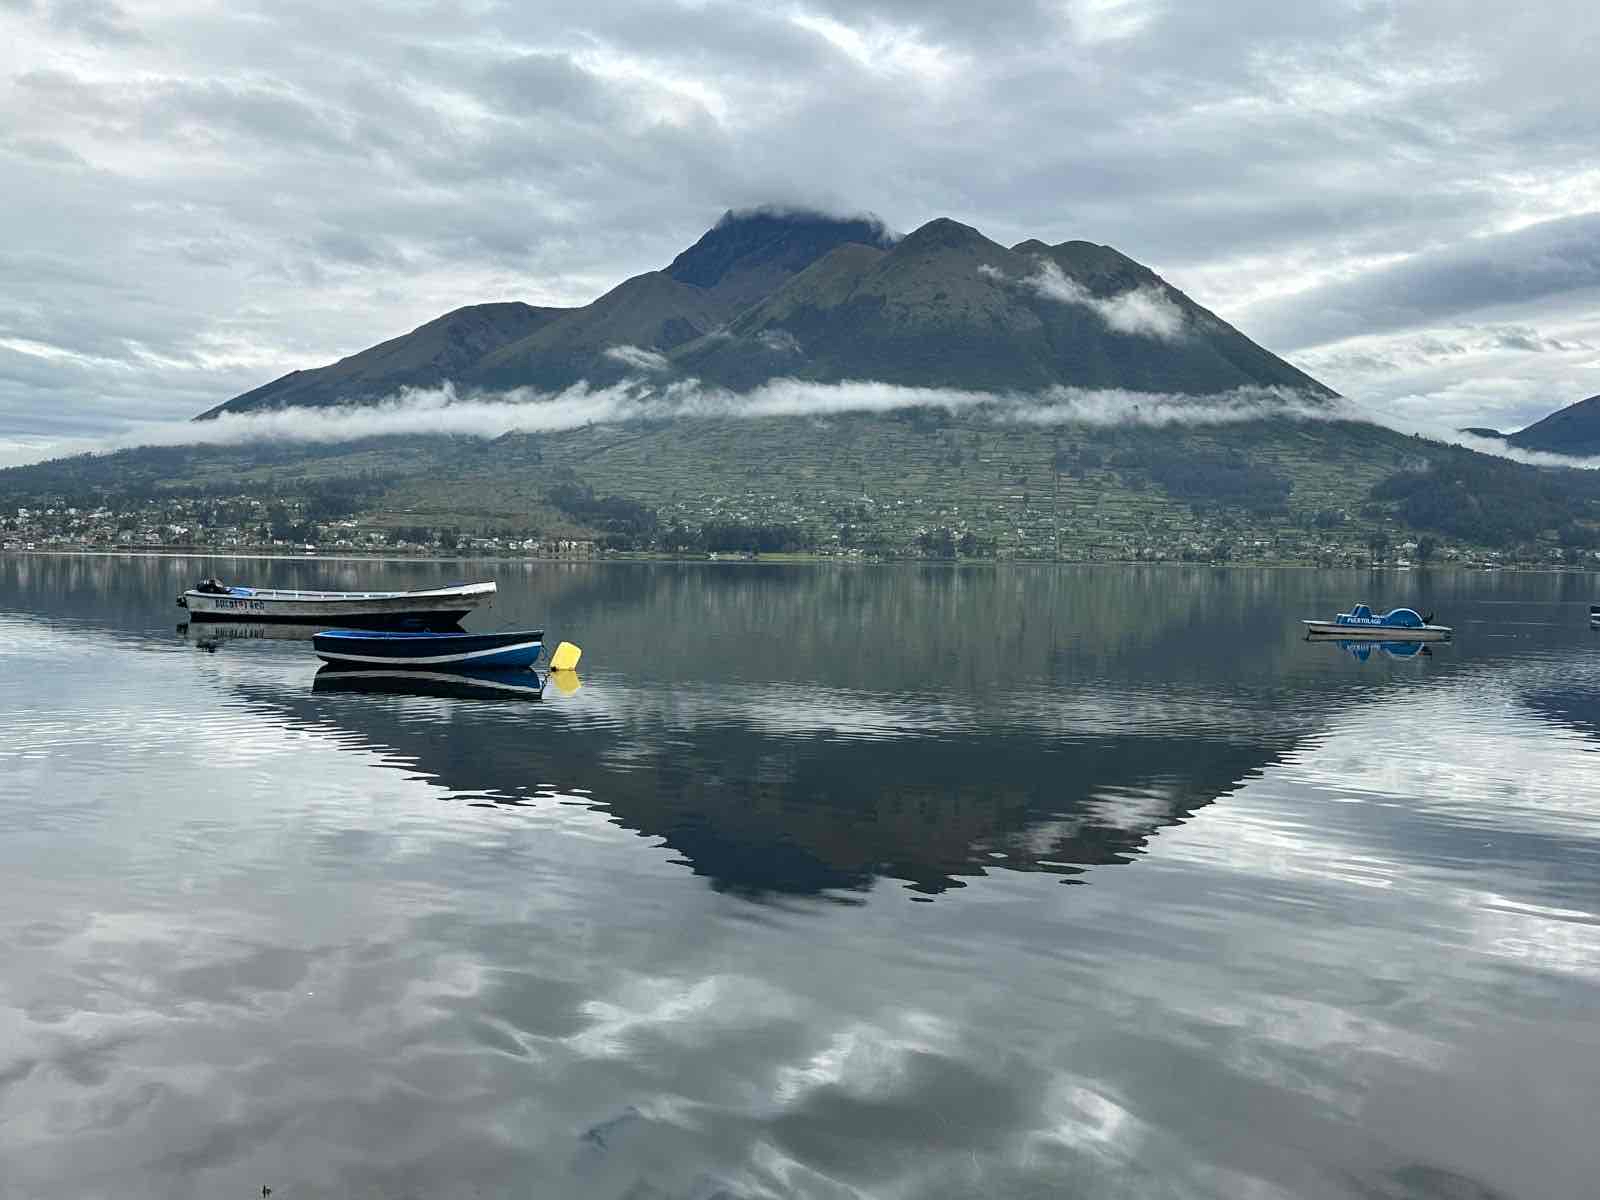
Today, the team is exploring Quito and taking the teleférico (cable car) to Pichincha, an active stratovolcano near Quito. This cable car is one of the highest aerial lifts in the world, rising from 3,117 meters (10,226 feet) to an impressive 3,945 meters (12,943 feet). There, they will take in the views of the city and surrounding mountains.
Tomorrow, the team is off to start the climbing portion of their expedition, kicking things off with an acclimatization hike on Rumiñahui, a dormant stratovolcano in Cotopaxi National Park.
Photos from the CTSS Archives

Flying high over Quito!

Exploring Quito, Ecuador on Day 1

Cotopaxi National Park - Photo Julie McKelve
Chimborazo Summits
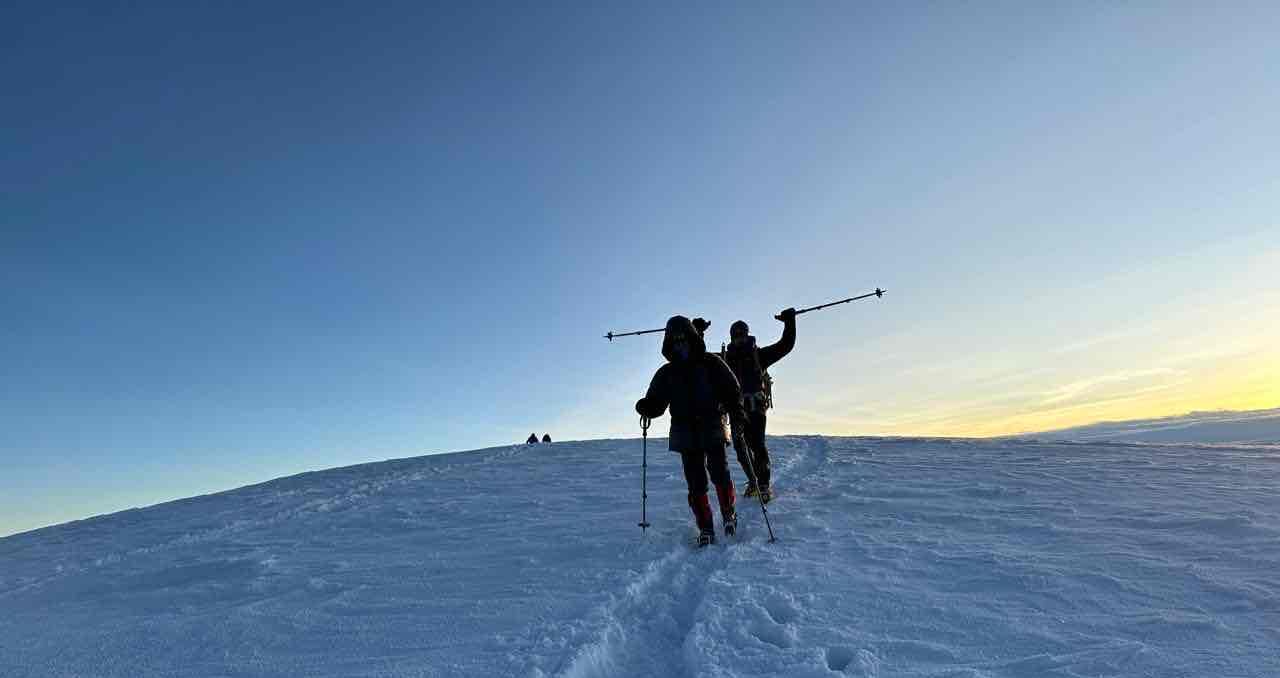
Our team arrived at the Chimborazo trailhead and climbed up to High Camp, where they spent the night on the mountain. The next morning the team got an early alpine start and headed for the summit. They had wonderful climbing weather and excellent snow/terrain conditions. The climb went smoothly, and the following climbers stood on the summit of Chimborazo (20,549ft).
- Jocelyn C.
- Patrick M.
- Carey T.
- CTSS Guide Franklin
The team is now on their way back to Quito for a hot shower and celebratory dinner before they fly home. Congrats to the entire team on a successful expedition and multiple summits.
Ecuador Team Photos: Courtesy of CTSS Guide Edgar Parra
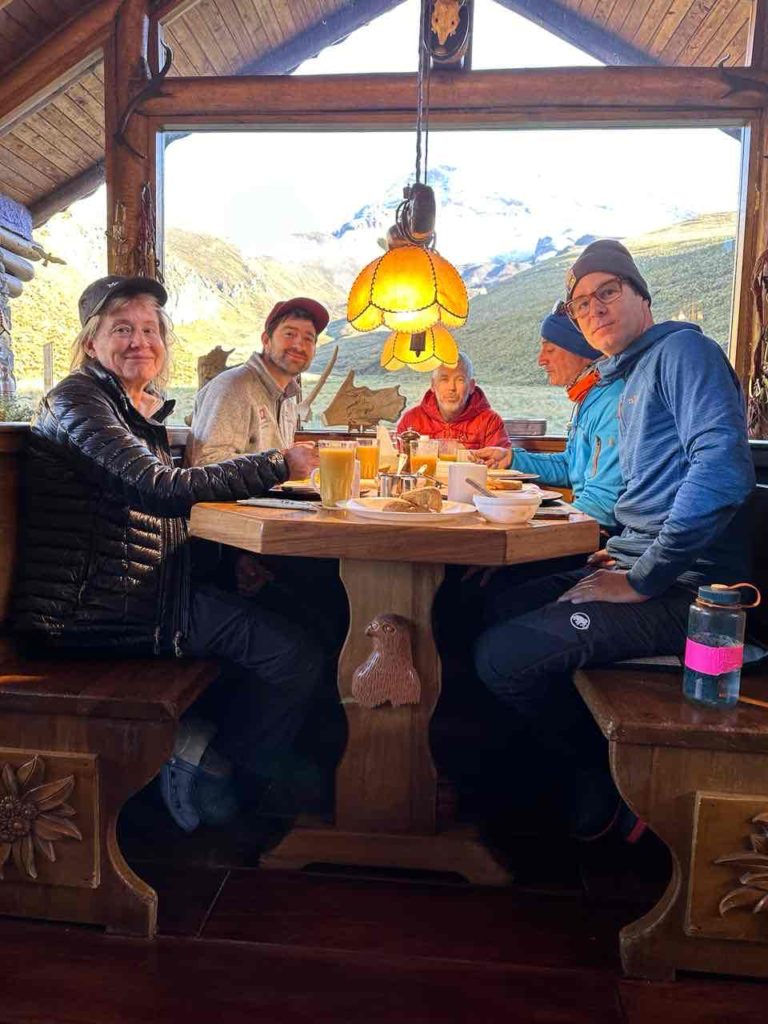
The team preparing and resting at the refugio for their summit bid on Chimborazo.
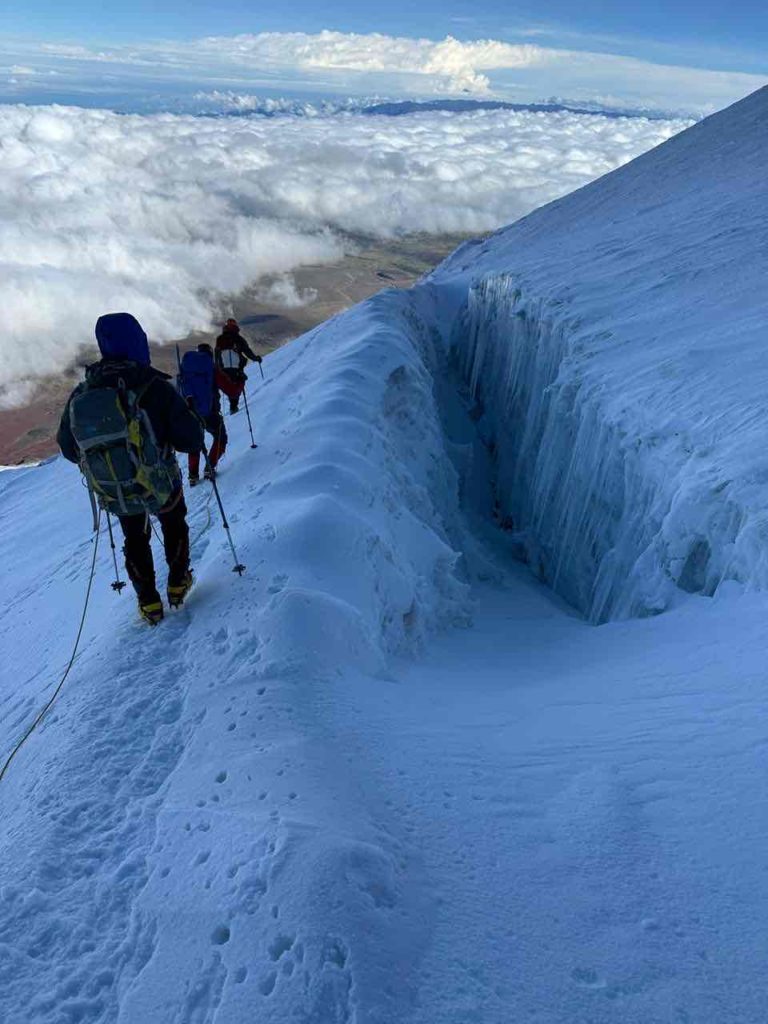
Headed home after a successful summit on Chimborazo!
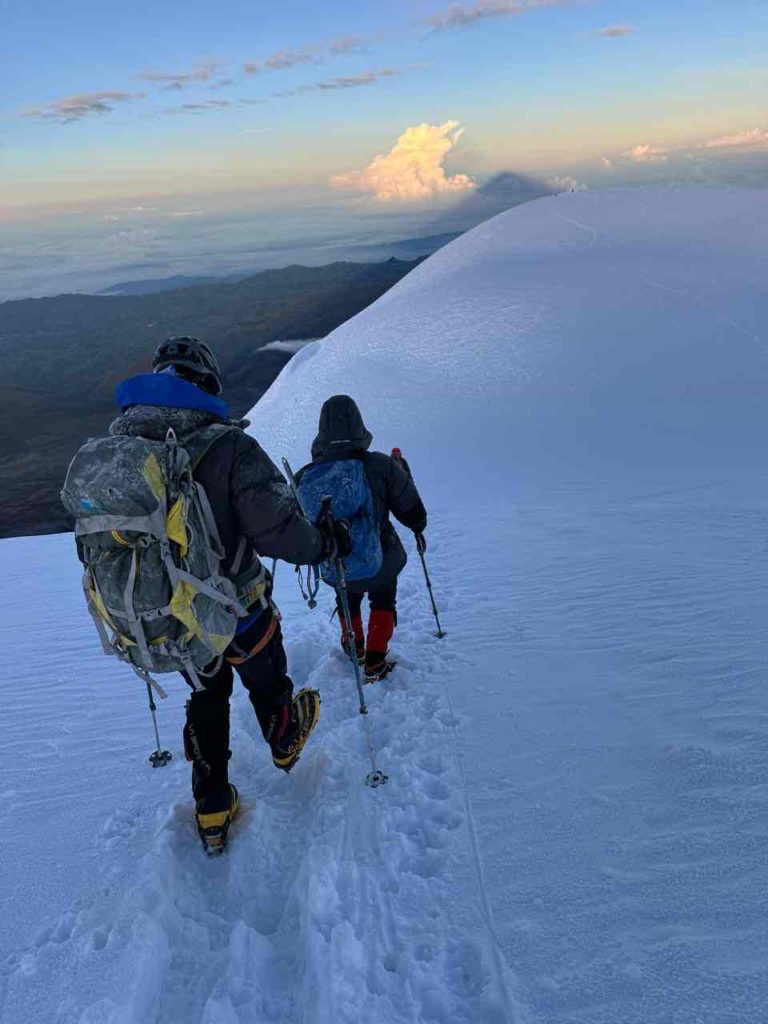
One of our favorite sights - the mountain shadow! And Ecuadorian treat!

It's summit (or sunrise) o'clock!

On the summit of Chimborazo (20,549ft).
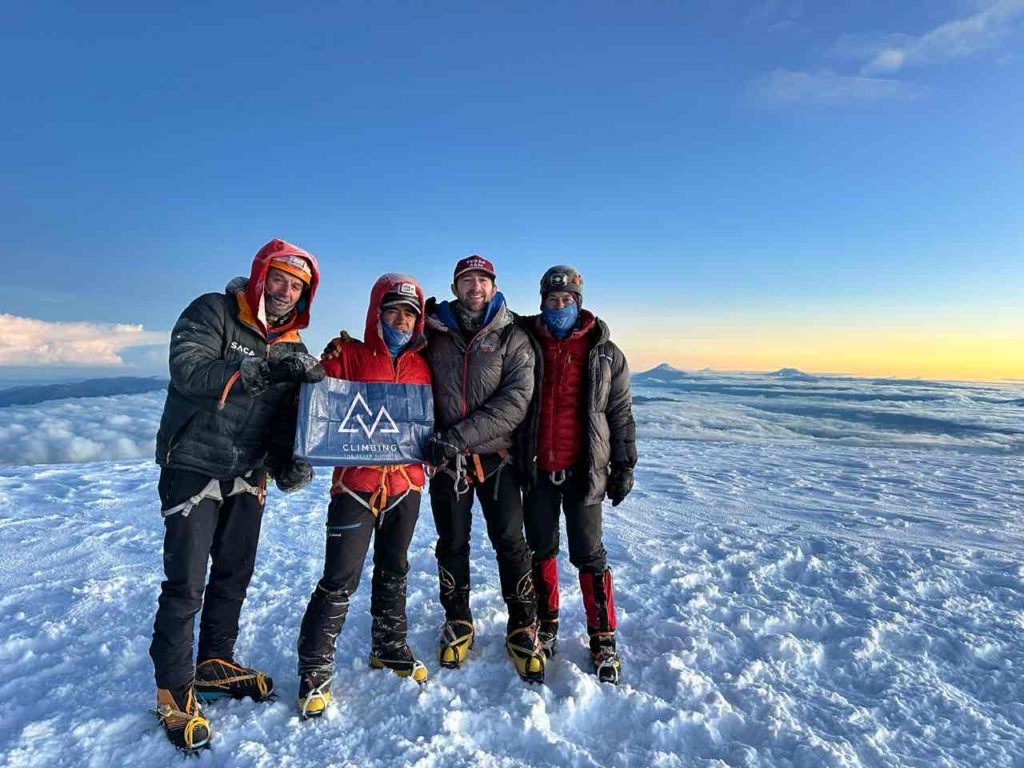
Jocelyn C, Patrick M, Carey T, and along with CTSS Guides Edgar and Franklin on the summit.
Summits on Cayambe and preparations for Chimborazo
After a successful acclimatization hike on the Cayambe glacier, our team in Ecuador readied themselves for a summit bid under perfect weather and terrain conditions. The team took off, and after six hours of climbing, the following climbers stood on the summit of Cayambe (18,996ft).
- Jocelyn C.
- Patrick M.
- Carey T.
- CTSS Guide Franklin
Congratulations to the entire team on your summits and summit attempts on Cayambe!
After a quick rest outside Quito at the Termas Papallacta Hotel Spa and a cultural pit spot at the Otavalo Market, an indigenous market famous for handmade crafts and textiles, our team began their preparations and briefings for the coming days on Chimborazo (20,548ft).
Chimborazo is a pinnacle climb. This inactive stratovolcano is Ecuador’s tallest peak, and the summit is the furthest point from the center of the Earth due to its position on the planet’s equatorial bulge (whereas Mount Everest is the highest point above sea level).
Stay tuned for more from Chimborazo.
Ecuador Team Photos: Courtesy of CTSS Guide Edgar Parra
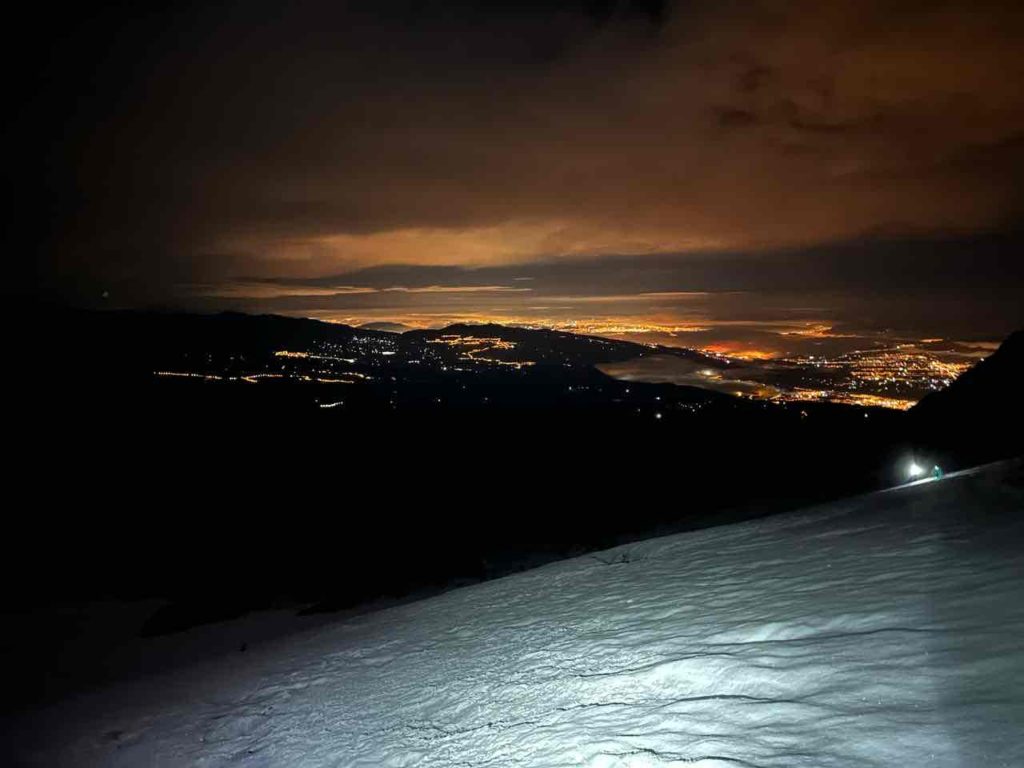
An alpine start on Cayambe over the Ecuadorian horizon
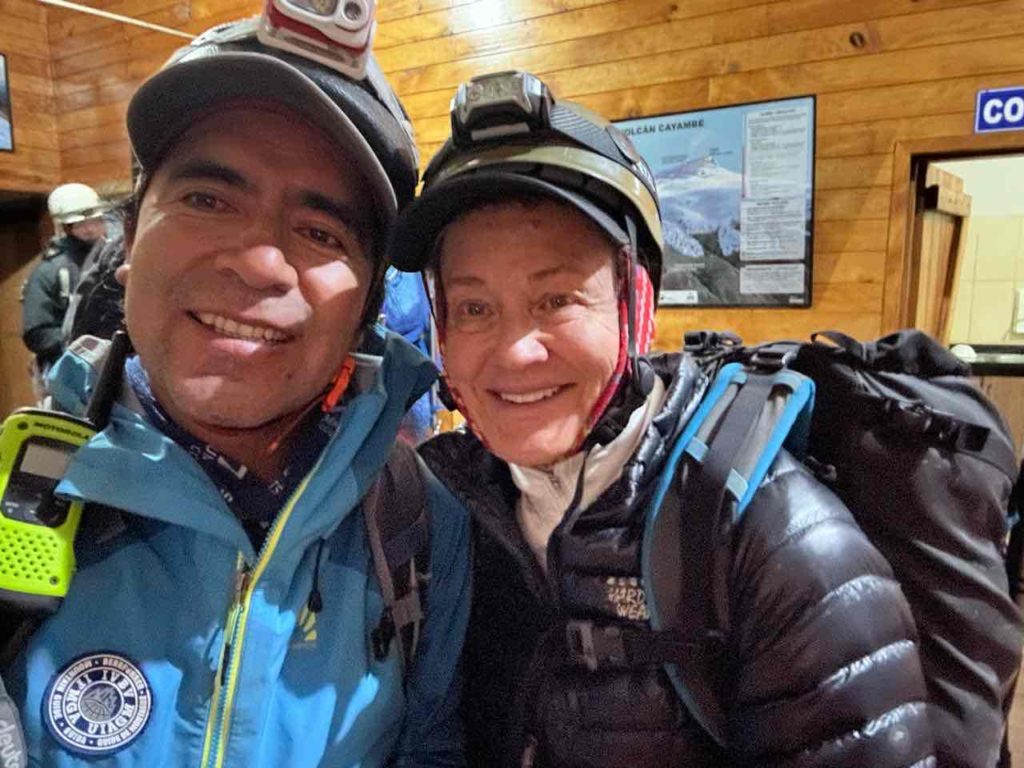
CTSS guide Edgar readies our team for Cayambe.

Just below the summit of Cayambe – congratulations to our all of our climbers!
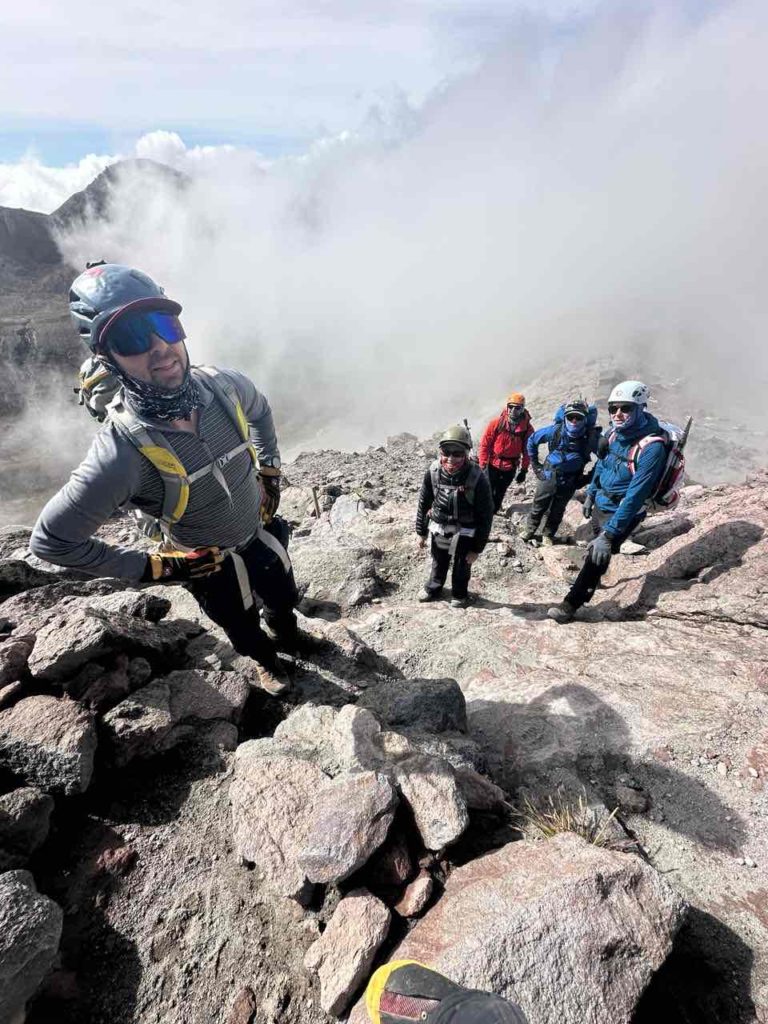
On the way to the summit of Cayambe (18,996ft).
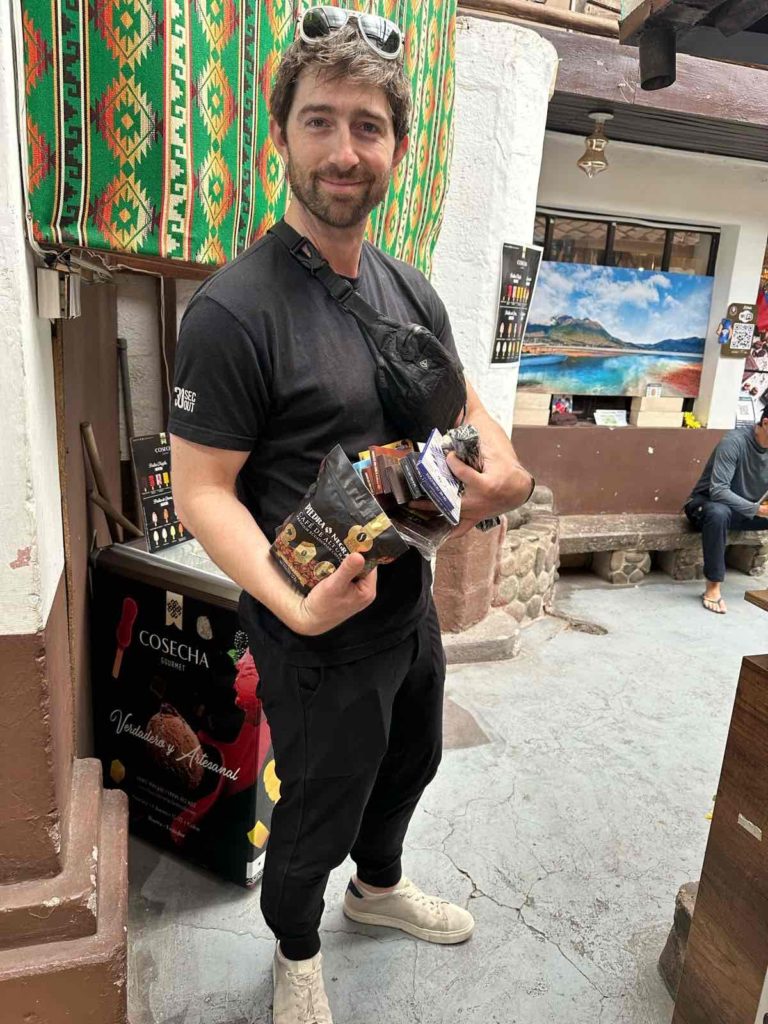
CTSS climbers fueling up for their next summit bid on Chimborazo.

A thumbs up for rest, relaxation, and cultural appreciation from the team!
South American Mountain Updates
An update from our Ecuador Volcanoes and Aconcagua Expeditions:
In Ecuador, our team arrived at the Refugio Nuevos Horizontes with eyes on the Illinizas, a twin pair of volcanoes connected by a small one-kilometer saddle. Yesterday, half of the team successfully summited Illiniza Norte (5,126 m / 16,818 ft), and the other half made a valiant summit attempt on Illiniza Sur (5,263 m / 17,267 ft).
A few on our team even had the opportunity to check out the stunning high-alpine lake, Laguna Verde, not far from the Refugio. The team is now resting at Hacienda La Cienega and will be heading to the Cayambe area today. Once they arrive, they will move up to the Cayambe Hut in preparation for their summit climb of Cayambe.
Thanks to CTSS guide Edgar for the updates from the field, and best of luck to the team on Cayambe and beyond!
On Aconcagua, we received an update from CTSS guide Robert, who is guiding one of our private clients up the Normal Route. Aconcagua is the second tallest of the Seven Summits, only eclipsed by Mount Everest. Standing proudly at 6,961 m or 22,838 ft, Aconcagua's altitude, elevation gains, load carries, and harsh weather conditions make it a truly unforgettable climb that requires stamina, strength, and mental fortitude.
Yesterday, our small but mighty team moved from Base Camp at Plaza de Mulas (4,930 m / 14,440 ft) to Plaza Canada or Camp 1 (5,050 m / 16,500 ft). Today, they continue their long winding trek towards Nido de Cóndores (5,350 m / 18,000 ft) along a sea of scree and incredible views of the surrounding Andes Mountains.
Wishing our team continued success and good luck on Aconcagua!
Ecuador Team Photos: Courtesy of CTSS Guide Edgar Parra
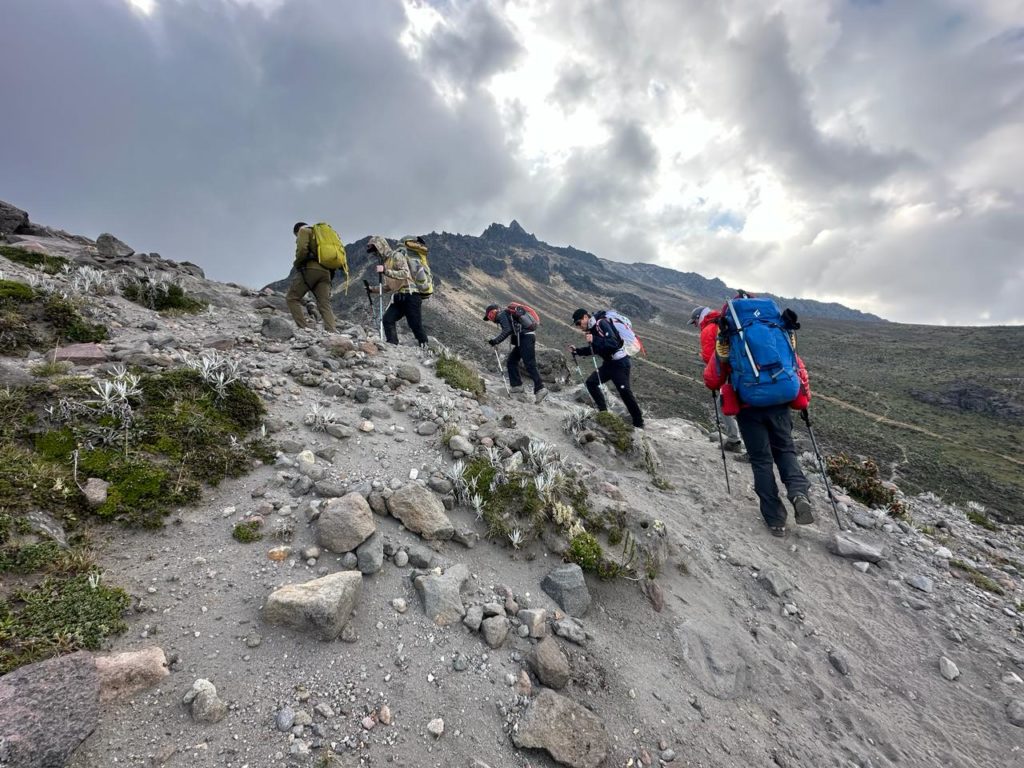
The team making the trek to Refugio Nuevos Horizontes with eyes on the Illinizas.

All smiles and high spirits from Ecuador!
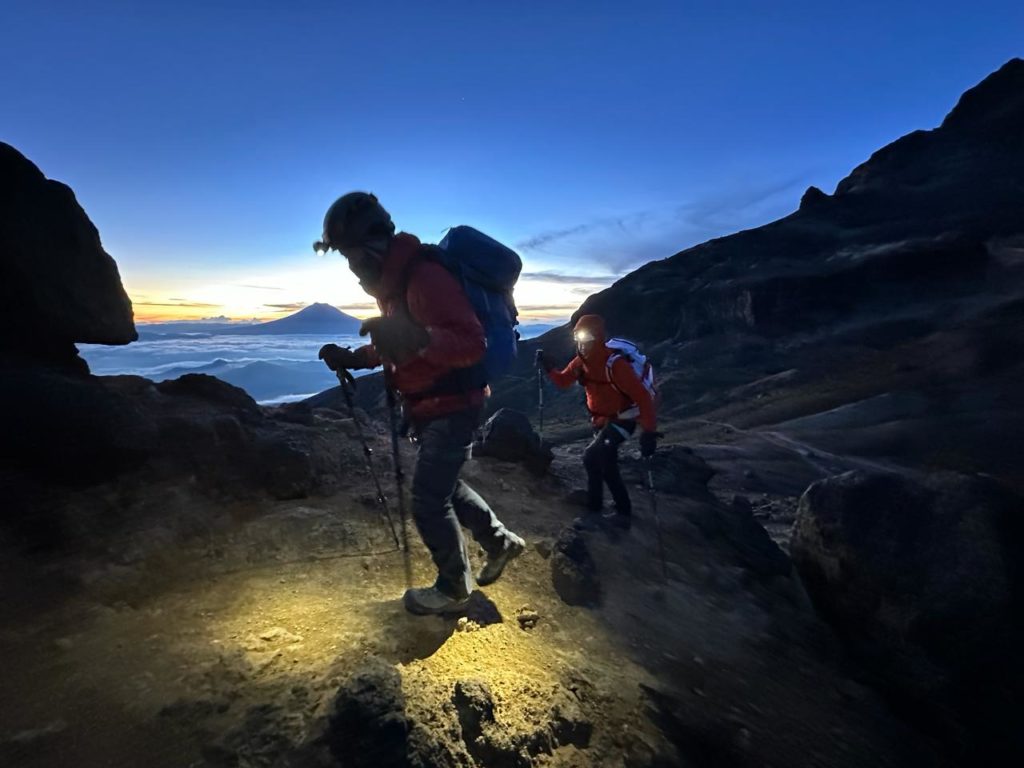
An alpine start for the team as they made the ascent to Illiniza Norte (5,126 m / 16,818 ft) and Illiniza Sur (5,263 m / 17,267 ft).
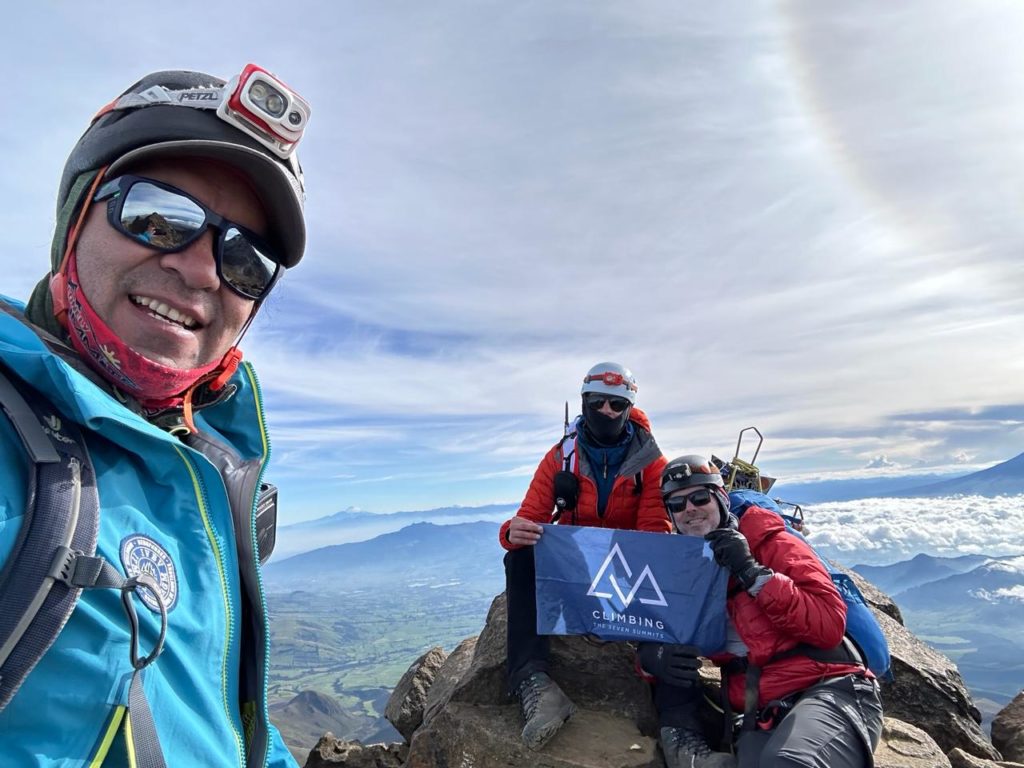
Part of the team on the summit of Illiniza Norte with a sun dog welcoming their arrival.
Aconcagua Photos: Courtesy of CTSS Guide Robert Jantzen

Making the trek through a sea of scree on their way to Plaza Canada or Camp 1 at 5,050 m / 16,500 ft.
Ecuador Field Update
Our second Ecuador team of the year has officially hit the lower slopes of Cotopaxi. After a successful (and fun) team welcome dinner and acclimatization hike to Ruminahui Central, the team was primed and ready to start the core of their expedition.
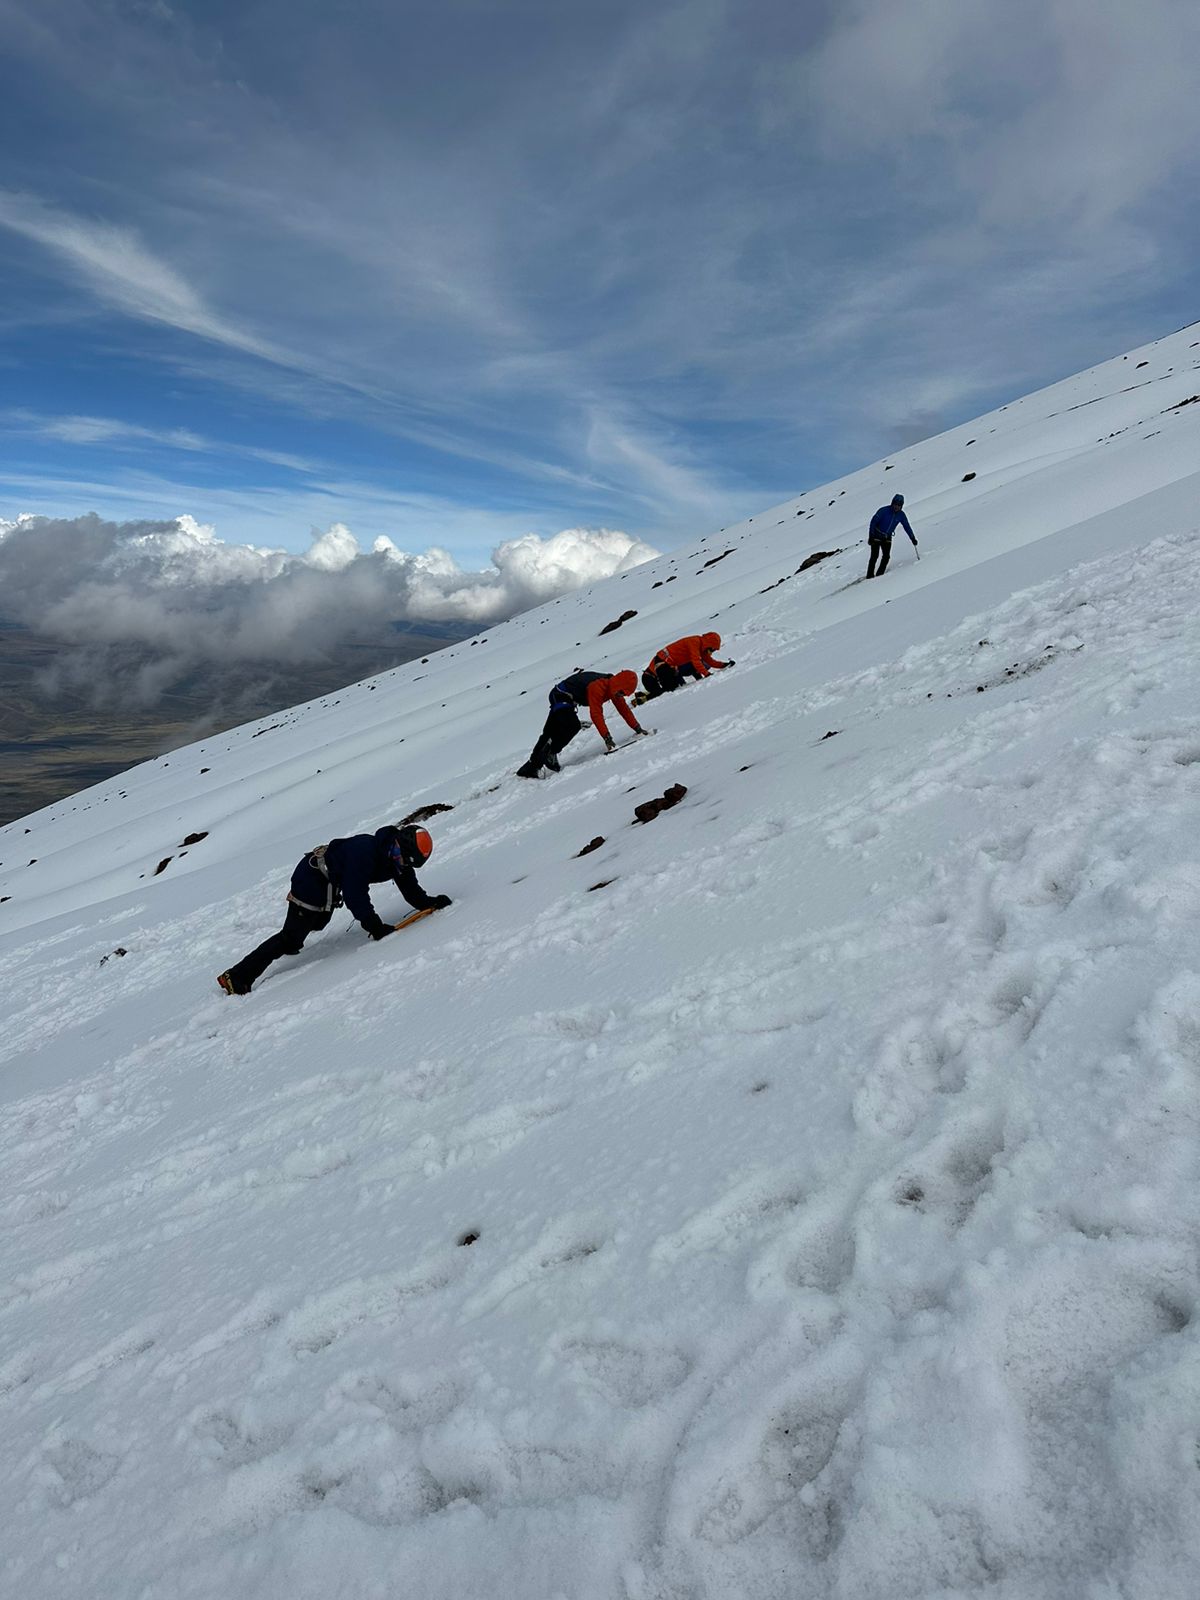
Yesterday, the team completed their glacier clinic, where they brushed up on their skills before heading to the Refugio José Rivas (4,800m/15,744ft), a famous dorm-style mountain hut on the northern flanks of Cotopaxi.
Our guide and Ecuador specialist, Edgar Parra, reports that the weather is fantastic, and the team is feeling great!
Note: Though the Cotopaxi summit is still closed, the Parque Nacional Cotopaxi (Cotopaxi National Park) still allows climbers to go to the base for snow training. Recent reports suggest that the volcanic activity has settled down again. Hopefully, we’ll be back climbing Cotopaxi soon.
Best of luck to the team, and stay tuned for more field updates!
Cheers,
Your CTSS Team

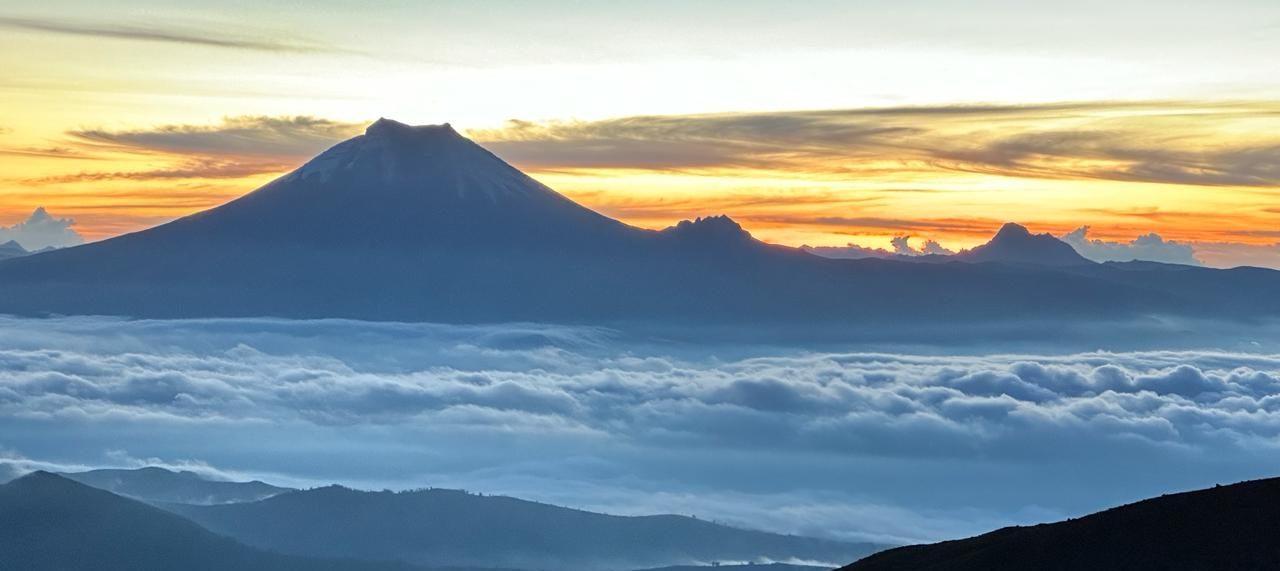
Cotopaxi at sunset, a welcome vista for our team. Photo by: Edgar Parra
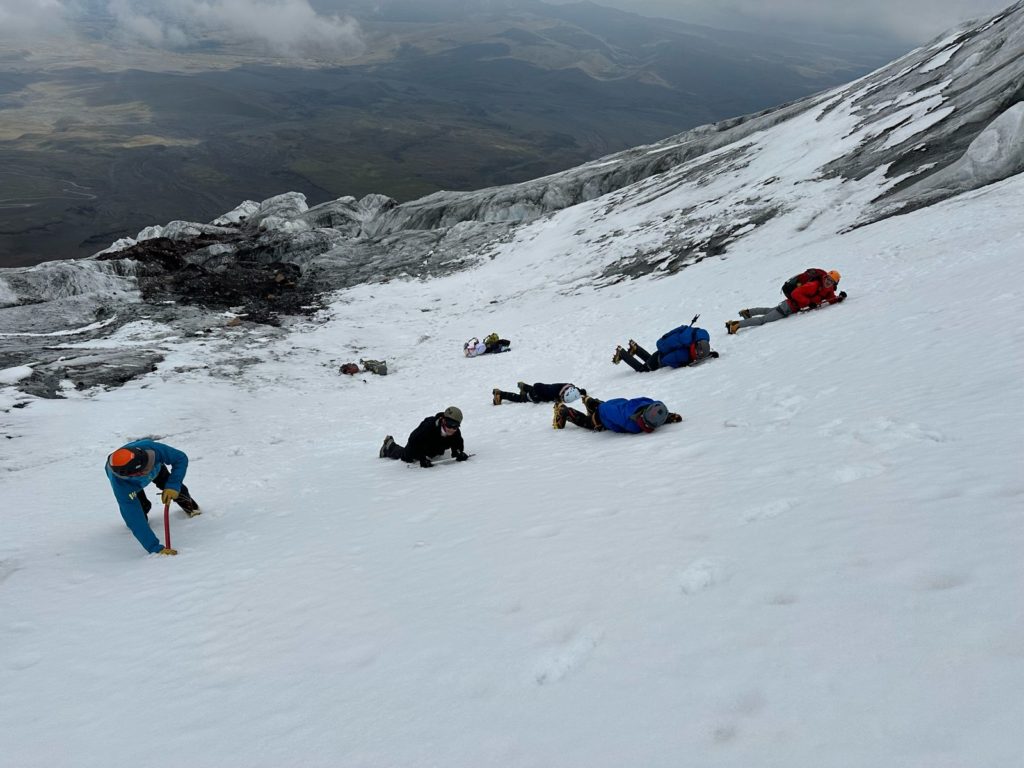
Skills clinic on the lower slopes of Cotopaxi always includes a review of self-arrest techniques. Photo by: Edgar Parra

Our Ecuador Volcanoes Team is all smiles at the Refugio José Rivas. Photo by: Edgar Parra
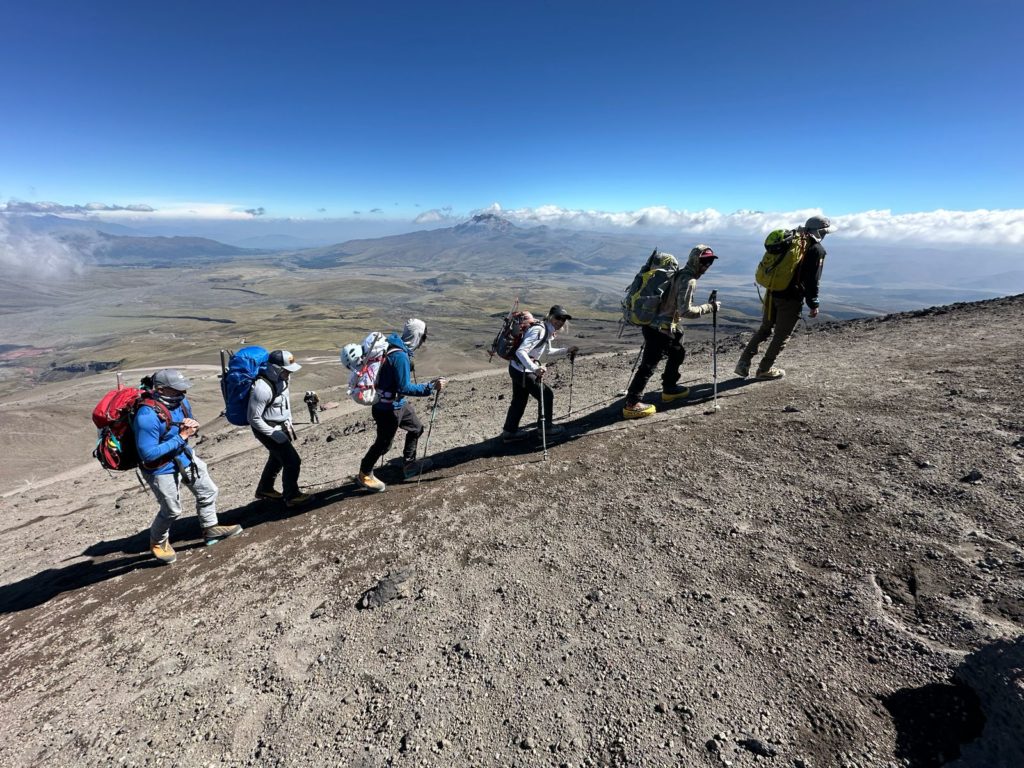
The team climbing strong under perfect weather conditions. Photo by: Edgar Parra
Mont Blanc Travel Guide
Expedition Meets in: Chamonix, France
Continent: Europe
Currency: Euro
Population: 67.75 million
Official Language: French
Seasons to climb: July through September
Meeting Location:
Our team will meet in the evening on Day 1 at the accommodation. At this meeting, you will have the chance to meet your fellow climbers and your guides. You will also go through the week’s plan, current weather, and mountain conditions as a team. This is a great opportunity to ask questions and review your gear to ensure you have everything you need.
Tourist Visas:
U.S. citizens with valid passports traveling for tourism or business can enter France, Switzerland, and Italy without a visa for a period of 90 days. The Schengen Agreement is a treaty creating Europe’s Schengen Area, which encompasses 27 European countries, where internal border checks have largely been abolished for short-term tourism, business trips, or transit to non-Schengen destinations.
You will need:
A U.S. passport that is valid for at least 90 days beyond your intended date of departure from the Schengen area. Note: Border officials often assume you will stay a maximum of 90 days, even if this is not your intention.
Sufficient passport validity for each country you will visit.
One blank page in your passport for stamps.
Justifiable purpose of travel.
Getting There:
You will need to fly into Geneva Airport on or before the official arrival day of your expedition. A CTSS representative will pick you up at the airport, so please advise us well in advance of your arrival time and flight number. If you experience a delay in traveling, let us know immediately.
Domestic Transportation:
Your domestic transportation into the Chamonix Valley is included in your expedition and will be booked by us on your behalf. This includes cable cars and trains.
Money:
In Chamonix, France, there is good access to ATMs and credit card facilities at most shops and restaurants, but you should still have adequate Euros and carry small denominations. Responsibly carry adequate amounts of local currency for your needs and reserves for emergencies. We advise our clients in our team emails as to how much cash they should bring.
Tipping:
Tipping in France isn’t mandatory, but it’s highly appreciated. The rule of thumb is: If you’re happy, leave a tip by rounding to the nearest Euro or two.
It is customary for your guides but not mandatory. We recommend tipping your guide 10 to 20 percent of the total cost. If you have multiple guides, you can tip the lead guide, and they can split that up amongst the other guides.
Adapters:
French plugs are round with two prongs, and usually Type C or E, which you can use in several European countries. We recommend getting a Type E because it accommodates both grounded and ungrounded devices.
Tap Water:
Bottled water is all the rage in France, but please know that their tap water is perfectly safe to drink and is widely available in restaurants and cafes.
Personal Safety:
While Chamonix generally experiences minimal crime, it’s wise to exercise caution against petty pickpocketing by avoiding leaving valuables in plain sight. Given the diversity of guests, it’s essential to remain vigilant. Keep valuables in a hotel safe if possible. Behave in France as you would at home. Be respectful, and always let your guide know if you’re going to venture out and what your plan is. In general, we prefer to travel and stick together as a team.
Vaccinations:
Consult your doctor or travel clinic in your home country for updated information on immunizations for France and the European Union. At this time, there are no vaccination requirements to enter to EU.
Accommodations:
All of your accommodations are included in your expedition. If you would like to stay longer or arrive earlier in Chamonix, France, there are many choices for hotels and Airbnbs in the Chamonix Valley. We recommend booking early as rates rise and demand for accommodation in the summer increases.
Gear Storage:
Gear storage is available free of charge.
Cell Phone Coverage:
Mobile network coverage in Europe is robust and comparable to that experienced during cross-country road trips or mountain excursions in North America. However, while in the alpine environment, it is unlikely that you will have any cell phone coverage. There are a variety of options for coverage and data services, so be sure to check in with your carrier to select an international plan that works for you.
The Eiger Climb Add-On
$5,495 USD
Located in the Bernese Alps of Switzerland, the Eiger has a storied history and reputation that far precedes itself. Renowned for its difficult and technically demanding routes, including the infamous North Face, climbers are drawn to this summit for a formidable challenge where exposed ridges, unpredictable weather, and complex terrain reign.
The Mittellegi Ridge is no exception and our route of choice when ascending this alpine classic. When compared to Mont Blanc, the terrain is vastly different. The route is rugged, rocky, and exposed, and those with a solid fitness and climbing baseline will excel at moving with efficiency and speed with the support of an IFMGA Mountain Guide.
Our three-day add-on itinerary will pull on the acclimatization achieved during your Mont Blanc climb, allowing for a quick ascent to the Mittellegi Hut followed by a summit attempt of the Eiger. Dovetailing this with a summit on Mont Blanc and the Matterhorn will set you up to complete the Alpine Big Three, the ultimate trilogy for any mountaineer.
- Day 1: Travel to Grindelwald with your guide and ascend to the Mittellegi Hut. Note: This is the last day of your Mont Blanc Itinerary (Day 7), or if you are doing the Alpine Big Three, it will be the last day of the Matterhorn Itinerary (Day 3).
- Day 2: Climb the Eiger and descend to the Monchjoch Hut
- Day 3: Descend to Grindelwald and depart
Our expeditions are designed to be fully inclusive, except for some services/items of a personal nature like flights, gear, insurance. Here’s a detailed list so you know what to expect
Included in the Eiger Add-on Climb
- IFMGA Mountain Guide at a 1:1 guide-to-client ratio
- Summit attempt of the Eiger via the Mittellegi Ridge
- All accommodations, including 1 night at the Mittellegi Hut and 1 night at the Monchjoch Hut.
- All meals. You will need to bring your own selection of snacks for fuel during the summit climb. We recommend a variety of your favorite snacks, enough for 2 snack breaks at 300-400 calories per break.
- All transport within the itinerary, including transport to Grindelwald and back to Chamonix
- Airport transfers to the Geneva Airport (Switzerland)
- All group gear, including mountaineering tents, cooking gear, stoves, ropes, etc.
- Group first aid equipment
- Satellite phone available to clientele at $3/minute
Excluded in the Eiger Add-on Climb
- Flight costs
- Snacks and drinks during the expedition. You will need to bring your own selection of snacks for fuel during the summit climb. We recommend a variety of your favorite snacks, enough for 2 snack breaks at 300-400 calories per break.
- All personal climbing equipment is the responsibility of the client.
- In the event of a rescue, evacuation, or early departure from the group, any rescue expenses or excess expenses above and beyond our normal trip costs, including transport, hotels, evacuation, flight changes, and gear shipping, are the responsibility of the client.
- Guide tips (customary, but optional)
- Costs incurred as a result of events beyond the control of CTSS above and beyond the normal expedition costs
- Required trip insurance policy (for trip cancellation, interruption, rescue & evacuation, medical treatment, repatriation, etc.)
Mont Blanc Family & Friends Options
We welcome you to invite friends and family to join you for all or part of your Mont Blanc expedition.
The benefits are:
- The joy of sharing and experiencing the birthplace of alpinism with your loved ones
- Lessening the time apart
- It puts family at ease as they get a first-hand understanding and empathy of the nature of your expedition and goals
If you would like to bring along a spouse, partner, or friend, book our Single Rooming Option, and the non-climber will have access to the hotel in Chamonix even while your team is on the mountain.
The Matterhorn Climb Add-On
$5,995 USD
The Matterhorn is undoubtedly one of the most iconic peaks in the Alps. Its 4,000-meter summit soars above the quaint Swiss town of Zermatt, and it is a pinnacle expedition for any mountaineer. Climbing the Matterhorn is not to be taken lightly; it is daring, dramatic, and daunting, making it one of our favorite mountains to climb.
The Hornli Ridge is the Matterhorn’s most classic climbing route, dating back to the first ascent in 1865, which marked the end of the golden age of alpinism. When compared to Mont Blanc, the terrain is vastly different. The route is rugged, rocky, and exposed, and those with a solid fitness baseline will excel at moving with efficiency and speed with the support of an IFMGA Mountain Guide.
Our three-day add-on itinerary will pull on the acclimatization achieved during your Mont Blanc climb, allowing for a quick ascent to the Hornli Hut followed by a summit attempt of the Matterhorn. Dovetailing this with a summit on Mont Blanc and the Eiger will set you up to complete the Alpine Big Three, the ultimate trilogy for any mountaineer.
- Day 1: Travel to Zermatt with your guide and ascend to the Hornli Hut. Note: This is the last day of your Mont Blanc Itinerary (Day 7)
- Day 2: Climb the Matterhorn and descend to Zermatt
- Day 3: Departure day
Note: If you are doing the Alpine Big Three, this will be the first day of the Eiger Itinerary.
Our expeditions are designed to be fully inclusive, except for some services/items of a personal nature like flights, gear, insurance. Here’s a detailed list so you know what to expect
Included in the Matterhorn Add-on Climb
- IFMGA Mountain Guide at a 1:1 guide-to-client ratio
- Summit attempt of the Matterhorn via the Hornli Ridge
- All accommodations, including 1 night at the Hornli Hut and 1 night at a hotel in Zermatt.
- All meals. You will need to bring your own selection of snacks for fuel during the summit climb. We recommend a variety of your favorite snacks, enough for 2 snack breaks at 300-400 calories per break.
- All transport within the itinerary, including transport to Zermatt and back to Chamonix
- Airport transfers to the Geneva Airport (Switzerland)
- All group gear, including mountaineering tents, cooking gear, stoves, ropes, etc.
- Group first aid equipment
- Satellite phone available to clientele at $3/minute
Excluded from the Matterhorn Add-on Climb
- Flight costs
- Snacks and drinks during the expedition. You will need to bring your own selection of snacks for fuel during the summit climb. We recommend a variety of your favorite snacks, enough for 2 snack breaks at 300-400 calories per break.
- All personal climbing equipment is the responsibility of the client
- In the event of a rescue, evacuation, or early departure from the group, any rescue expenses or excess expenses above and beyond our normal trip costs, including transport, hotels, evacuation, flight changes, and gear shipping, are the responsibility of the client.
- Guide tips (customary, but optional)
- Costs incurred as a result of events beyond the control of CTSS above and beyond the normal expedition costs
- Required trip insurance policy (for trip cancellation, interruption, rescue & evacuation, medical treatment, repatriation, etc.)
Mont Blanc Single Rooming
Single Rooming Option
$1,000 USD
We are happy to organize single-rooming accommodations while staying in Chamonix. If you snore or are easily awakened by others who do snore, this might be a great option. We feel that having a single room helps climbers stay healthy and adds a bit of comfort and personal space that can go a long way on an expedition such as this. Please note that both the Tête Rousse Hut and Goûter Hut only have dormitory options for all guests.

