Kilimanjaro Travel Guide
Kilimanjaro Travel Guide
Expedition Meets in: Arusha, Tanzania
Continent: Africa
Currency: Tanzanian Shilling
Population: 63.59 million
Official Language: Swahili and English
Seasons to climb: December to mid-March and mid-June to the end of October
Things You Need to Know:
Meeting Location:
The first day of your itinerary is your arrival day, meaning you can arrive at Kilimanjaro International Airport at any time on that first day. You can spend this day settling in, relaxing, and shaking off the jetlag. Our hotel in Arusha provides very comfortable accommodations. Feel free to explore the hotel, but please don’t wander too far until you’ve made contact with one of your guides. They will swing by as soon as possible to introduce themselves and answer any questions.
You will formally meet the team on Day 2 for Gear Checks and a Guide Briefing. On this day, your guides will lead a compulsory briefing to go over all the specifics of your expedition and climbing schedules, weight limits for the porters, how to pack for the upcoming week, and any updated logistics. If you have any questions, this is a great time to ask them.
Tourist Visas:
A tourist visa is required for Tanzania. This can be granted on arrival at Kilimanjaro International Airport. There is a $100 USD fee for this visa, which needs to be paid in cash on arrival, so please be prepared. This can be paid in a number of different currencies, but it is advised to have USD to make the process smoother. Note: it is your responsibility to ensure that you can get a visa on arrival from your country.
Getting There:
Kilimanjaro International Airport (JRO) is the starting point for our adventure. Qatar Airways and Ethiopian Airlines are the most common carriers, but there are several others available depending on where you are connecting. We ask that you keep us informed of your travel details by forwarding us a copy of your flight itineraries, both inbound and outbound. A CTSS representative will pick you up at the airport, so please advise us well in advance of any changes to your arrival time and flight number. If you experience a delay in traveling, let us know immediately.
Domestic Transportation:
Your domestic transportation in Tanzania is included in your expedition.
Money:
In Tanzania, the unit of currency is the Tanzanian shilling, which is divided into 100 cents. Notes are issued in denominations of 500, 1000, 2000, 5000, and 10000 shillings. Coins are issued in denominations of 50, 100, and 200 shillings.
Banks are open from 9:00 am to 3:00 pm, Monday to Friday. Many banks are equipped with 24-hour ATM machines. Credit cards and traveler’s checks are not widely accepted in Tanzania. Where they are accepted, high service fees and poor exchange rates should be expected. Major foreign currencies – particularly the US dollar – are accepted in Tanzania and are convertible at banks and Bureaus de Changes in the main towns and tourist areas. If bringing cash in US dollars, please make sure bank notes are in good condition, with no cuts or damage, and are not older than 2004. Most banks offer higher exchange rates for US $100 / US $50 bank notes compared to US $20 / US $10 or US $5 bank notes.
Tipping:
Tipping in Tanzania isn’t mandatory but highly appreciated. The rule of thumb is: If you’re happy, leave a tip by rounding up a bill to the nearest thousand or five thousand shillings (about 3-5%).
We require all climbers to contribute to the Porter Tip Pool (US $300) at the end of their expedition. It is customary to tip your guides, but not mandatory. We recommend tipping your guide 10 to 20 percent of the total cost. If you have multiple guides, you can tip the lead guide, and they can split that up amongst the other guides.
Adapters:
In Tanzania, there are two associated plug types, D and G. Plug type D is the plug that has three round pins in a triangular pattern, and plug type G is the plug that has two flat parallel pins and a grounding pin. Tanzania operates on a 230V supply voltage and 50Hz.
Tap Water:
When on the mountain, all water that is provided is safe to drink. When in the towns, it is recommended that you only drink bottled water to ensure your safety, as the water system in Tanzania is not always reliable, and tap water is not safe to drink.
Language:
Tanzania has two official languages, Swahili and English. Although English is widely spoken in Tanzania’s tourism sector, Swahili is still the most commonly used language. Swahili derives approximately 60% of its words from Arabic and is used in a number of East African nations. The most common phrase, hakuna matata, meaning no worries, found fame in the Disney movie The Lion King and will be used a lot throughout your trip.
Personal Safety:
Tanzania and Arusha are considered generally safe, but it’s wise to exercise caution against petty pickpocketing by avoiding leaving valuables in plain sight. Given the diversity of guests, it’s essential to remain vigilant. Keep valuables in a hotel safe if possible. Behave in Tanzania as you would at home. Be respectful, and always let your guide know if you’re going to leave the hotel. In general, we prefer to travel and stick together as a team.
Vaccinations:
We strongly encourage all travelers to be properly vaccinated for common viruses. The WHO and CDC recommend people traveling to Tanzania are vaccinated against hepatitis A, hepatitis B, typhoid, yellow fever, rabies, meningitis, polio, measles, mumps and rubella (MMR), Tdap (tetanus, diphtheria, and pertussis), chickenpox, shingles, pneumonia, and influenza. Many of these people are covered already, but it may be worth checking with your local doctor regarding your vaccination history. Yellow fever vaccines are not mandatory in Tanzania but are required in nearby Kenya. Please consult your local physician for more information on yellow fever to decide if this vaccine is right for you.
Malaria:
Tanzania is classified as a high-risk area for Malaria. This risk is only prevalent in the lower altitudes and once we start our time on the mountain, the risk is virtually zero as there are no mosquitos at altitude. It is recommended that all clients talk to their GP about some malaria-preventative medication for their time in Arusha and at lower altitudes. Many of these medications are broad-spectrum antibiotics
that can be useful for preventing any infection.
Accommodations:
All of your accommodations are included in your expedition. If you would like to stay longer or arrive earlier in Tanzania, we can help you organize and plan your additional excursions.
Gear Storage:
Our on-the-ground team will help coordinate gear and luggage storage.
Cell Phone Coverage:
Phone reception in the region has improved over recent years, and you can now get some form of reception for most of your time on the mountain. Some people even report getting cell phone reception at the summit! There are numerous phone providers that service the region, and if you require a local prepaid SIM card, the team at the hotel will be able to assist you when you arrive.
Plastic Bags:
Please note that, as of 2016, Tanzania has banned the use of plastic bags in a bid to tackle pollution and protect the environment. Travelers to Tanzania will no longer be allowed to bring plastic carrier bags into the country. This ban targets all plastic bags that are imported, exported, manufactured, sold, stored, supplied and used.
Trip Insurance
https://climbingthesevensummits.com/insurance/
Application Process & Payments
https://climbingthesevensummits.com/application-process-payments/
Kilimanjaro Team Climb
$6,495 USD
- July 27 – August 5, 2026: SOLD OUT | Contact our team to be added to the waitlist
- December 28, 2026 – January 6, 2027
- July 3 – 12, 2027
Our Kilimanjaro expeditions run from July to August and again from December to January to take advantage of the best weather and most favorable summit conditions. Typically, the weather in these months is the driest and warmest of the year.
- If these dates don’t work for you, or you would like a private trip and private guide, we also build custom itineraries for many of our climbers.
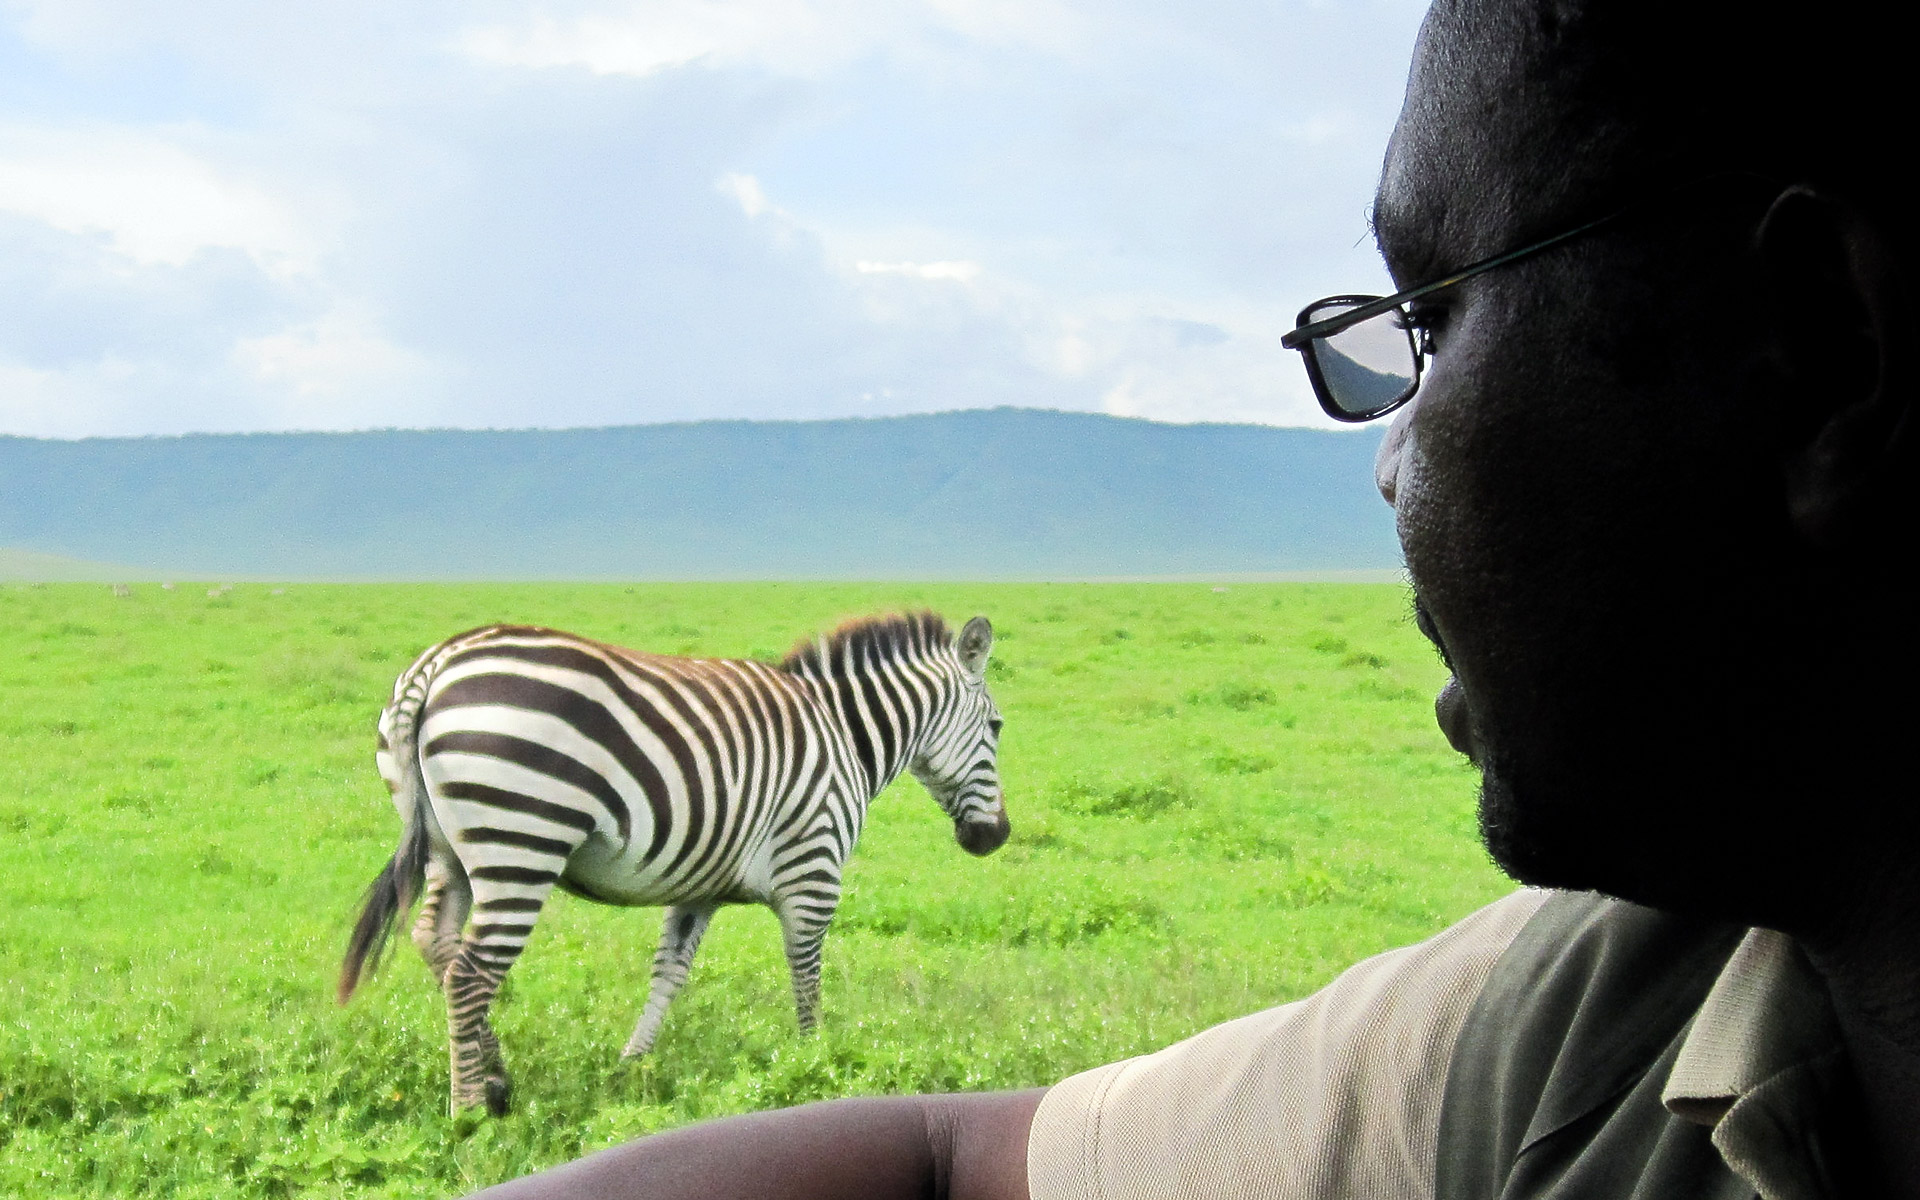
- You can climb Kilimanjaro as a stand-alone activity, or you can round out your experience in Tanzania with our custom-tailored add-ons, including a safari or a Zanzibar Getaway.
This expedition is our traditional guided team climb, which ascends the stunning Machame Route. Provided are guidance, leadership, and expedition oversight by renowned expedition leader Mike Hamill, local guides, logistics, team gear, porters, food, and support for a summit attempt on Kilimanjaro.
Team Departure Itinerary
This itinerary is only a rough estimate and will be determined by weather and conditions. This is adventure travel, meaning things rarely go as planned, and this schedule will likely change. Climbers need to be adaptable and positive.
We always recommend climbers arrive in Arusha one day early to avoid travel delays or issues with lost baggage. Added expenses (hotel/food/sightseeing) of this extra day are the client’s responsibility.
- Day 1: Arrive in Tanzania at Kilimanjaro International Airport, transfer to hotel
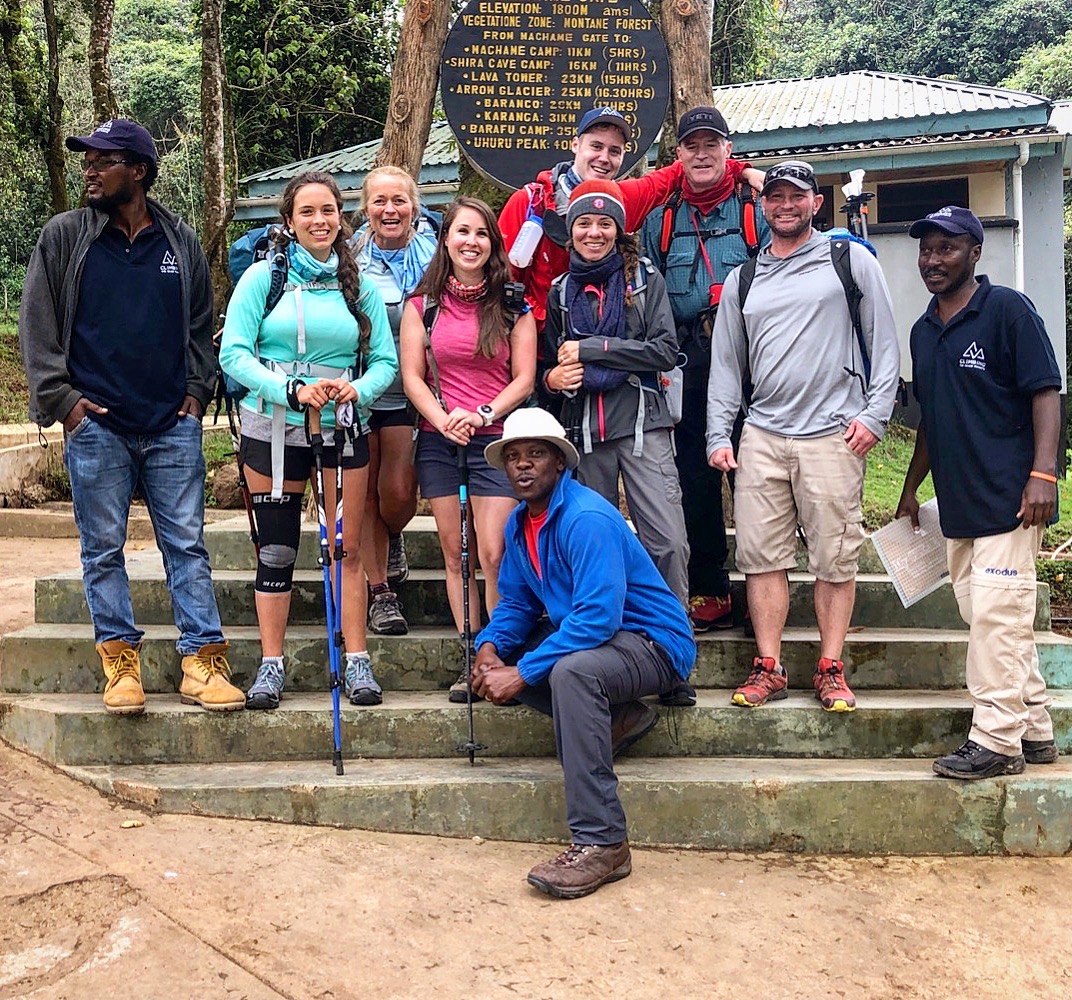
- Day 2: Gear checks, team meeting, and check out the town
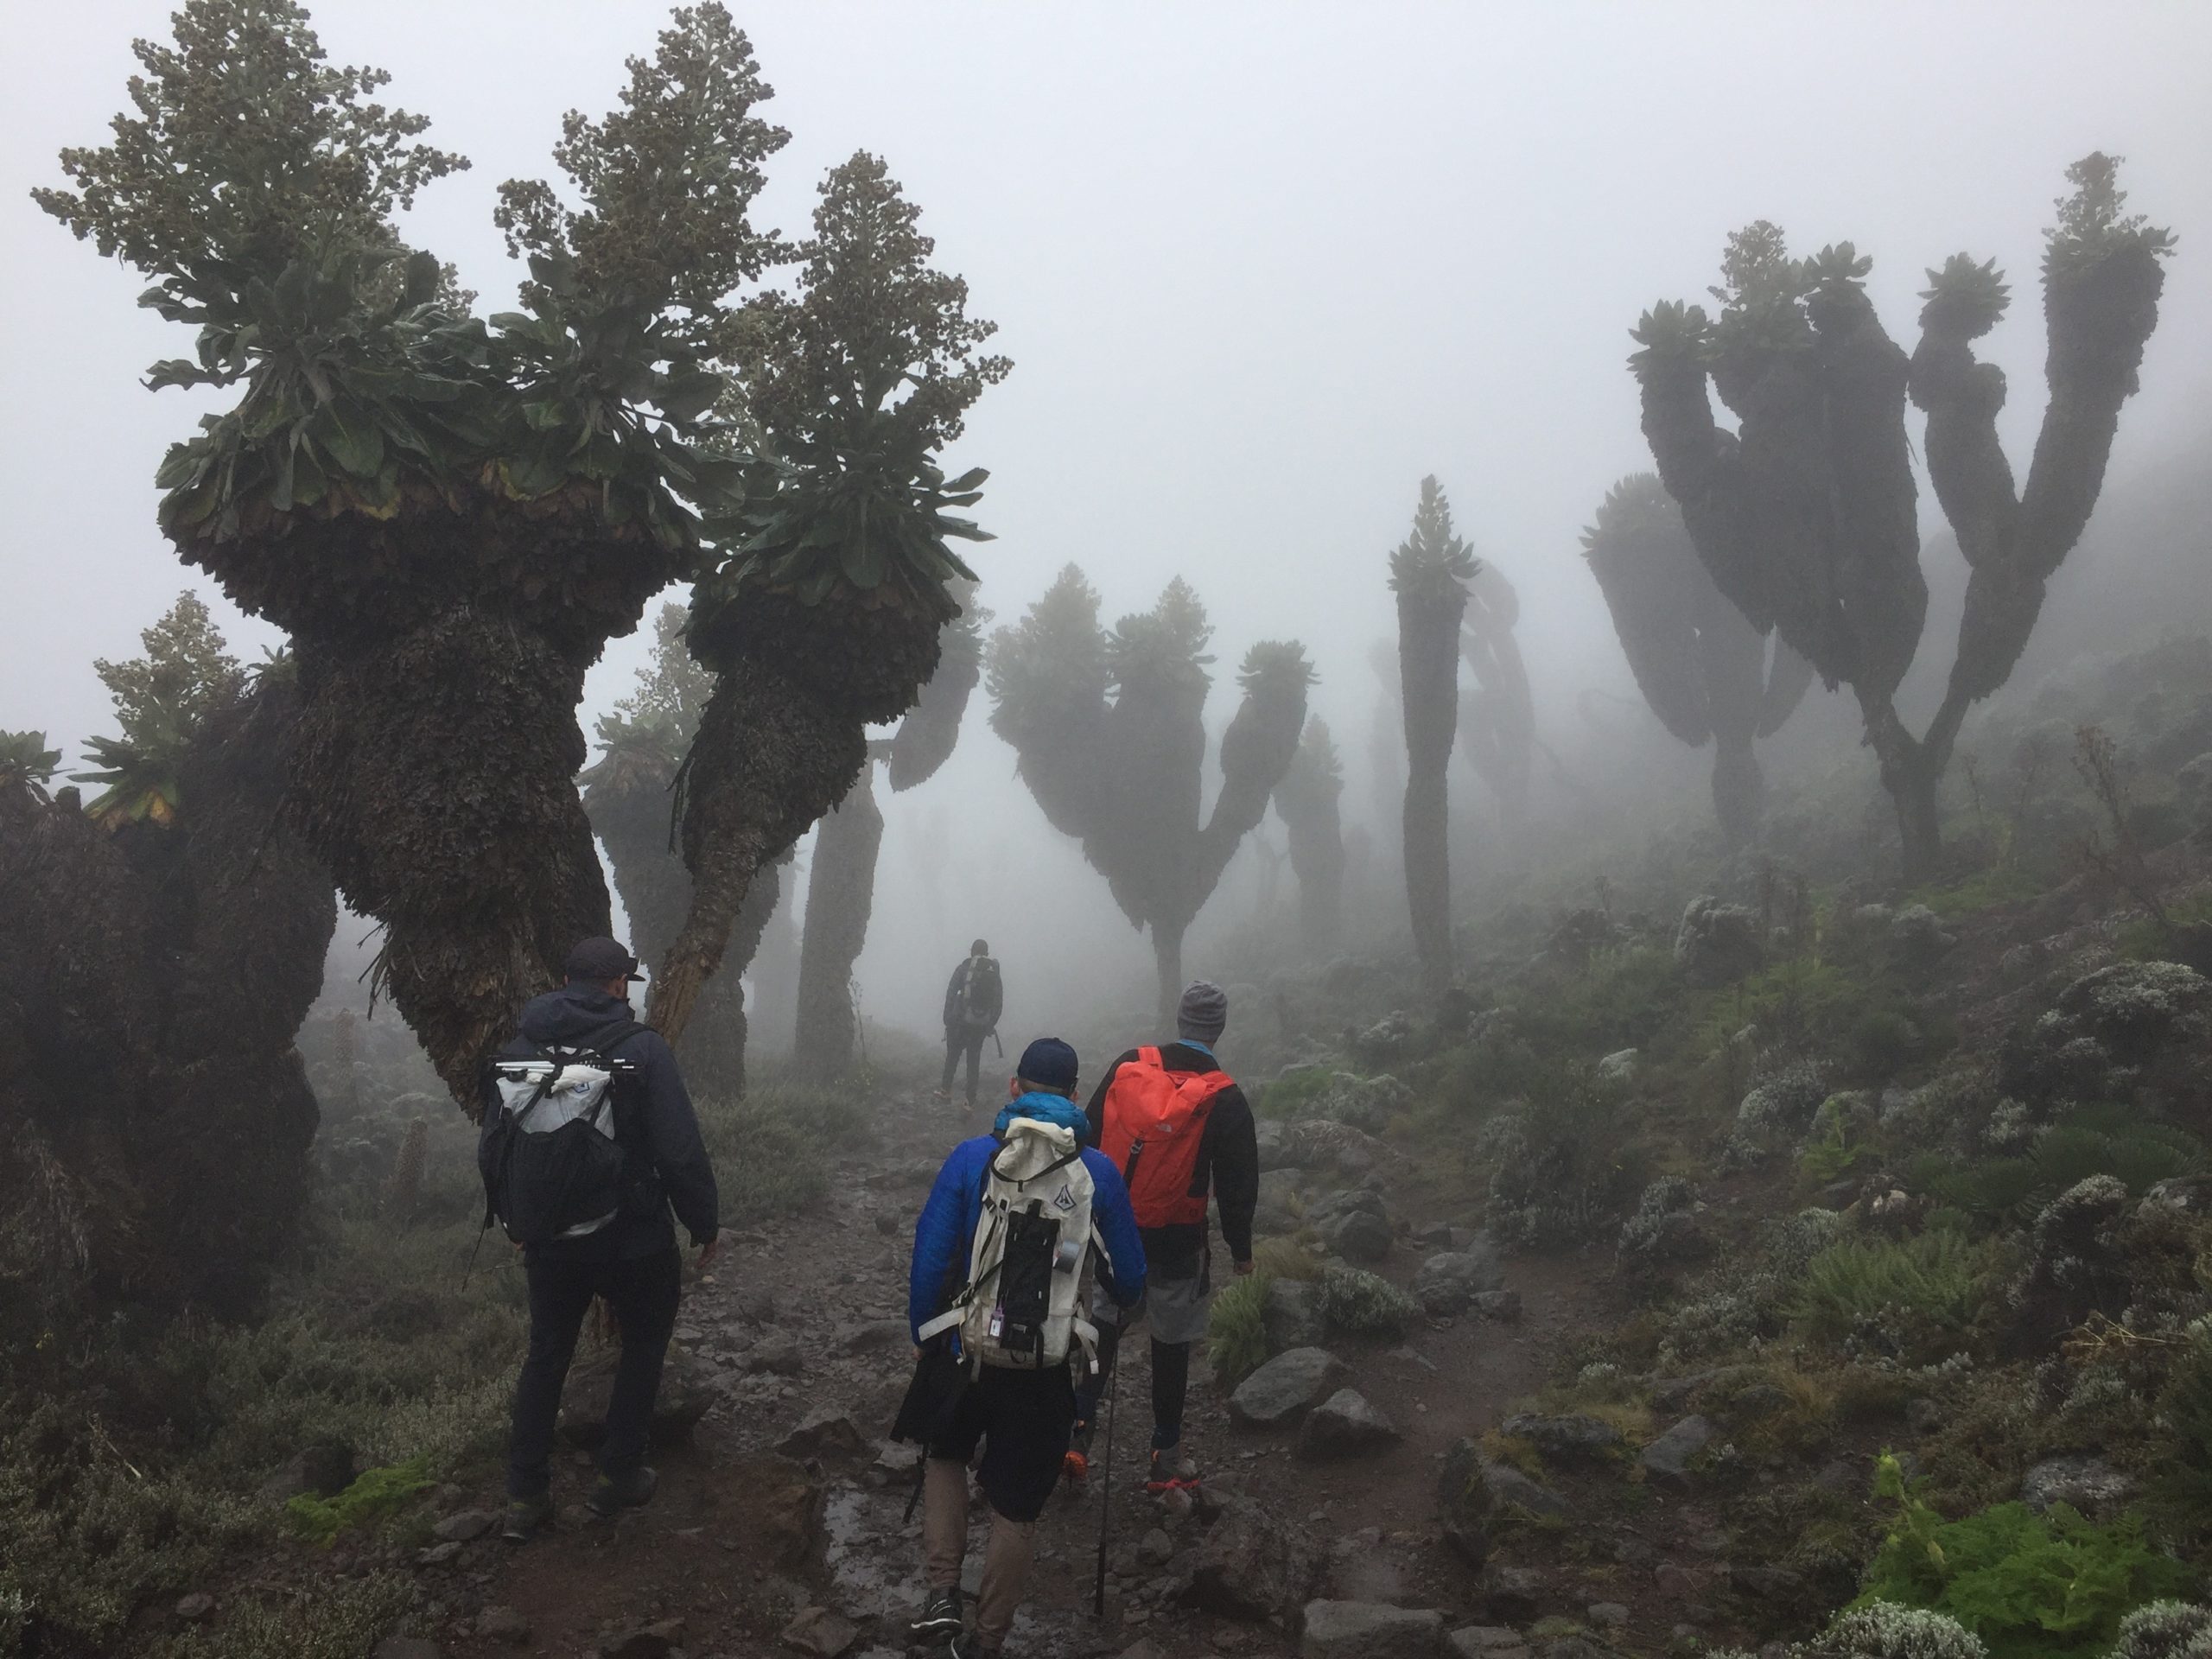
- Day 3: Drive to Kilimanjaro National Park gate (5,800ft) and climb through the rainforest to Machame Camp (10,000ft)
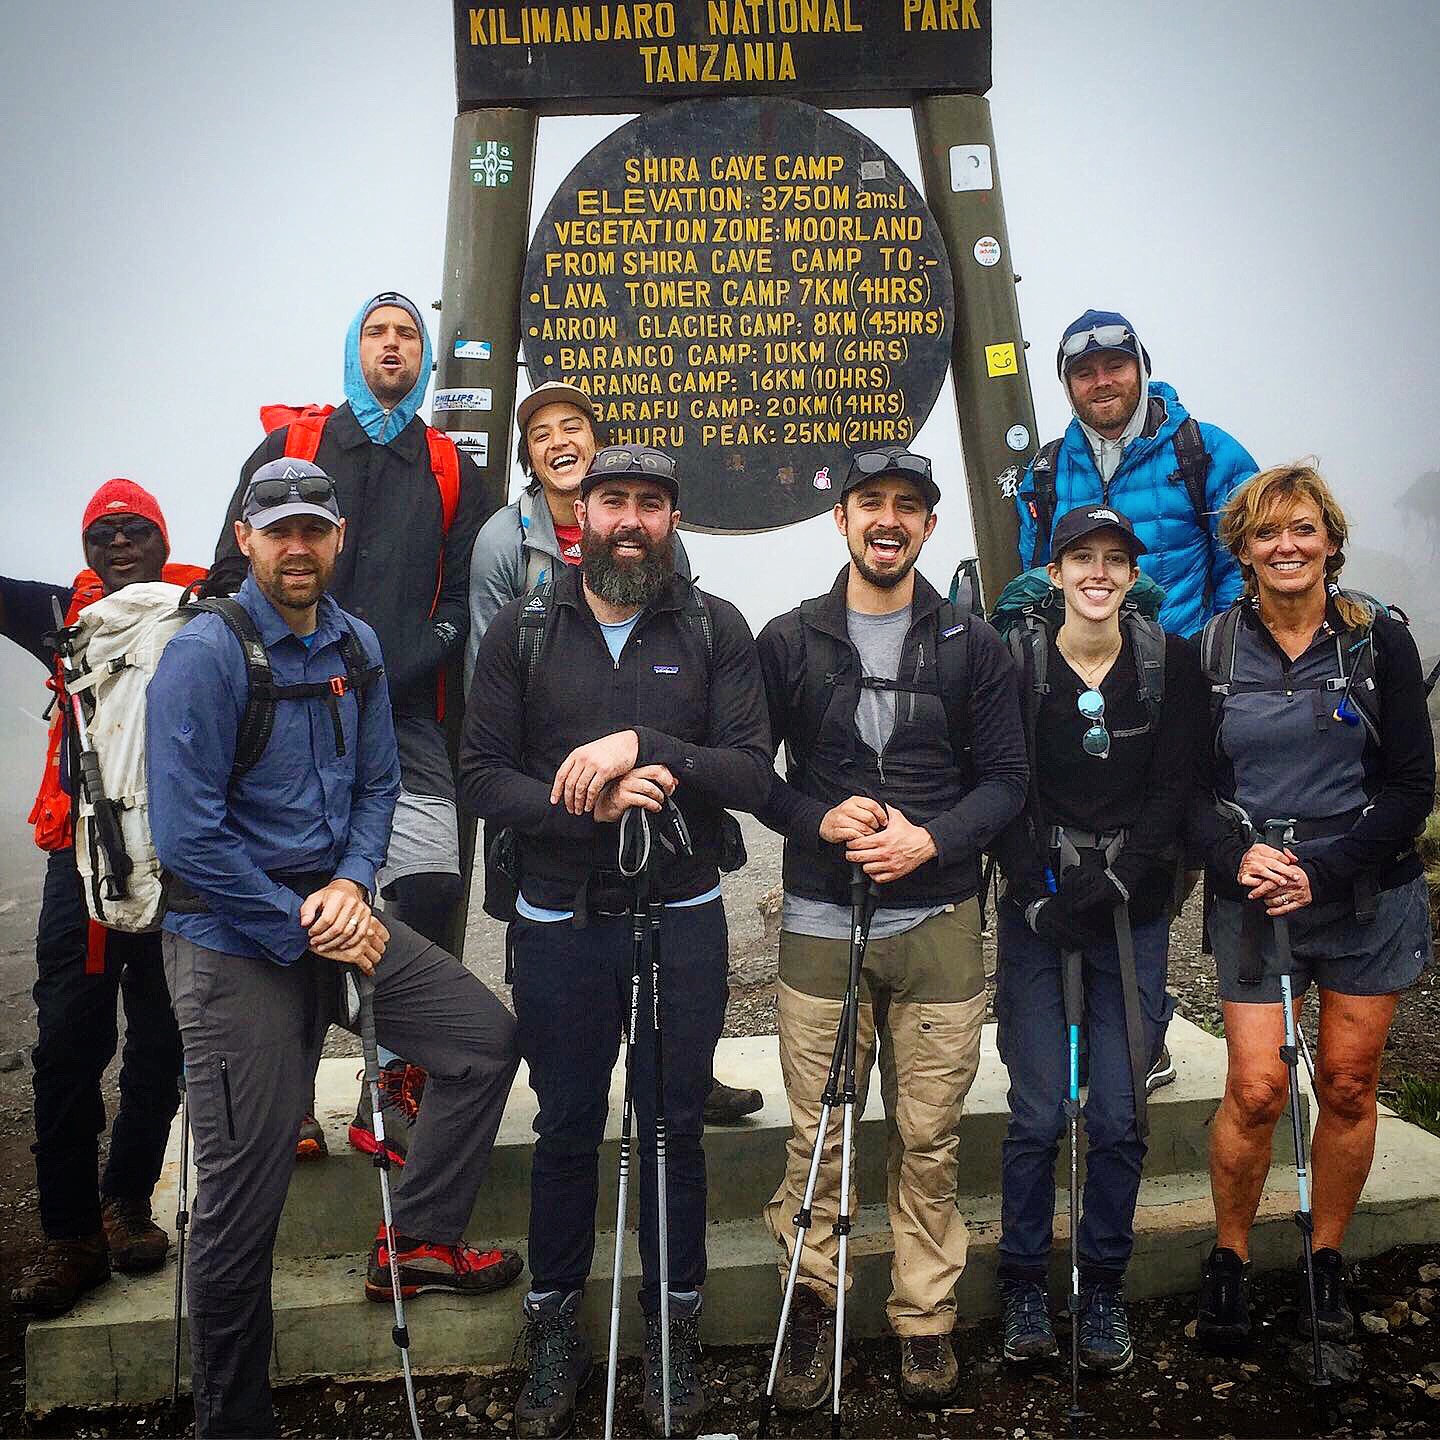
- Day 4: Continue to climb through Heather-Moorlands to the Shira Plateau Camp (12,300ft)
- Day 5: Continue the climb to Barranco Camp, climbing over a pass at nearly 15,000ft underneath the precipitous Breach Wall before descending to 12,800ft
- Day 6: Climb the Barranco Wall to about 14,500ft before again descending to Karanga Camp at around 13,000ft
- Day 7: Climb to our high camp at 15,500ft before turning in early for our summit climb early the next morning.
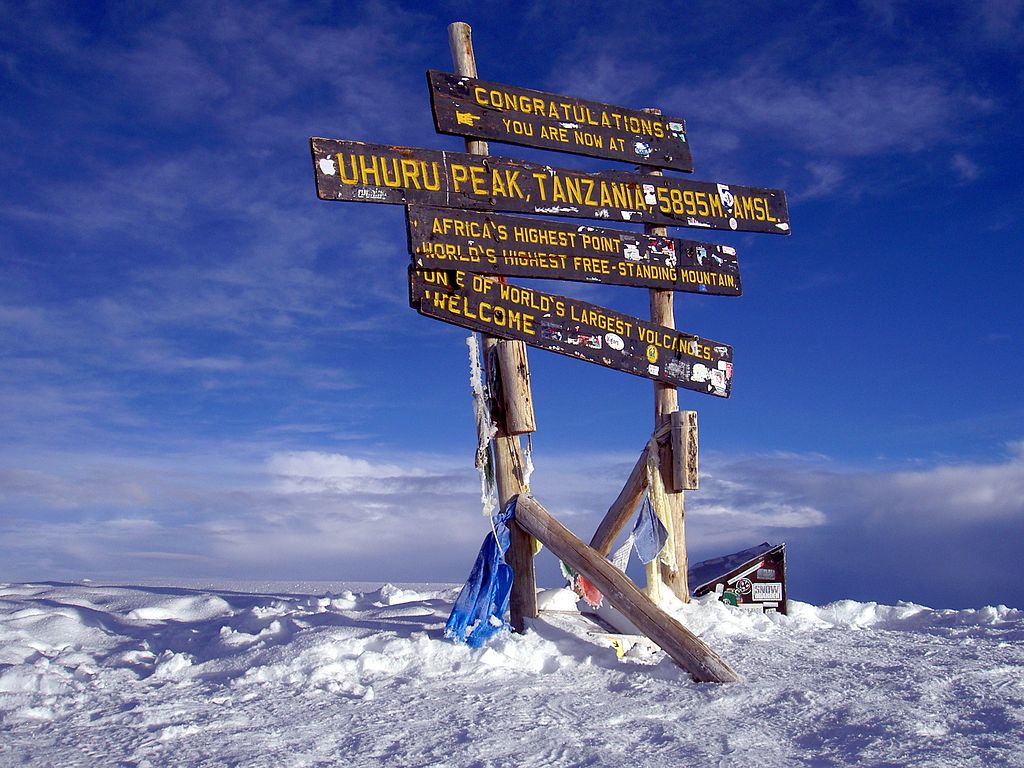
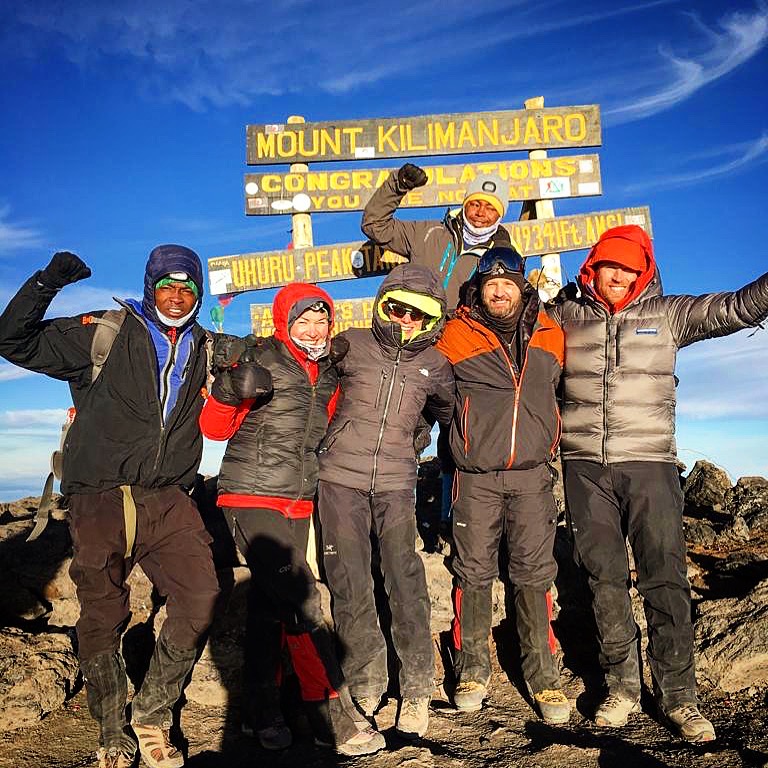
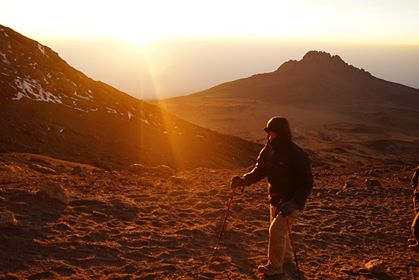
- Day 8: Summit Day! We awake in the wee hours of the morning (night), working our way to the “Roof of Africa” at 19,344ft. The day is cold and can be windy and snowy, so make sure you have proper warm gear! After standing on top, we descend back to high camp and take a brief respite before packing up and heading down to our final camp at 12,000ft
- Day 9: Pack camp and descend to the trailhead. Here, we bid farewell to our porters and guides before returning to town for lunch. Celebration Dinner
- Day 10: Departure day. If you are joining us for an add-on extension, a safari, or a Zanzibar Getaway, your transfer will happen today.
Our expeditions are designed to be fully inclusive, except for some services/items of a personal nature, like flights, gear, and insurance. Here’s a detailed list so you know what to expect.
Included:
- Guides and porters
- All accommodations, including three nights at a hotel in Arusha
- All transport within the itinerary.
- Airport transfers from the Kilimanjaro International Airport (JRO)
- All meals, including a celebration dinner on the final evening.
- All group gear: four-season tents, cooking gear, group duffels, stoves, etc.
- Satellite phone: available to clientele at $3/min
- Group first aid equipment
Excluded:
- Flights to and from Arusha, Tanzania
- Any extensions before or after the specified itinerary (we are happy to help you plan these)
- Personal gear: all personal climbing gear is the responsibility of the client
- 3 lbs. personal snack food (real food and stuff you know you will want to eat at altitude when you don’t feel like eating: nuts, jerky, granola bars, dried fruit, candy, etc.)
- In the event of a rescue, evacuation, or early departure from the group, any rescue expenses incurred or excess expenses above and beyond our normal trip costs, including transport, hotels, evacuation, flight changes, and gear shipping, are the responsibility of the client.
- Porter tip pool ($300)
- Guide tip (Customary but optional)
- Required trip insurance policy (for trip cancellation, interruption, rescue & evacuation, medical treatment, repatriation, etc.)
All prices are in US Dollars.
CTSS requires clients to buy trip insurance for all expeditions. Please see our page on trip insurance and cancellation policy for more information.
All payments once submitted are non-refundable and non-transferable. If balances are not received by specified dates, the client forfeits their place on the program and any prior fees paid.
Kilimanjaro Private Climb
Kilimanjaro Private and Custom Climbs
Prices starting at $10,995 more details below. Contact us directly for dates.
Having your own private guide climbing with you can be an indispensable advantage, and it allows you to customize your itinerary and program to fit your schedule. A personal guide will give you total autonomy and control over your trip, and they can coach you throughout the expedition, give you valuable feedback, be available if there are any medical issues, and make your climbing experience more enjoyable overall.
Although summits are obviously never guaranteed, there is no better way to stack the odds in your favor than climbing with a private guide.
This expedition provides a private guide, logistical oversight by renowned expedition leader Mike Hamill, logistics, food, team gear, and support for a summit attempt on Kilimanjaro. This is our signature premiere expedition and suits climbers who want unparalleled safety and personal attention. Whether you’re a less experienced climber or have climbed at altitude many times before, our private climb with a 1:1 private guide will give you the best chance at standing on top of Kilimanjaro.
1:1 OPTIONS (1 private guide: 1 climber)
- Local Kilimanjaro CTSS Guide: $10,995
- CTSS International/Western Guide: $18,995
All prices are in US Dollars.
CTSS requires clients to buy trip insurance for all expeditions. Please see our page on trip insurance and cancellation policy for more information.
All payments once submitted are non-refundable and non-transferable. If balances are not received by specified dates, the client forfeits their place on the program and any prior fees paid.
Private Climb Itinerary
This itinerary is only a rough estimate and will be determined by weather and conditions. This is adventure travel, meaning things rarely go as planned, and this schedule will likely change. Climbers need to be adaptable and positive.
We always recommend climbers arrive in Arusha one day early to avoid travel delays or issues with lost baggage. Added expenses (hotel/food/sightseeing) of this extra day are the client’s responsibility
- Day 1: Arrive in Tanzania at Kilimanjaro International Airport, transfer to hotel
- Day 2: Gear checks, team meeting, and check out the town
- Day 3: Drive to Kilimanjaro National Park gate (5,800ft) and climb through the rainforest to Machame Camp (10,000ft)
- Day 4: Continue to climb through Heather-Moorlands to the Shira Plateau Camp (12,300ft)
- Day 5: Continue the climb to Barranco Camp, climbing over a pass at nearly 15,000ft underneath the precipitous Breach Wall before descending to 12,800ft
- Day 6: Climb the Barranco Wall to about 14,500ft before again descending to Karanga Camp at around 13,000ft
- Day 7: Climb to our high camp at 15,500ft before turning in early for our summit climb early the next morning.
- Day 8: Summit Day! We awake in the wee hours of the morning (night), working our way to the “Roof of Africa” at 19,344ft. The day is cold and can be windy and snowy, so make sure you have proper warm gear! After standing on top, we descend back to high camp and take a brief respite before packing up and heading down to our final camp at 12,000ft
- Day 9: Pack camp and descend to the trailhead. Here, we bid farewell to our porters and guides before returning to town for lunch. Celebration Dinner
- Day 10: Departure day. If you are joining us for an add-on extension, a safari, or a Zanzibar Getaway, your transfer will happen today.
Our expeditions are designed to be fully inclusive, except for some services/items of a personal nature, like flights, gear, and insurance. Here’s a detailed list so you know what to expect.
Included:
- Guides and porters
- All accommodations, including three nights at a hotel in Arusha
- All transport within the itinerary.
- Airport transfers from the Kilimanjaro International Airport (JRO)
- All meals, including a celebration dinner on the final evening.
- All group gear: four-season tents, cooking gear, group duffels, stoves, etc.
- Satellite phone: available to clientele at $3/min
- Group first aid equipment
Excluded:
- Flights to and from Arusha, Tanzania
- Any extensions before or after the specified itinerary (we are happy to help you plan these)
- Personal gear: all personal climbing gear is the responsibility of the client
- 3 lbs personal snack food (real food and stuff that you know you will want to eat at altitude when you don’t feel like eating: nuts, jerky, granola bars, dried fruit, candy, etc.)
- In the event of a rescue, evacuation, or early departure from the group, any rescue expenses incurred or excess expenses above and beyond our normal trip costs, including transport, hotels, evacuation, flight changes, and gear shipping, are the responsibility of the client.
- Porter tip pool ($300)
- Guide tip (Customary but optional)
- Required trip insurance policy (for trip cancellation, interruption, rescue & evacuation, medical treatment, repatriation, etc.)
Kilimanjaro Speed Ascent
Kilimanjaro Speed Ascent with Private Guide
Contact us directly for dates, prices, and itineraries.
CTSS offers select climbers our “Speed Ascent” option, which employs state-of-the-art technology to allow you to summit in less time. We use a time-tested training program in conjunction with the use of a portable hypoxic altitude chamber to pre-acclimate your body to the rarefied air found at altitude. This option is perfect for those who want to minimize time away from home while still stacking the odds in their favor for summit success.
If you think this option may be right for you, please contact us directly, and we will work with you on a personalized plan to allow our “Speed Ascent” Program to maximize results for you.
Having your own private guide climbing with you can be an indispensable advantage, and it allows you to customize your itinerary and program to fit your schedule. A personal guide will give you total autonomy and control over your trip, and they can coach you throughout the expedition, give you valuable feedback, be available if there are any medical issues, and make your climbing experience more enjoyable overall.
Although summits are obviously never guaranteed, there is no better way to stack the odds in your favor than climbing with a private guide.
This expedition provides a Private guide at a 1:1 ratio, logistical oversight by renowned expedition leader Mike Hamill, logistics, food, team gear, and support for a summit attempt on Kilimanjaro. Whether you’re a less experienced climber or have climbed at altitude many times before, our speed ascent private climb with a 1:1 private guide will give you the best chance at standing on top of Kilimanjaro in less time than the normal expedition.
CTSS requires clients to buy trip insurance for all expeditions. Please see our page on trip insurance and cancellation policy for more information.
All payments once submitted are non-refundable and non-transferable. If balances are not received by specified dates, the client forfeits their place on the program and any prior fees paid.
Speed Ascent Included / Excluded
Our expeditions are designed to be fully inclusive, except for some services/items of a personal nature, like flights, gear, and insurance. Here’s a detailed list so you know what to expect.
Included:
- Guides and porters
- All accommodations, including three nights at a hotel in Arusha
- All transport within the itinerary.
- Airport transfers from the Kilimanjaro International Airport (JRO)
- All meals, including a celebration dinner on the final evening.
- All group gear: four-season tents, cooking gear, group duffels, stoves, etc.
- Satellite phone: available to clientele at $3/min
- Group first aid equipment
Excluded:
- Flights to and from Arusha, Tanzania
- Any extensions before or after the specified itinerary (we are happy to help you plan these)
- Personal gear: all personal climbing gear is the responsibility of the client
- 3 lbs. personal snack food (real food and stuff that you know you will want to eat at altitude when you don’t feel like eating: nuts, jerky, granola bars, dried fruit, candy, etc.)
- In the event of a rescue, evacuation, or early departure from the group, any rescue expenses incurred or excess expenses above and beyond our normal trip costs, including transport, hotels, evacuation, flight changes, and gear shipping, are the responsibility of the client.
- Porter tip pool ($300)
- Guide tip (Customary but optional)
- Required trip insurance policy (for trip cancellation, interruption, rescue & evacuation, medical treatment, repatriation, etc.)
Kilimanjaro
KILIMANJARO | Tanzania
Price Range:
$6,495 USD
Elevation:
19,341 feet
Duration:
10-12 days
Difficulty:
Beginner - Intermediate
Route:
Machame Route
Share Expedition
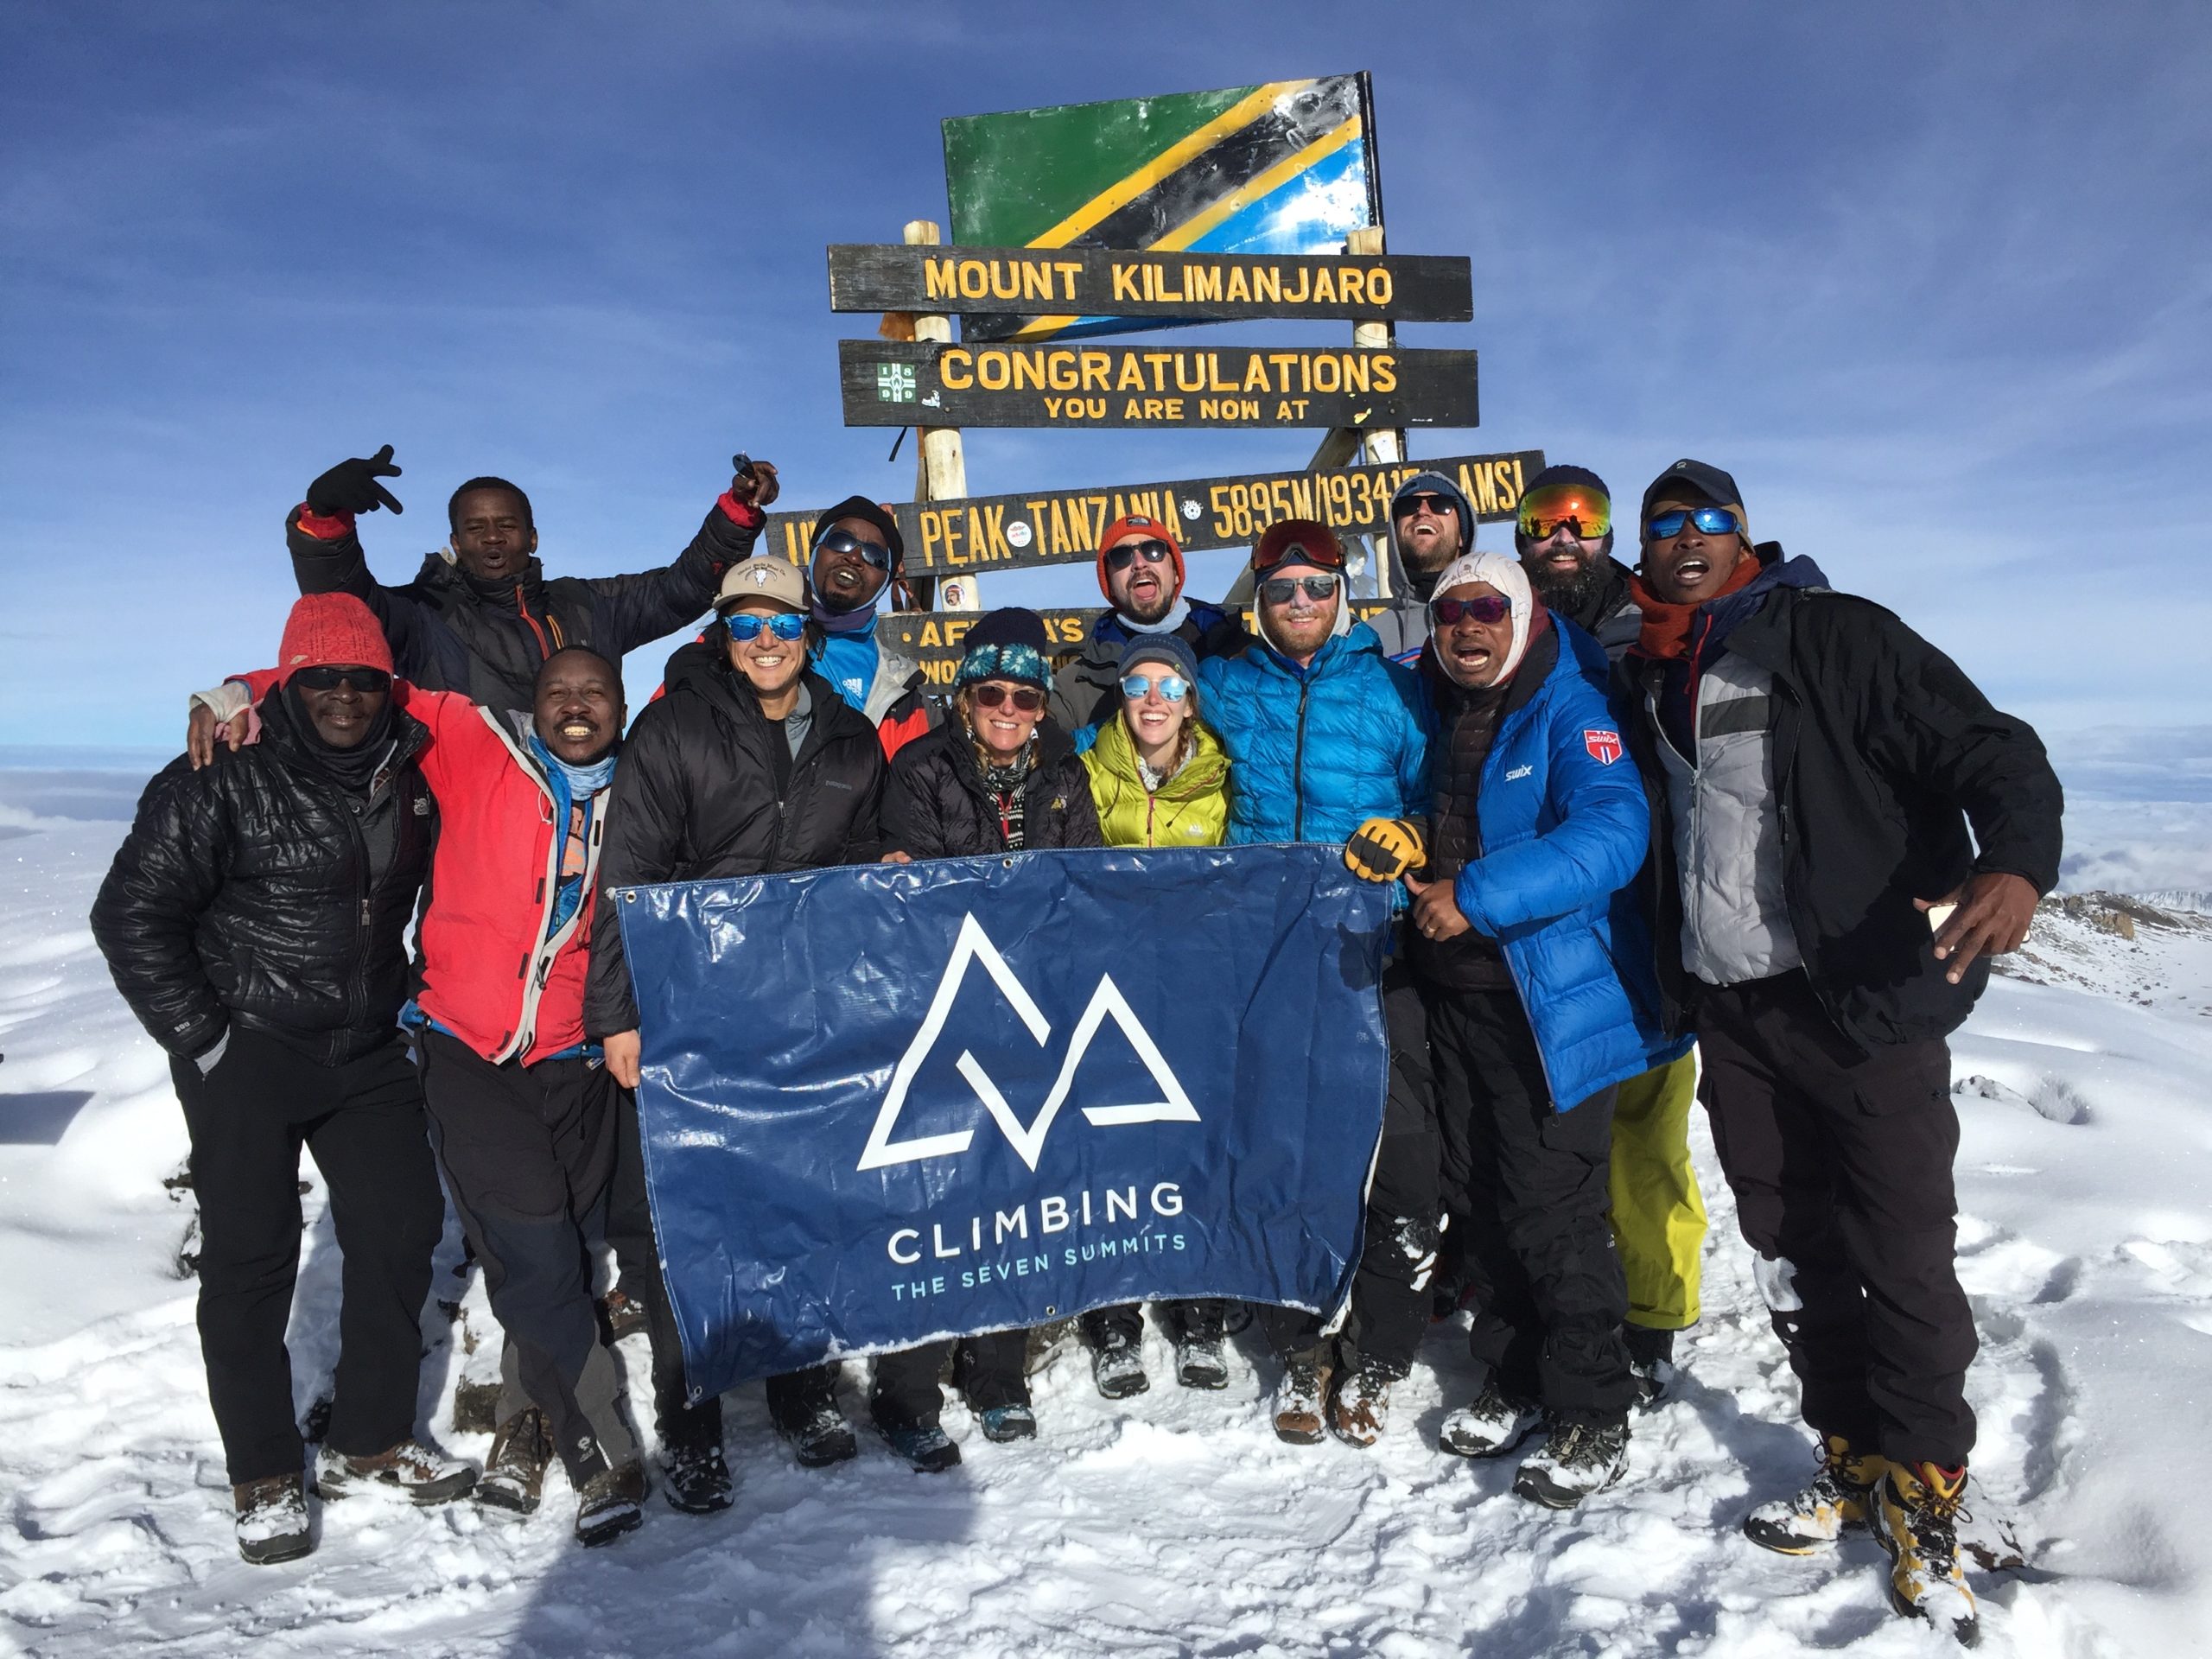
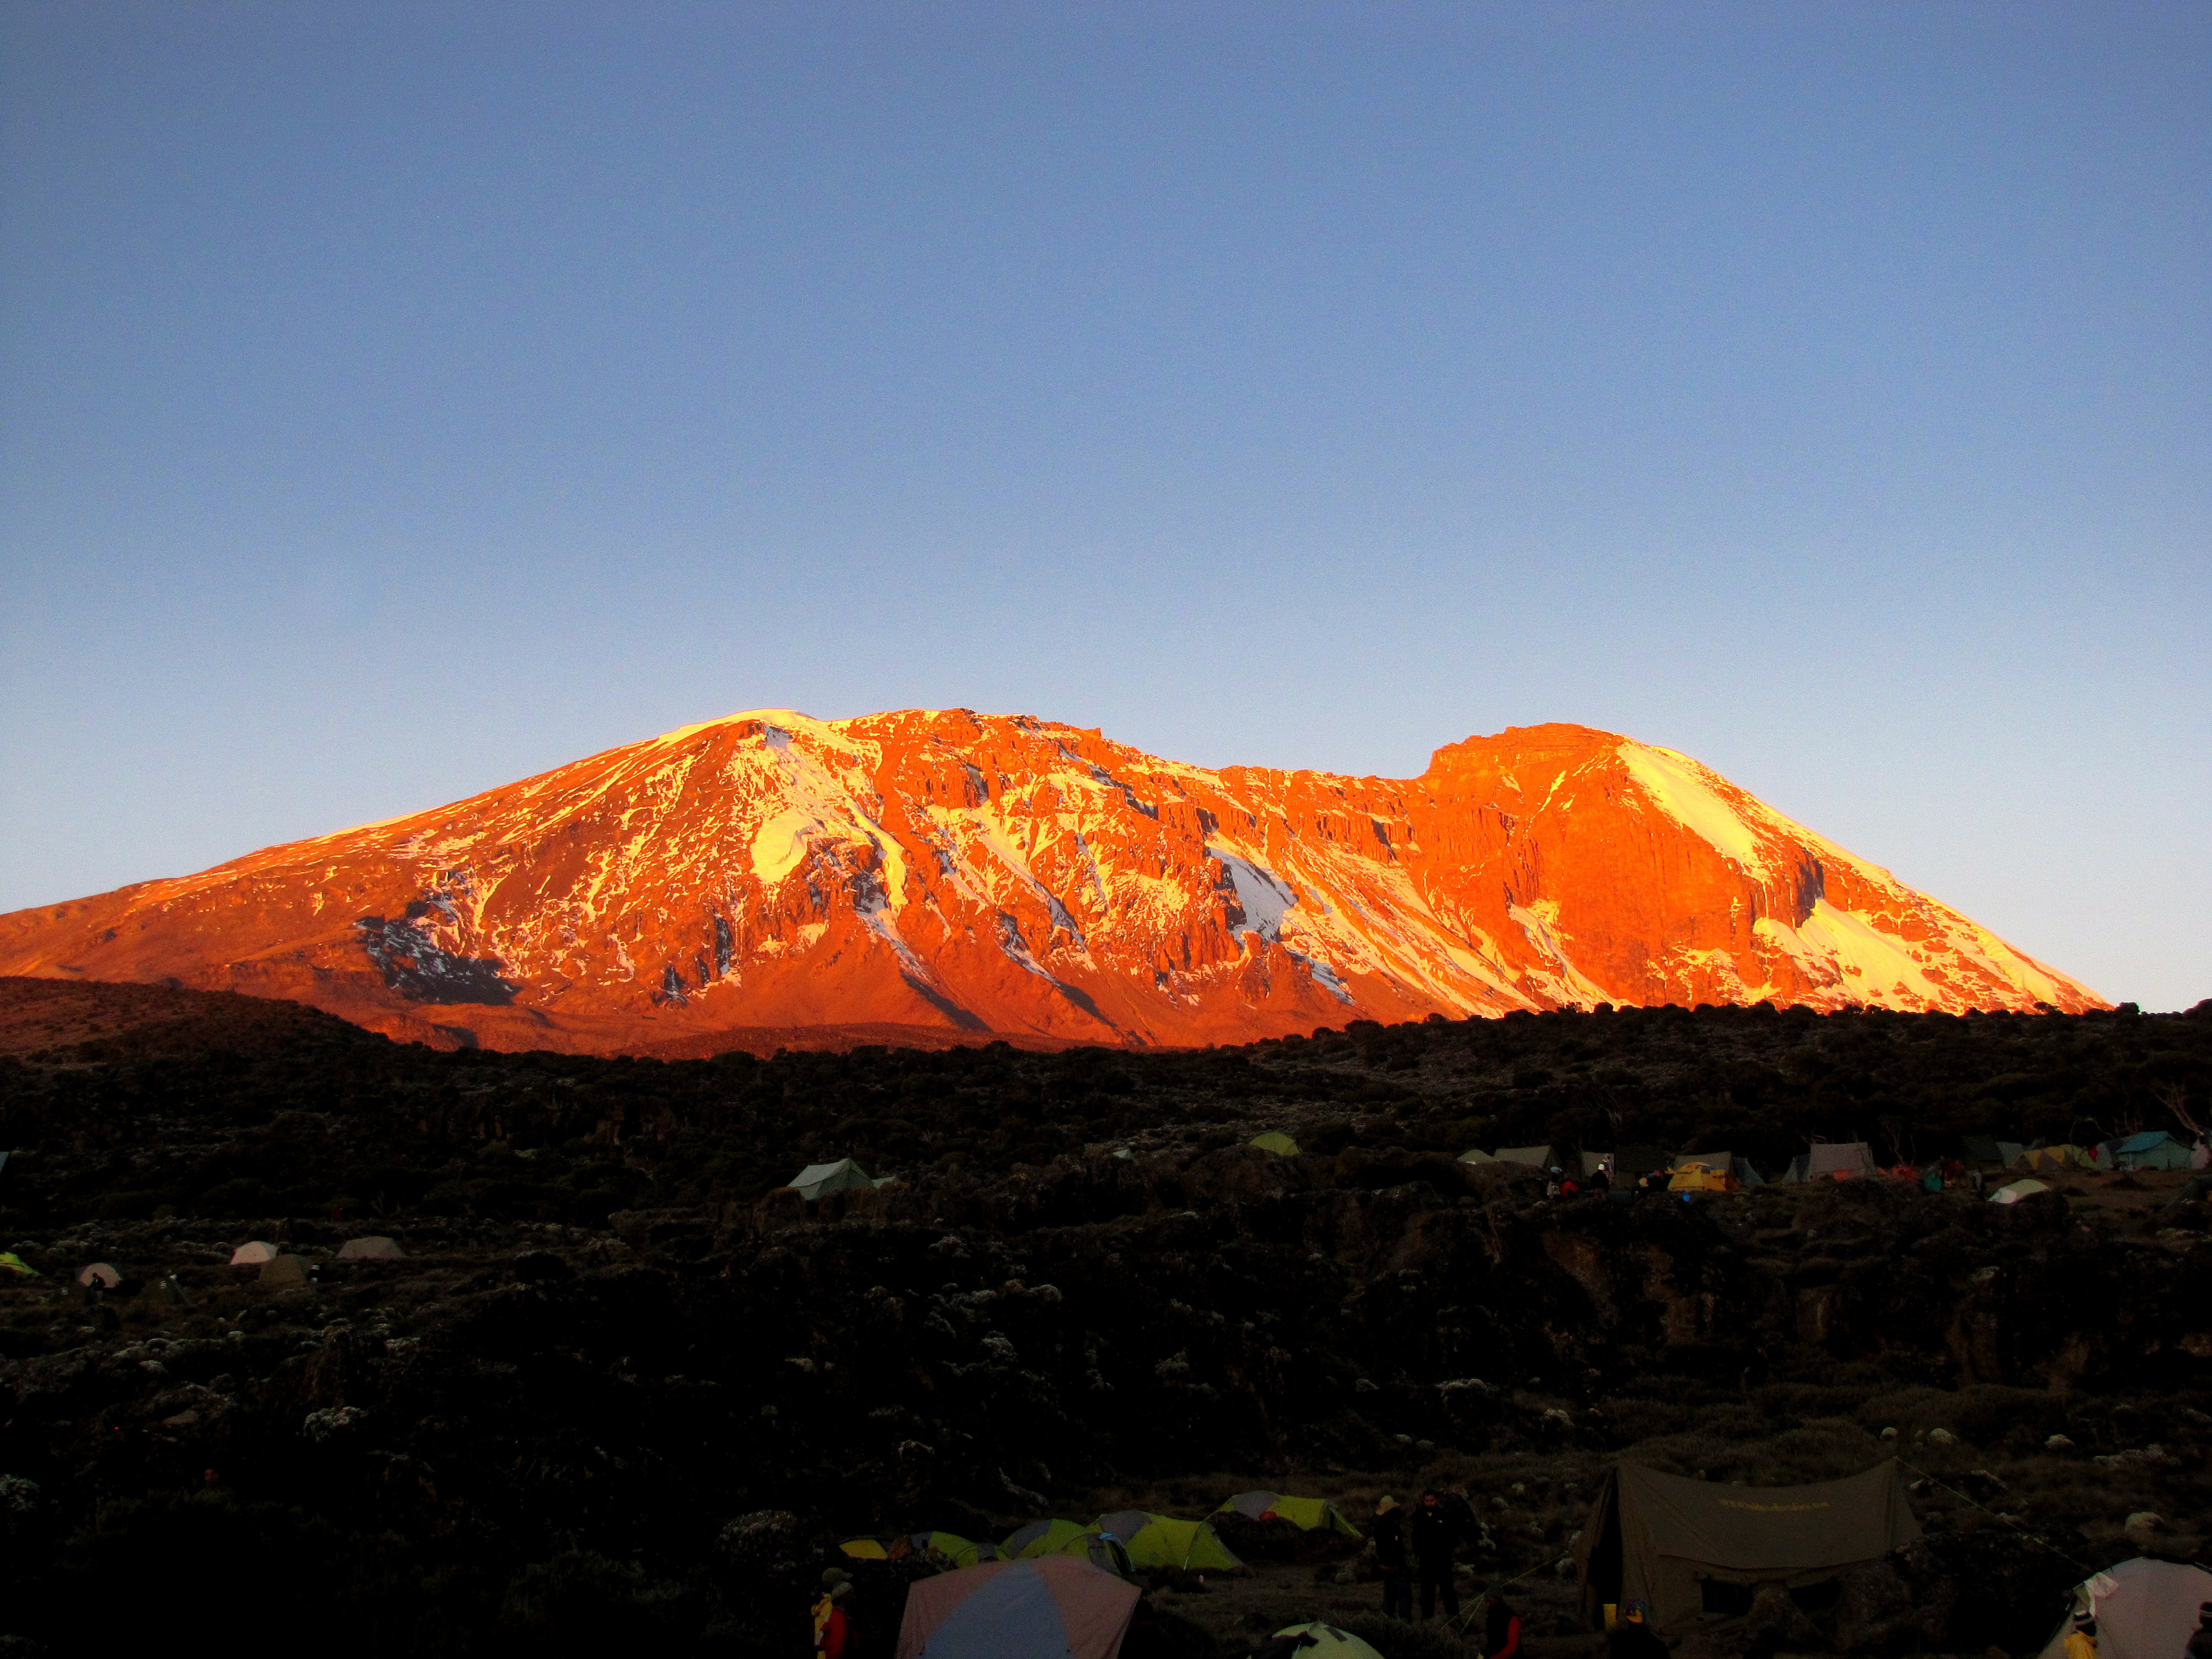
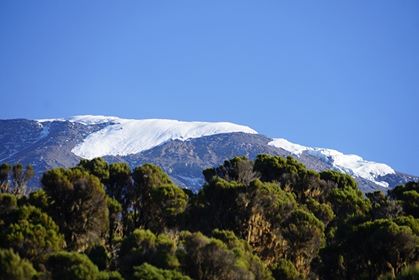
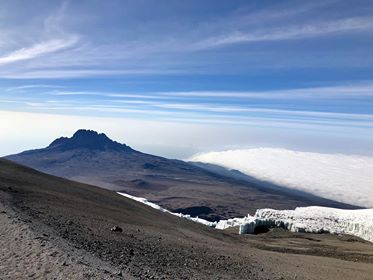
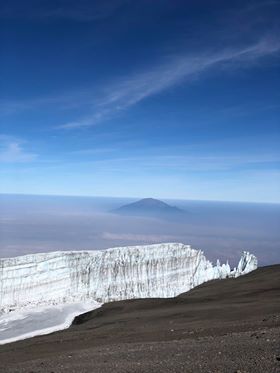
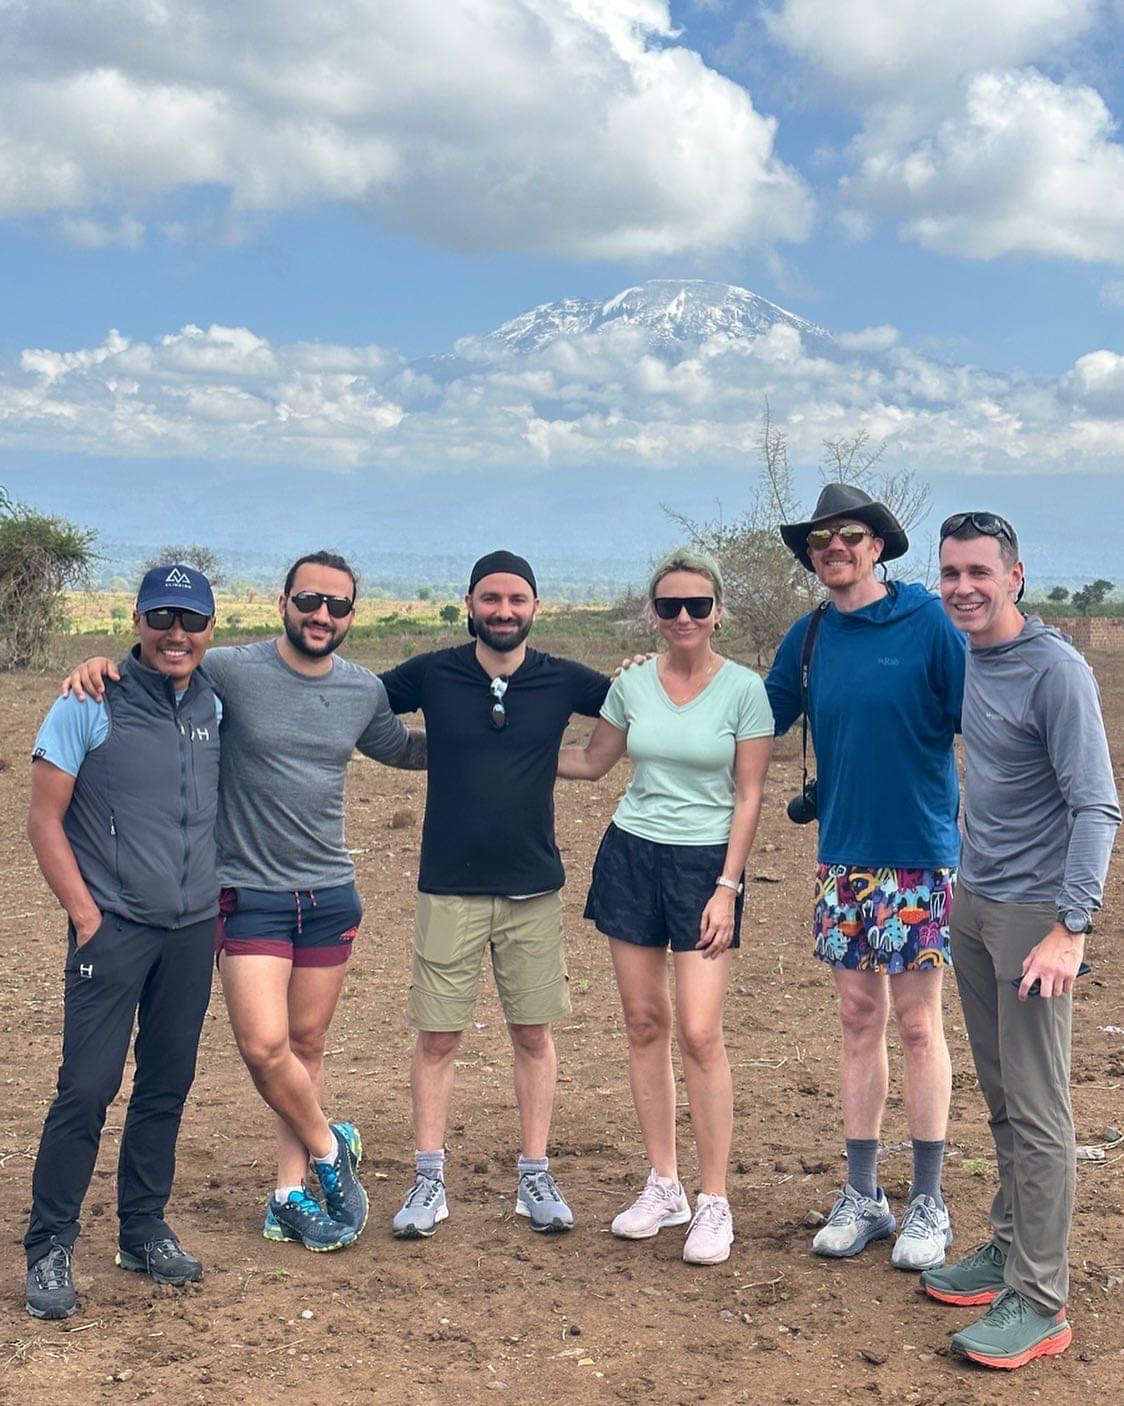
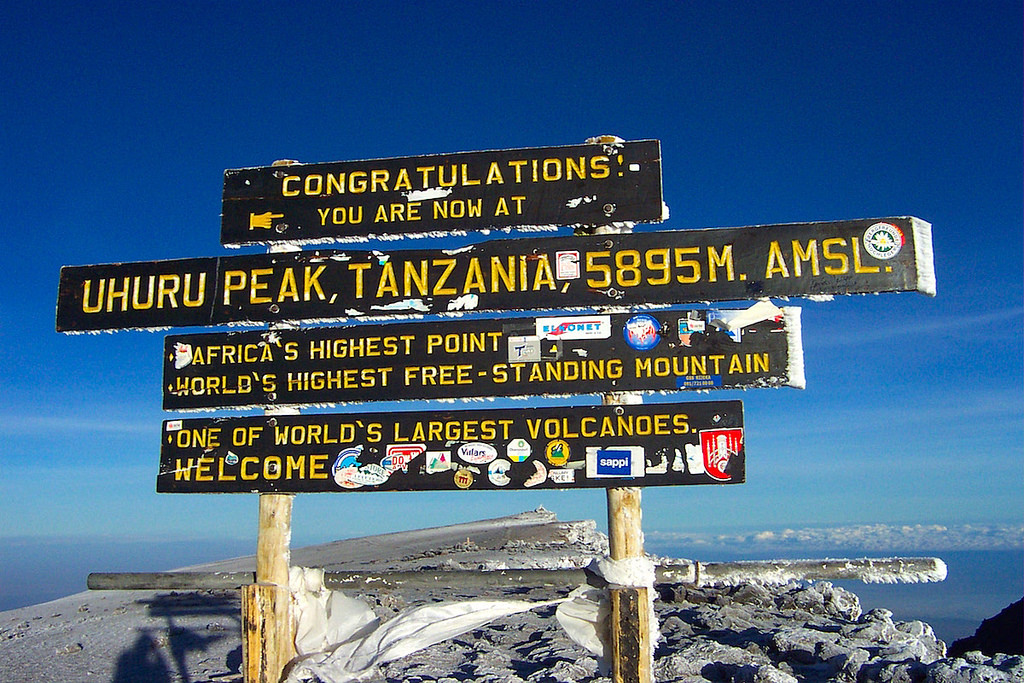
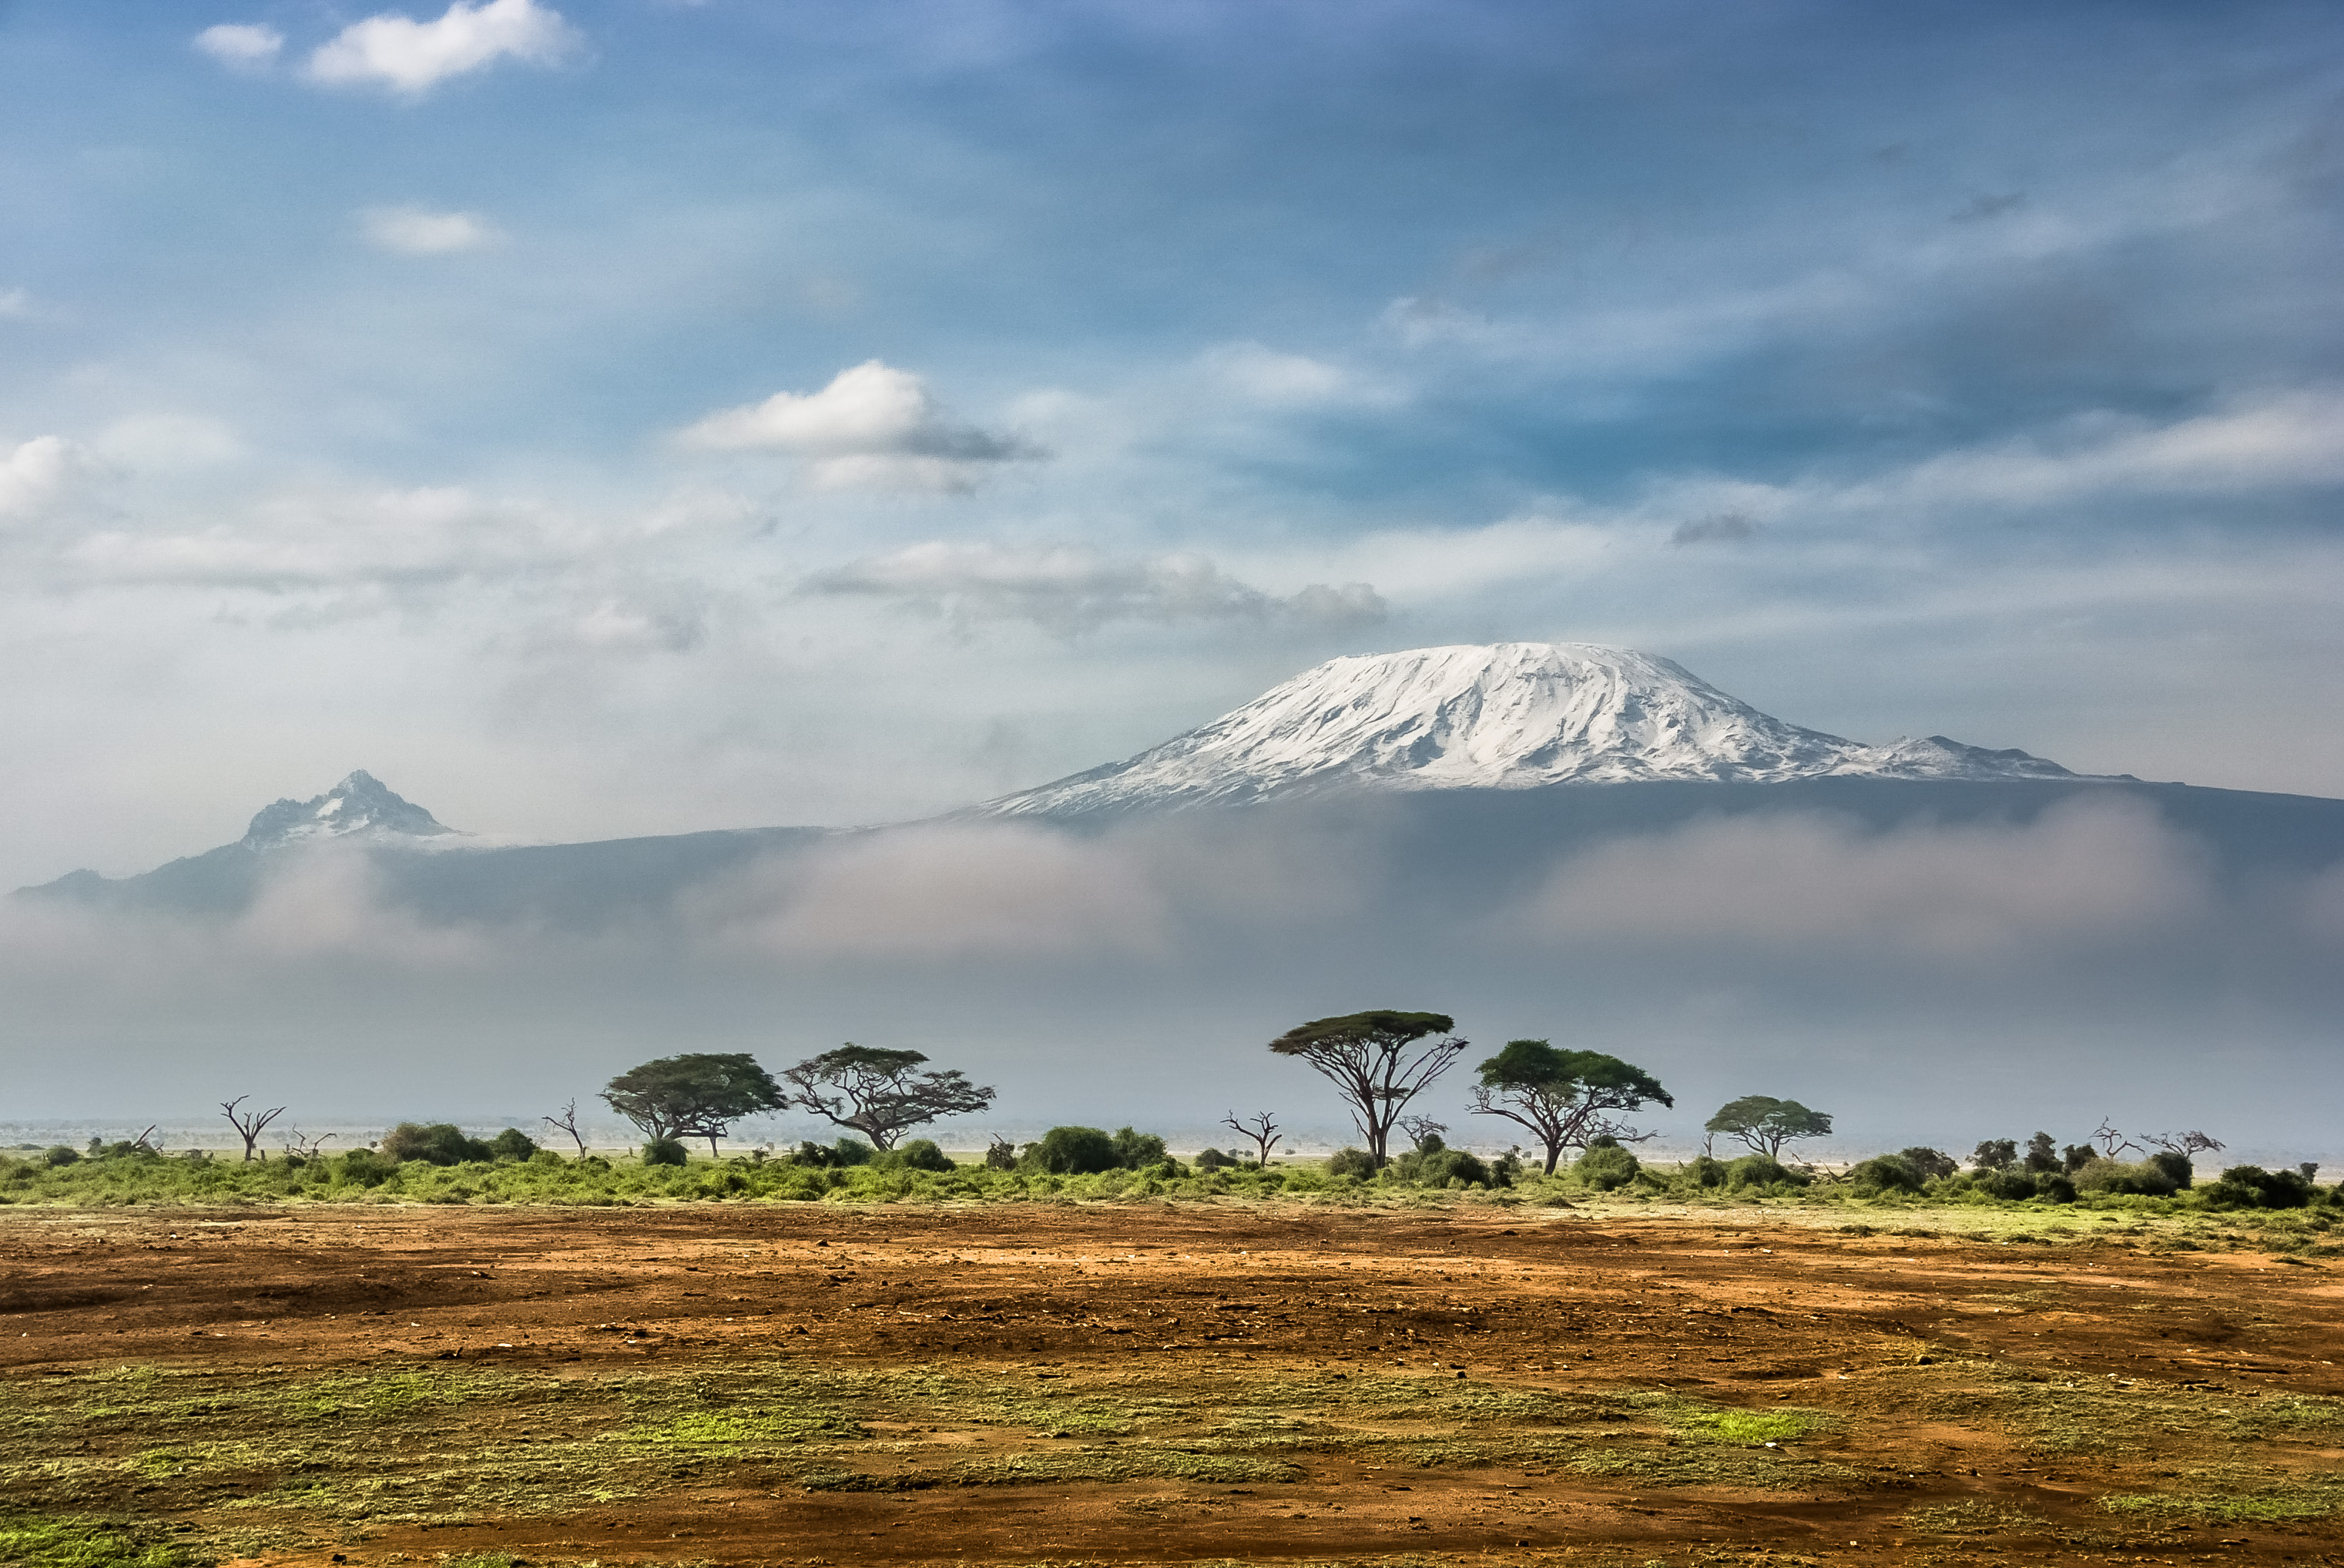
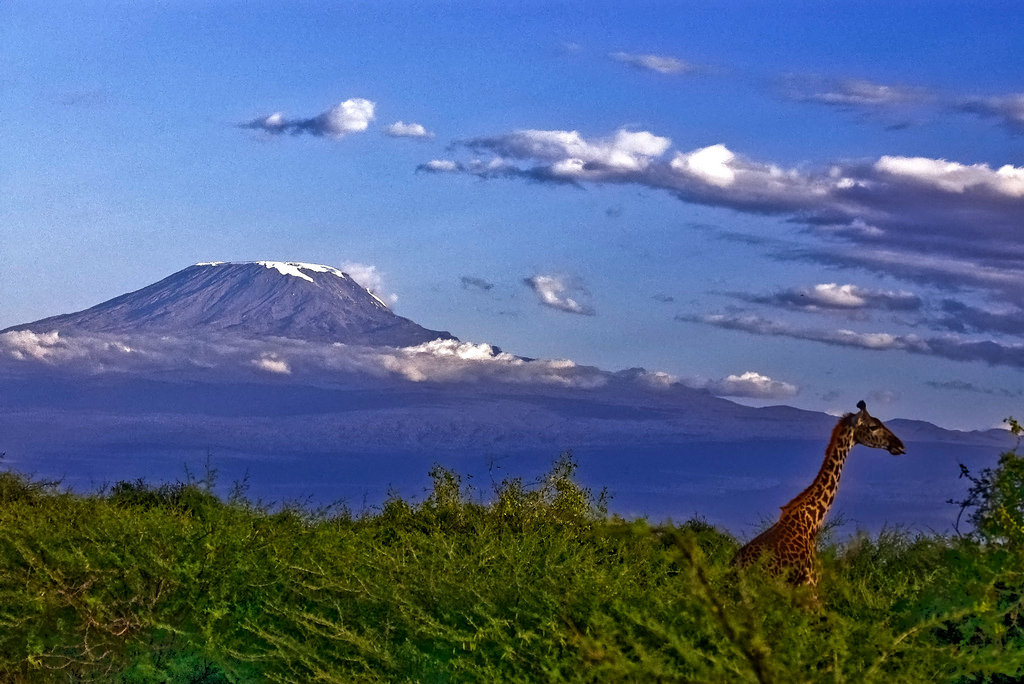
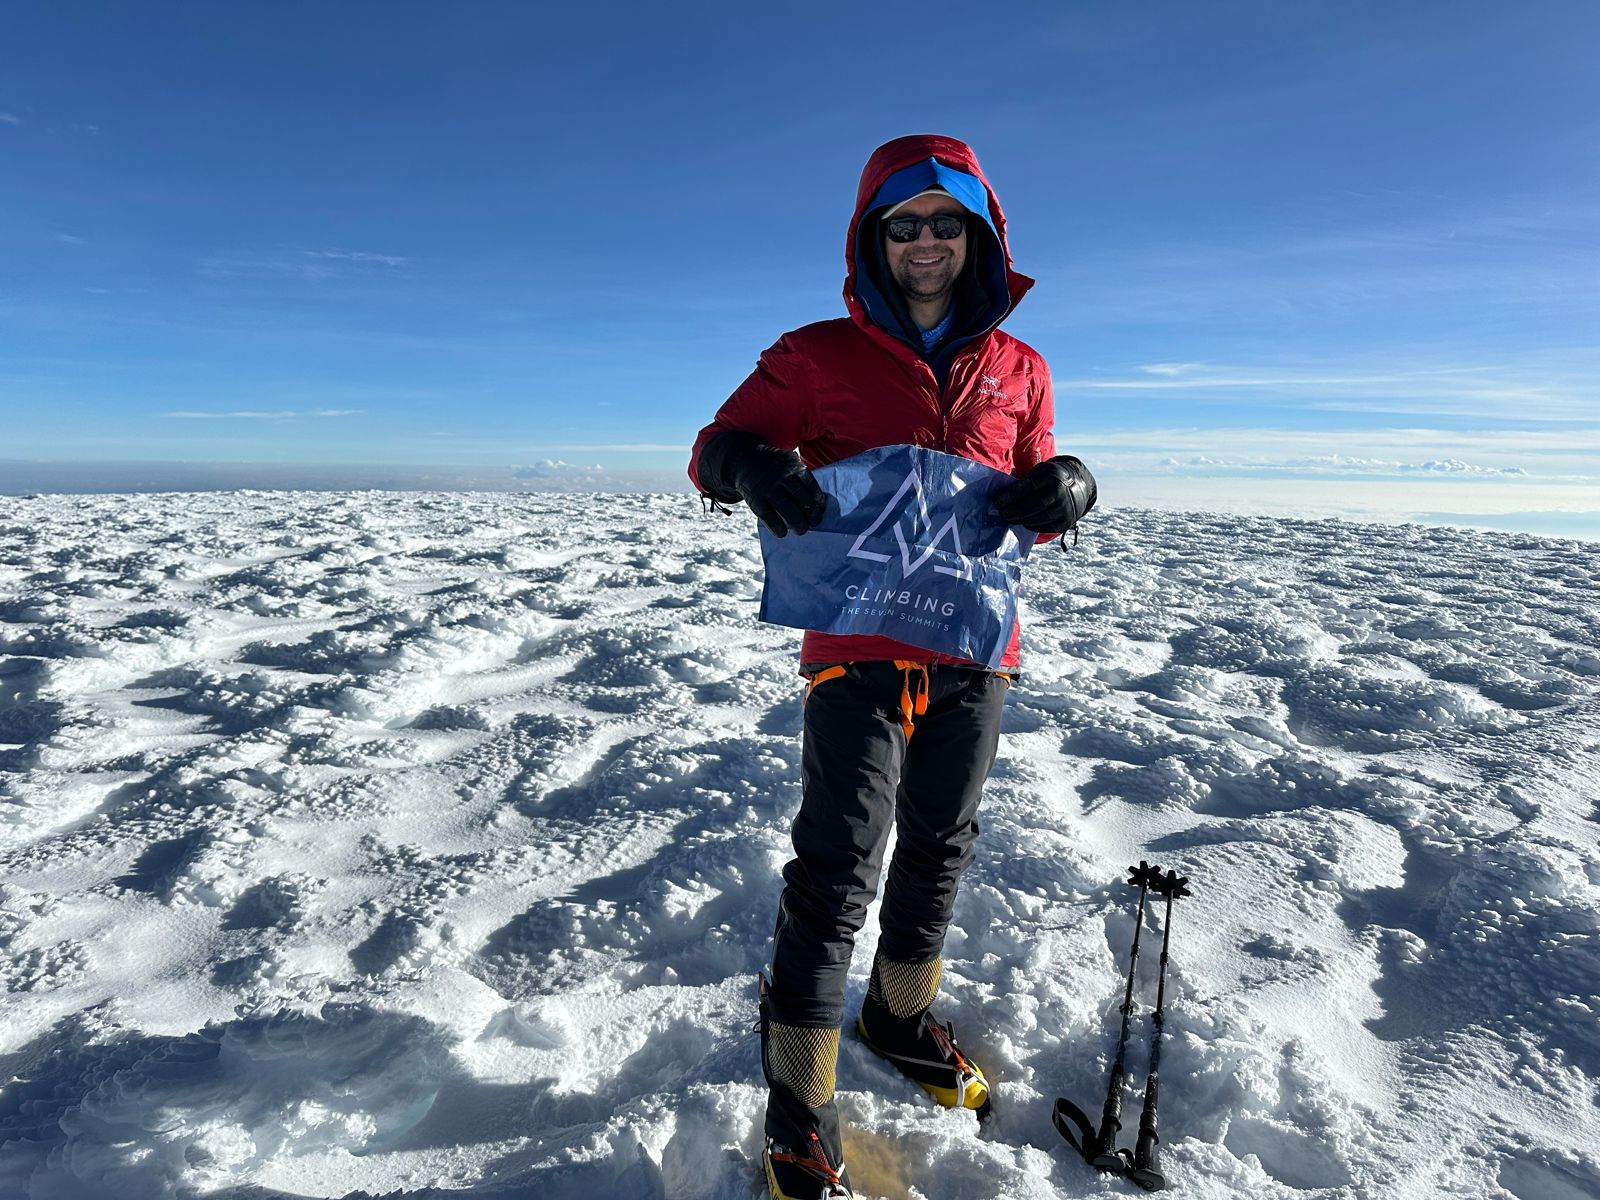
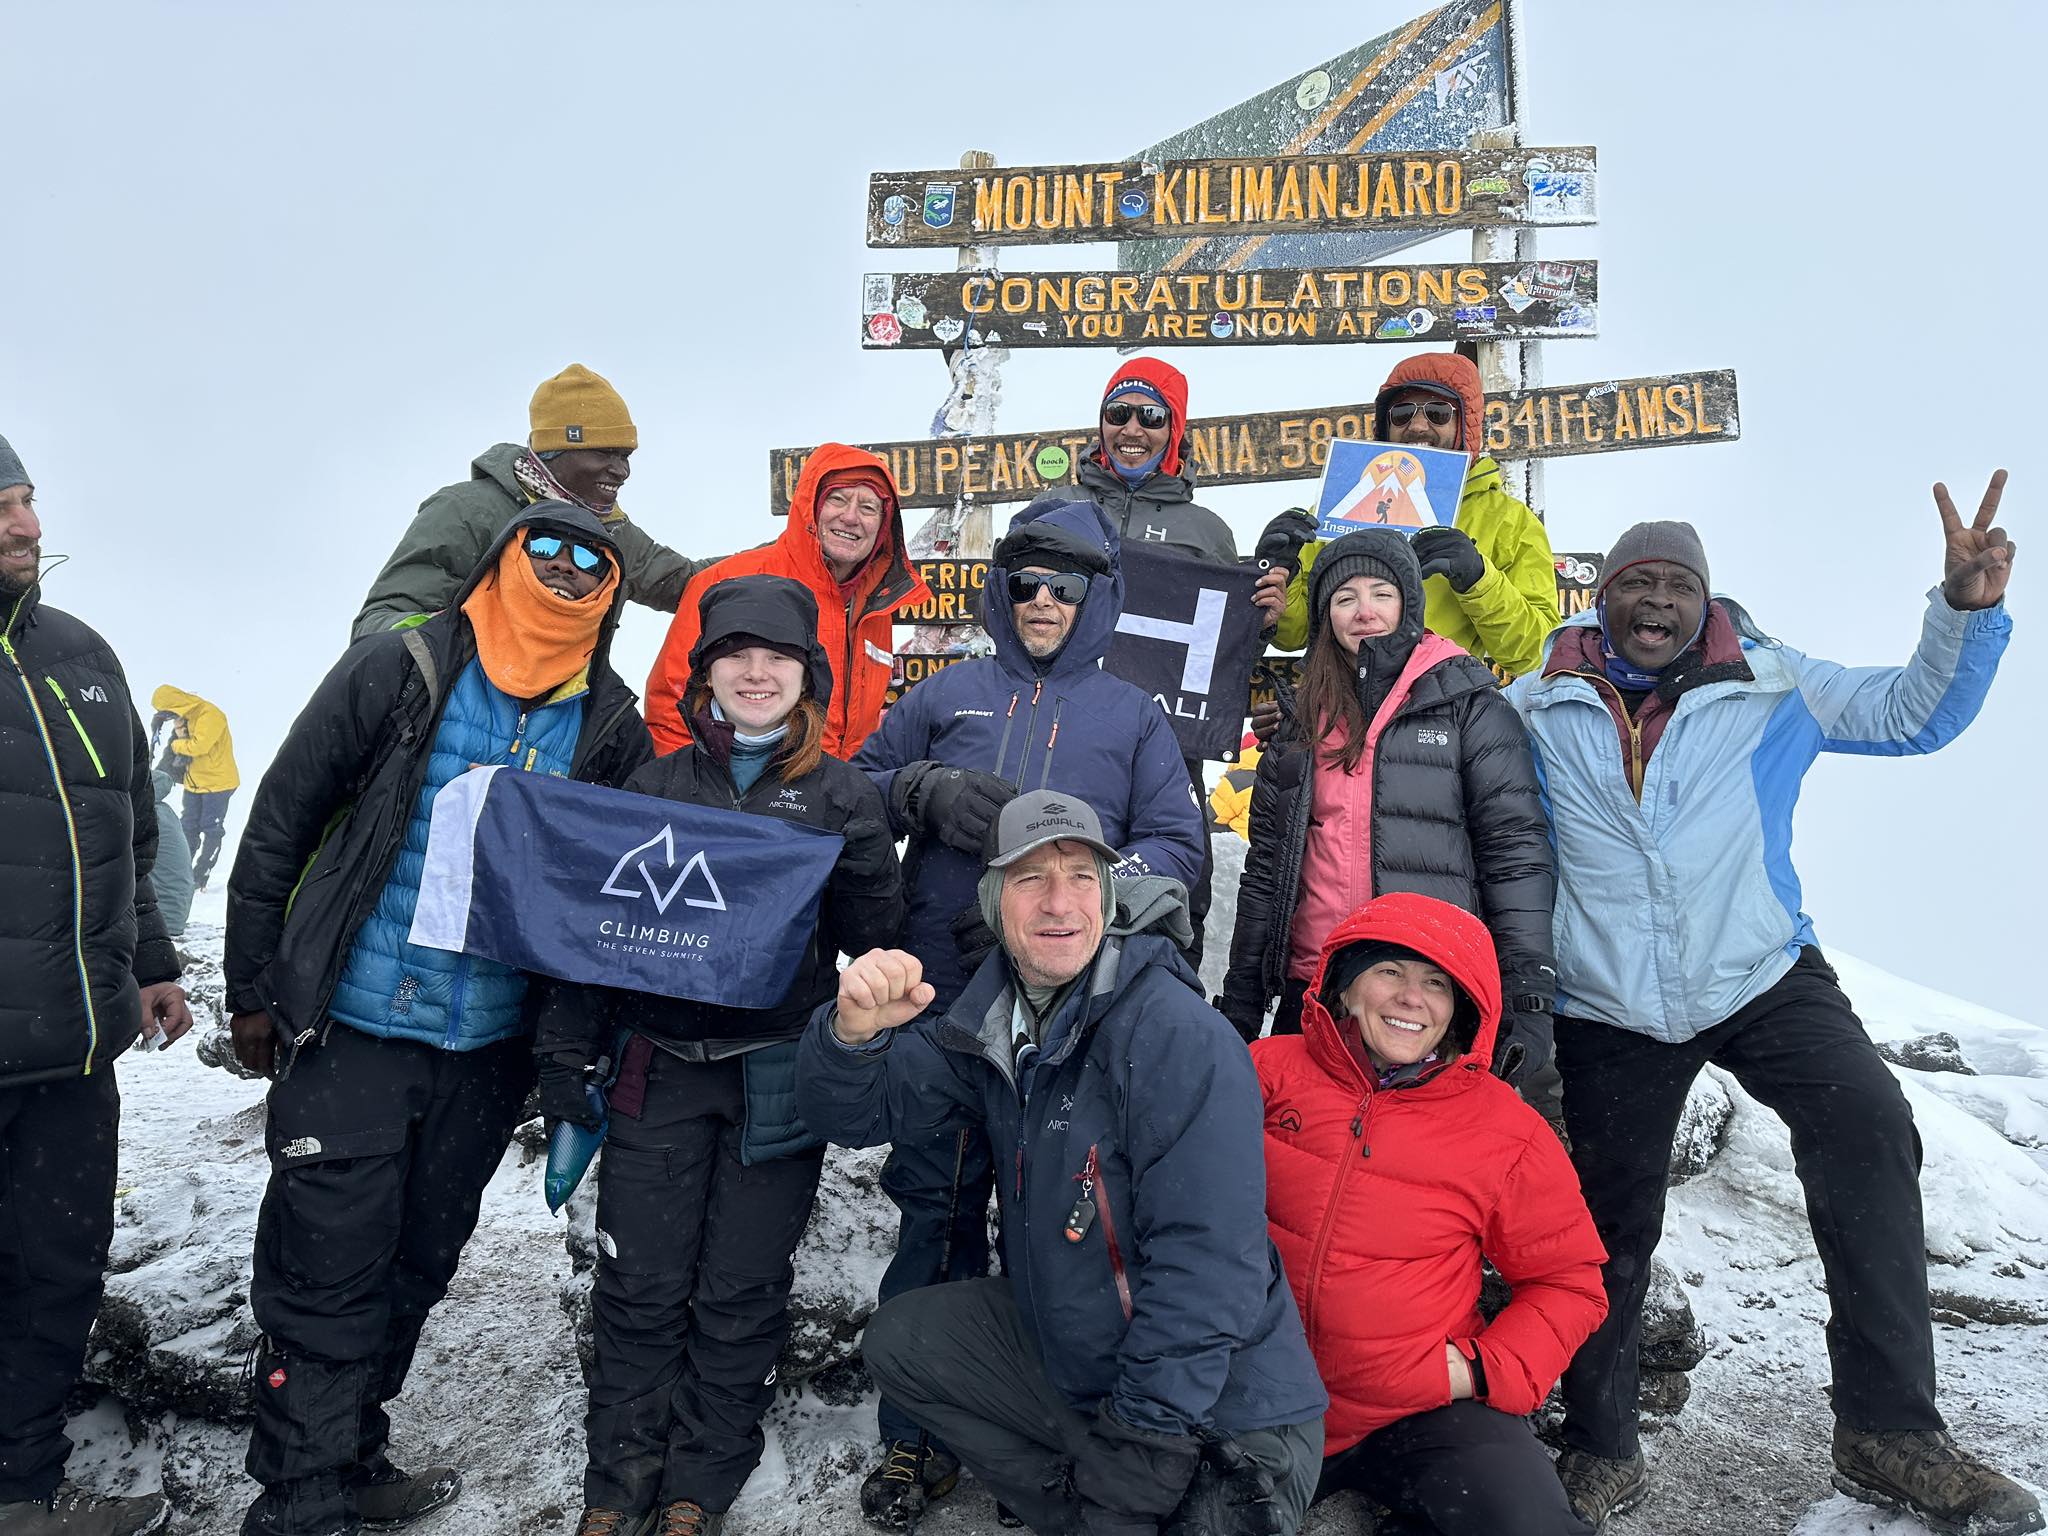
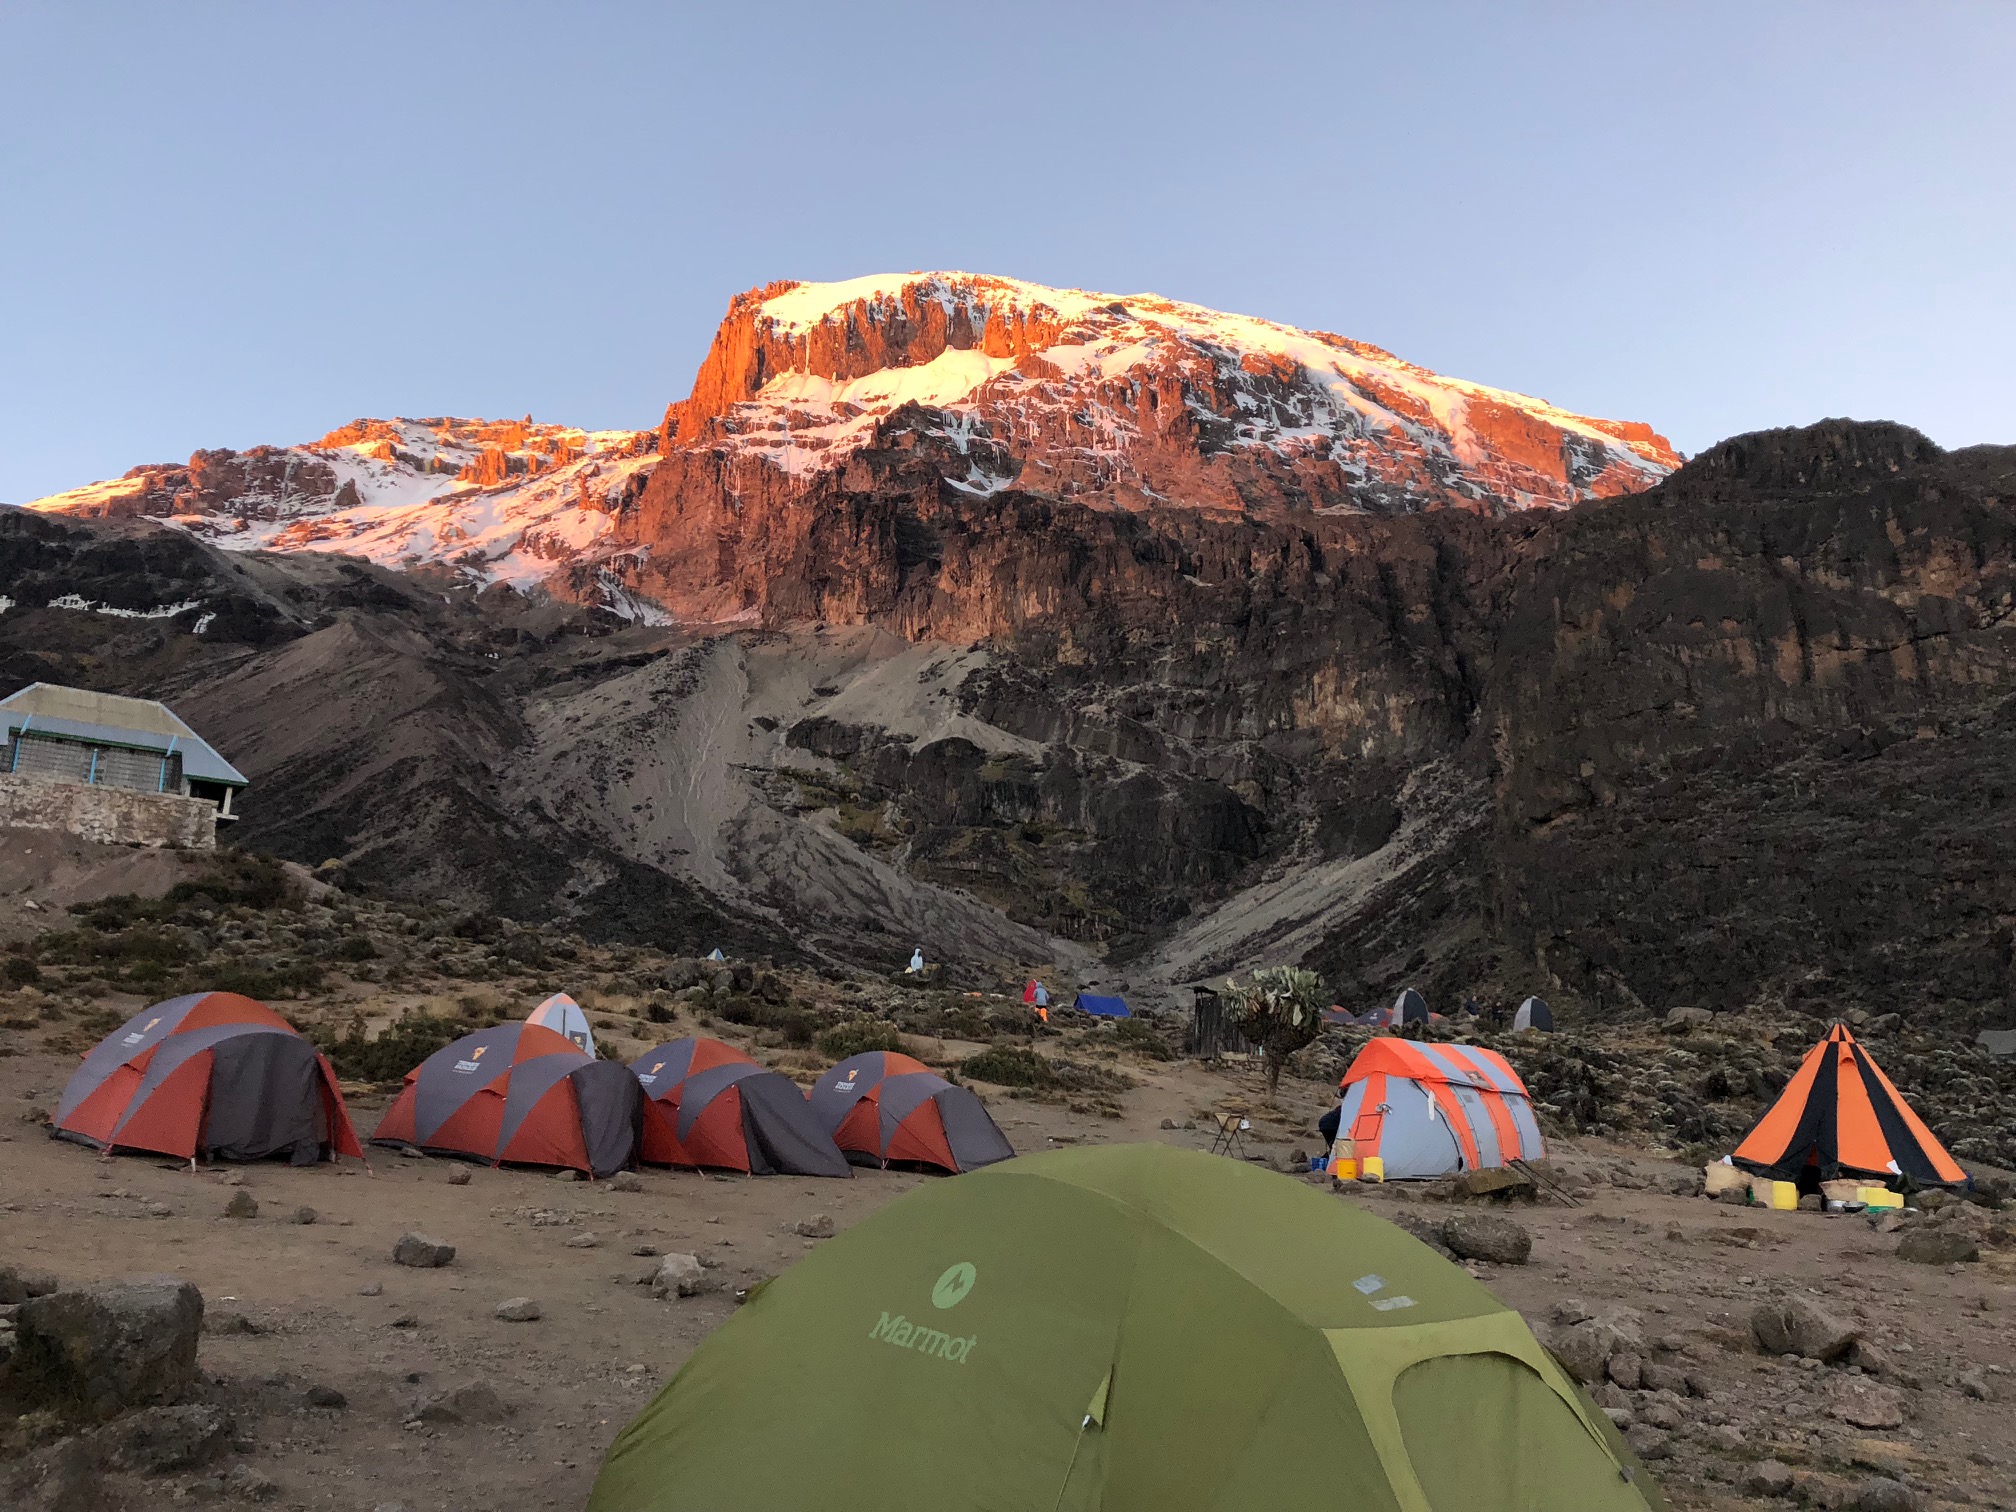
Mount Kilimanjaro – The tallest mountain on the continent of Africa, is breathtaking. An incongruous island of rock and snow, the summit rises more than 17,000 feet (5,100m) from the equatorial plains below.
It is one of the world’s most popular climbs and the most highly visited of the Seven Summits for good reason. A perfect entry point into mountaineering, it introduces you to the realities of mountain living and climbing at altitude while still being achievable for just about anyone willing to train for the experience. Many of the world’s most successful climbers can trace their start to their time on Kili.
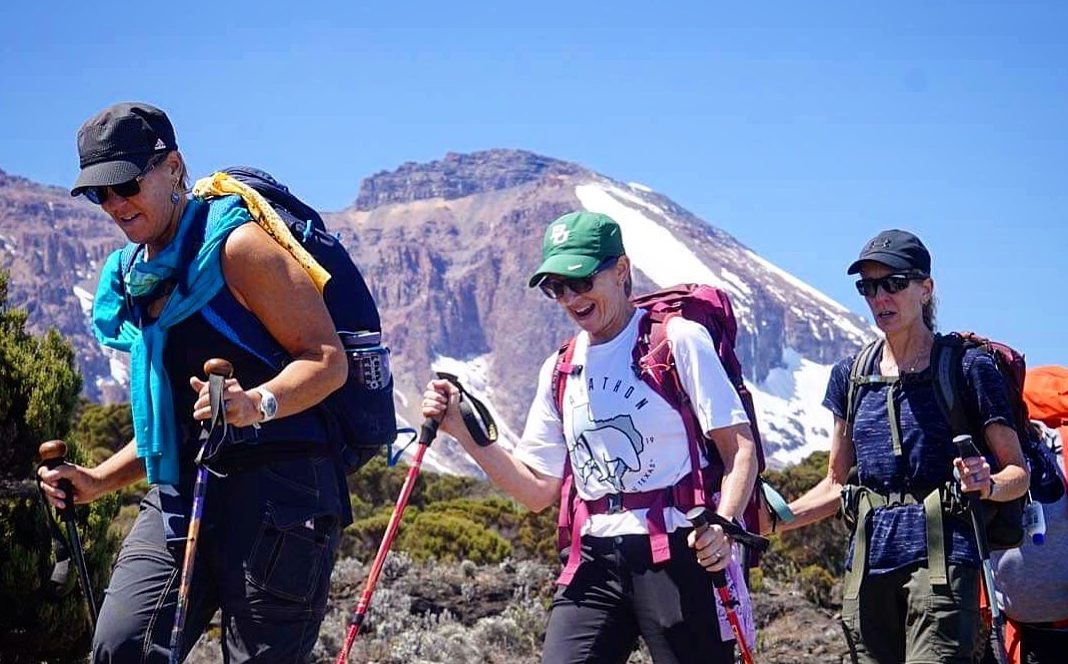
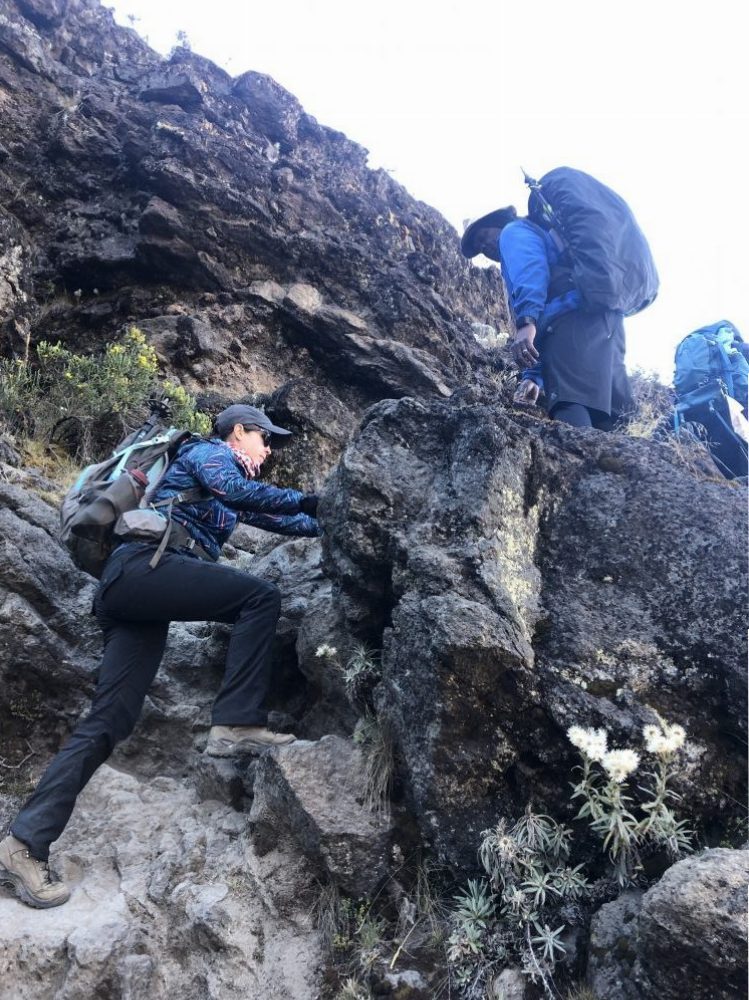
We ascend the peak using the Machame Route, which offers the best climbing and boasts a higher chance of success. The route circumnavigates the mountain gradually, allowing climbers ample time to acclimatize.
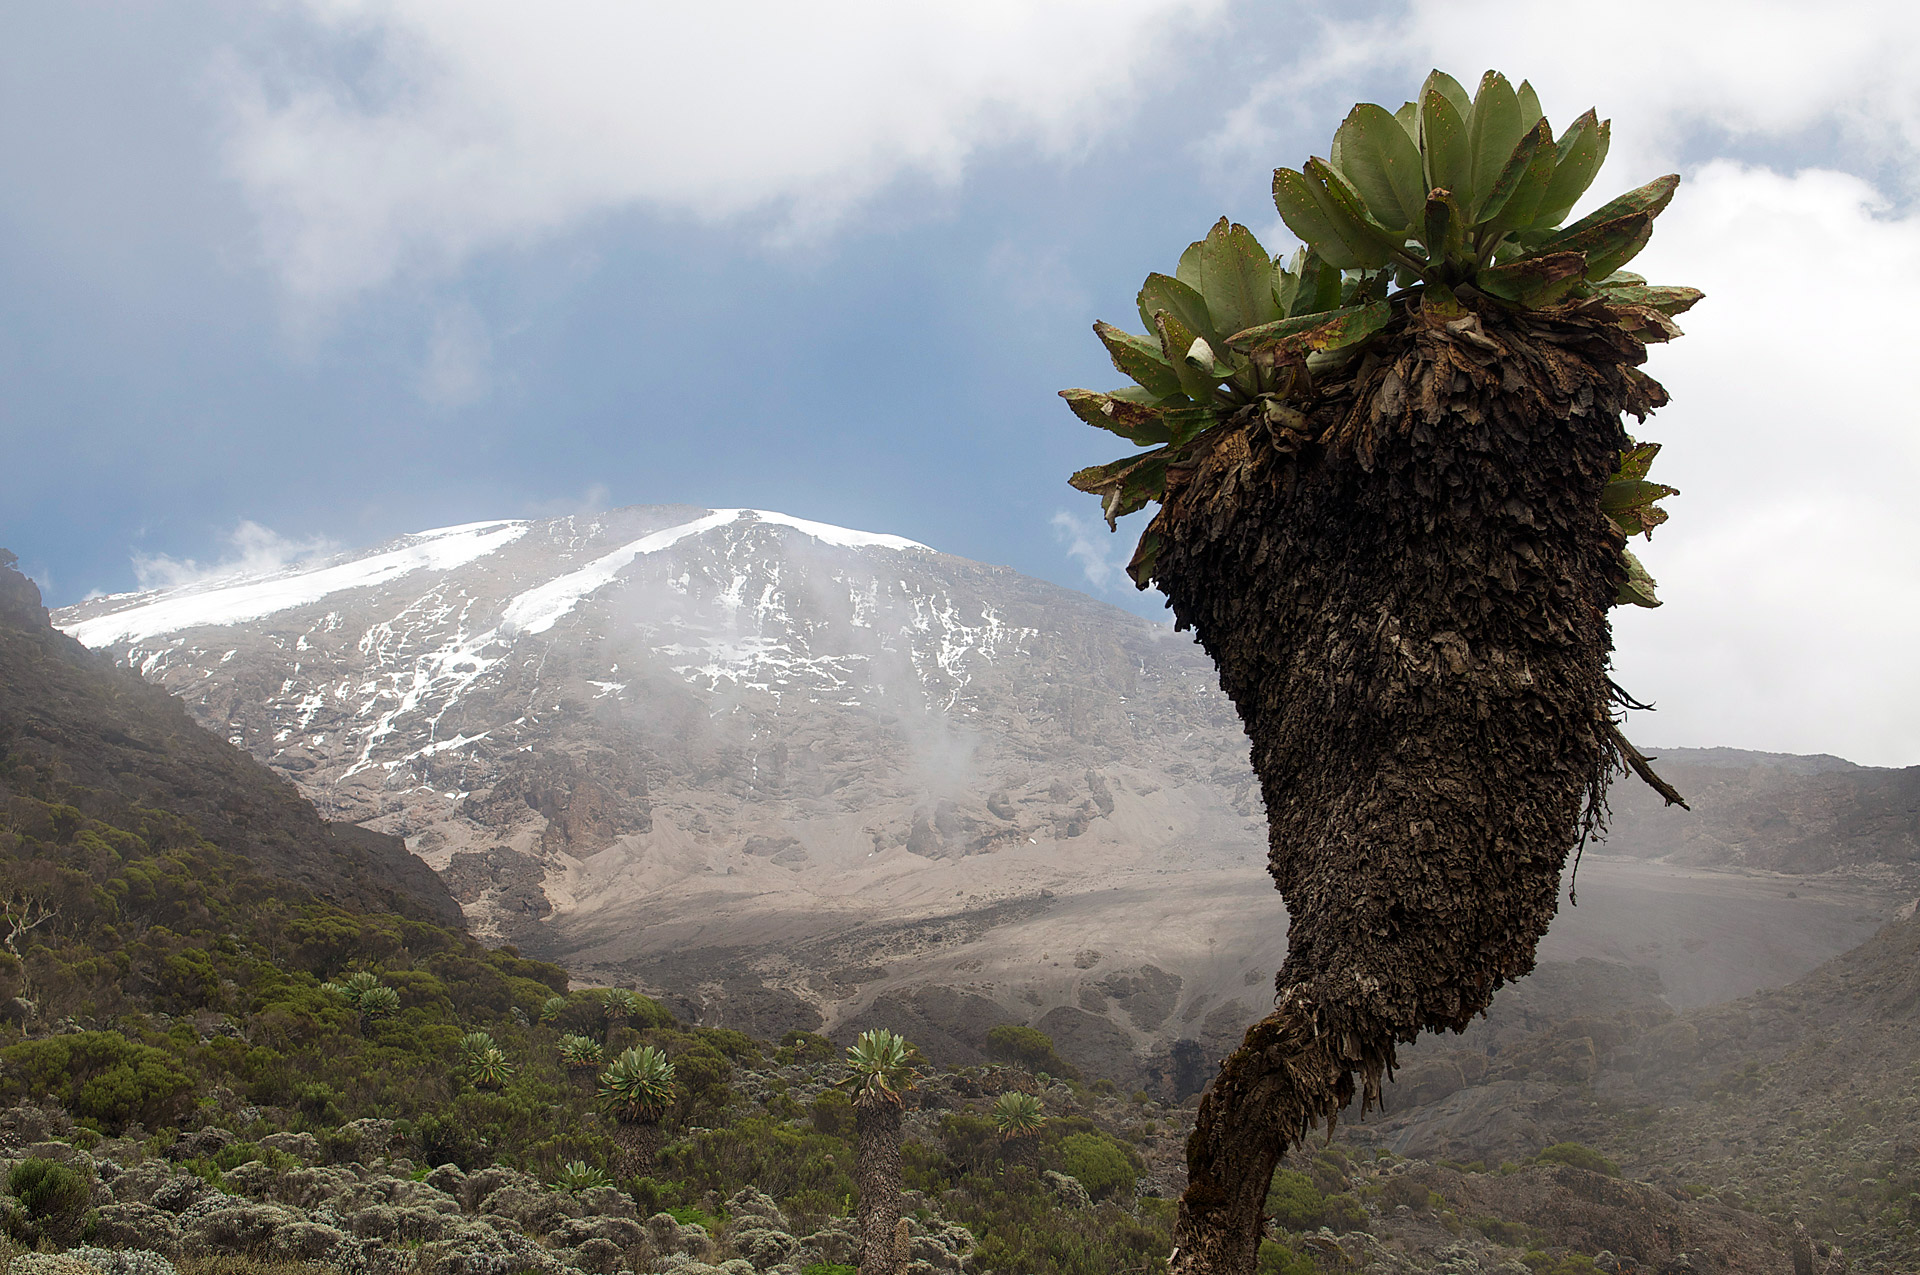
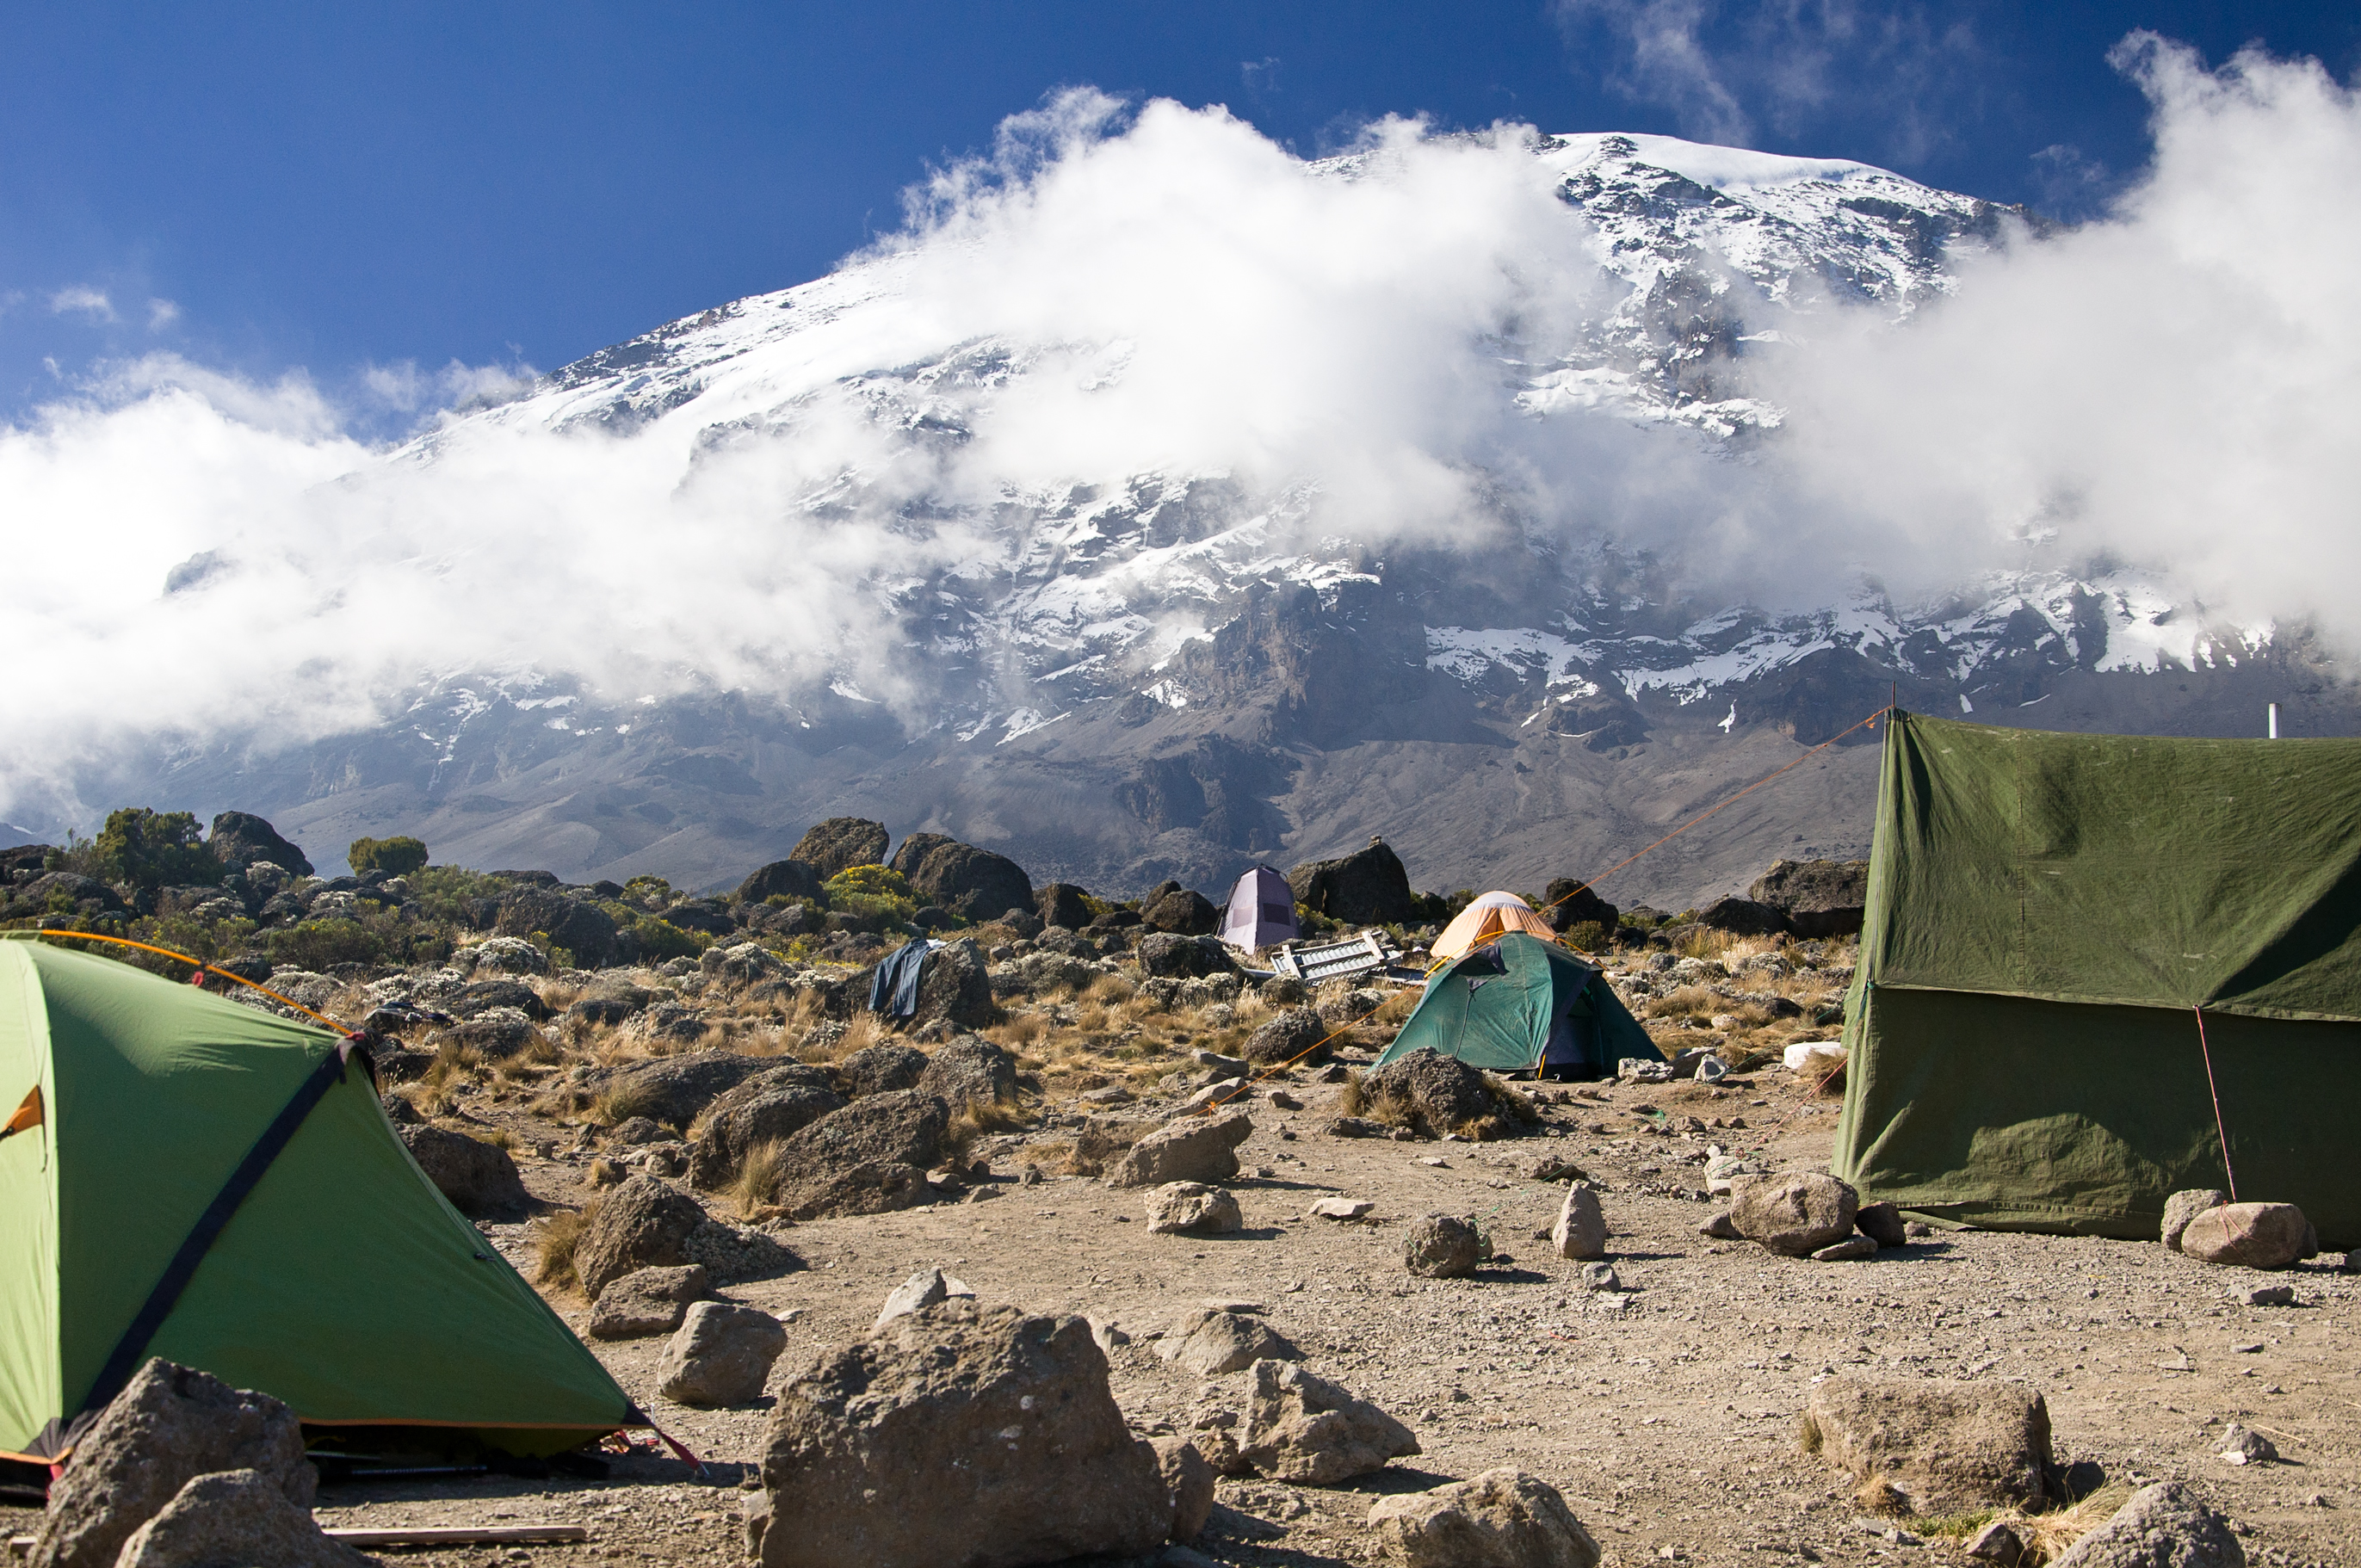
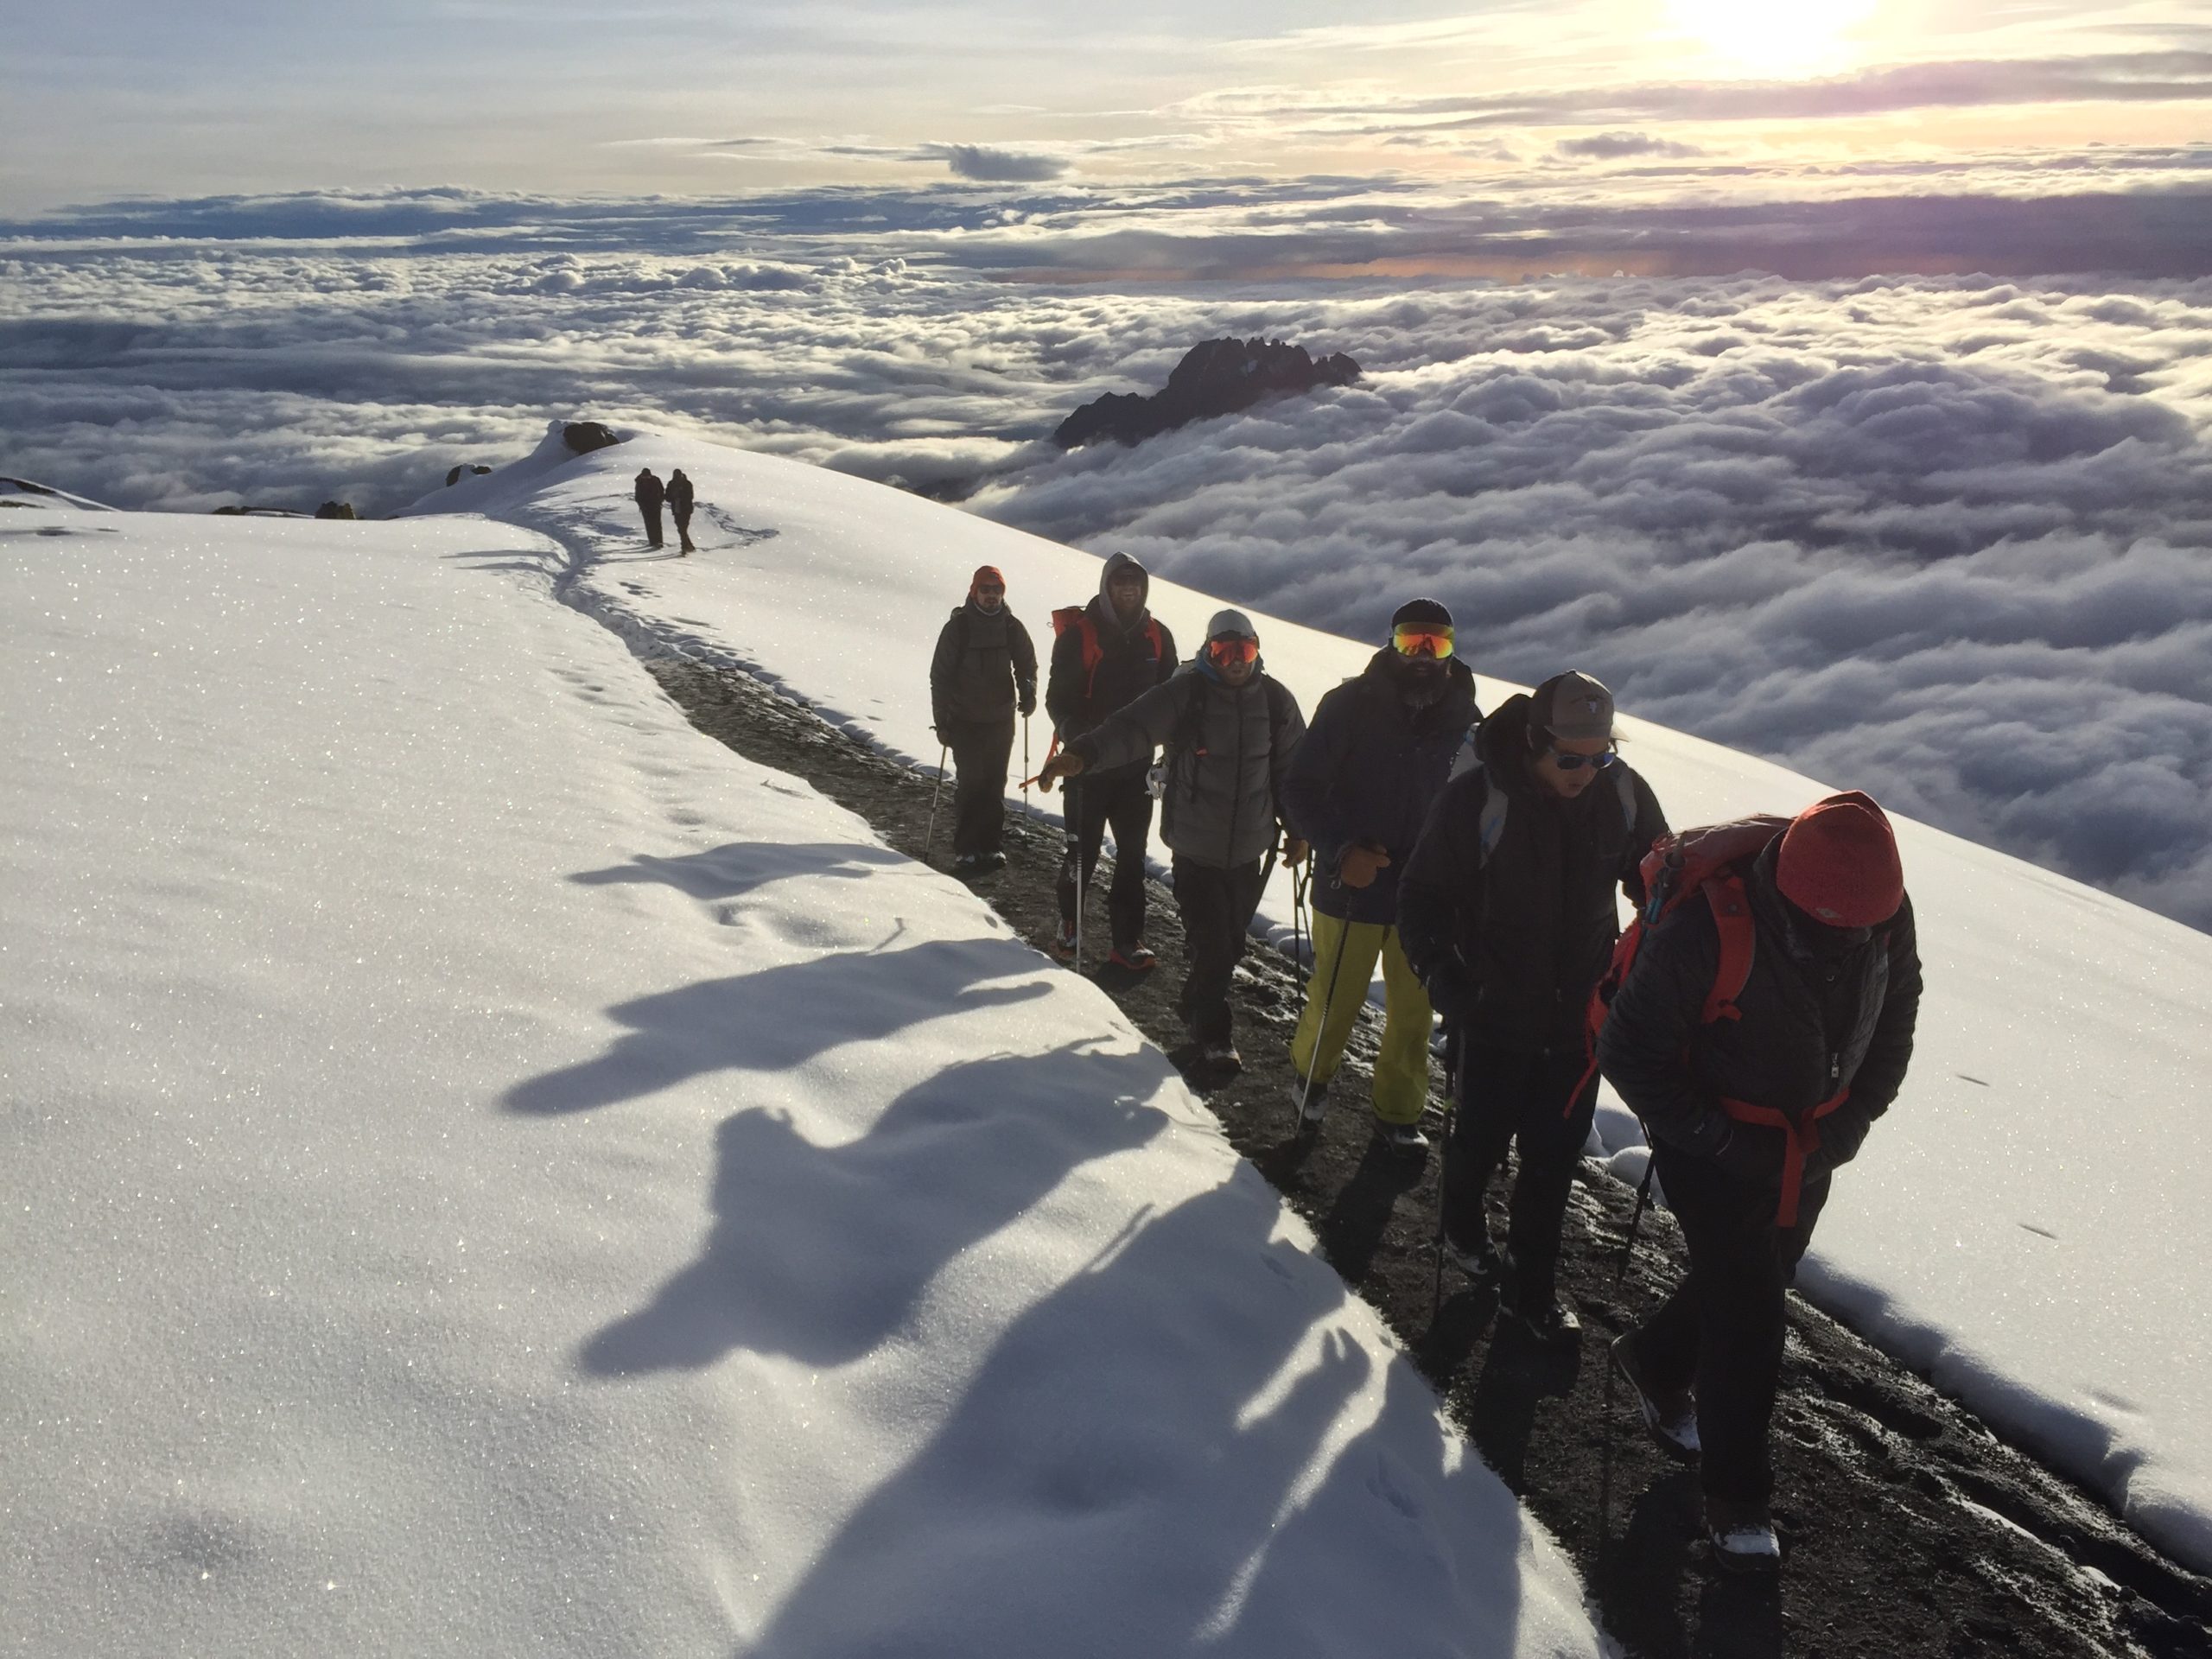
These extra days spent at altitude help climbers feel stronger and mitigate the chance of altitude illness. This makes the climb safer and gives us more time to enjoy the unique terrain and ecological zones (which make for excellent photo opportunities) on this beautiful peak. You will see when you’re on the mountain that there’s no better way to climb the peak than the Machame Route.
Kilimanjaro is a serious undertaking, and climbers should be prepared and physically fit. Our back office team and our guides will work with you before and throughout the expedition to provide logistics, guidance, and information to best ensure your summit success & safety.
When planning a trek to the Roof of Africa, we don’t doubt that you’ll do your homework comparing routes, prices, operators, and more. If you’ve been digging, it’s more than likely that you’ve noticed a few differences in our Kilimanjaro expeditions compared to others. With more than 300 operators vying for your business, it can feel like a never-ending rabbit hole to navigate and compare all the options. We want to take the legwork out of understanding the difference. After all, who you climb with could be the difference between standing on the Roof of Africa, falling in love with mountaineering, and finding a lifelong passion or being part of a massive team on a route that increases your risk of altitude sickness and having to turn back shy of the summit.
So, how do we choose to set ourselves apart from the rest? We are proud to be a true mountaineering guide service rather than simply a trek operator. With a name like Climbing the Seven Summits, it shouldn’t be a surprise that we lead expeditions all over the world. From the summit of Everest to the top of Antarctica, Aconcagua to Denali, our mission is to deploy the best guides and logistics in the world for your safety and success in the high mountains. In addition, we take pride in having a different approach and philosophy when compared to most travel companies. The quality of our hand-picked, global guide staff, our approach to high altitude illness, our acclimatization schedules, our Marginal Gains Philosophy, and our No D*ckheads Policy are just a few of the things that set us apart.
Kilimanjaro Expedition Highlights:
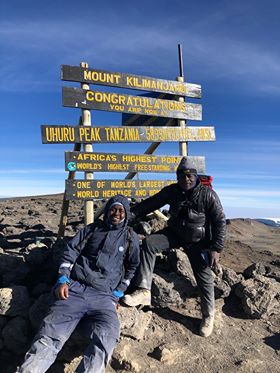
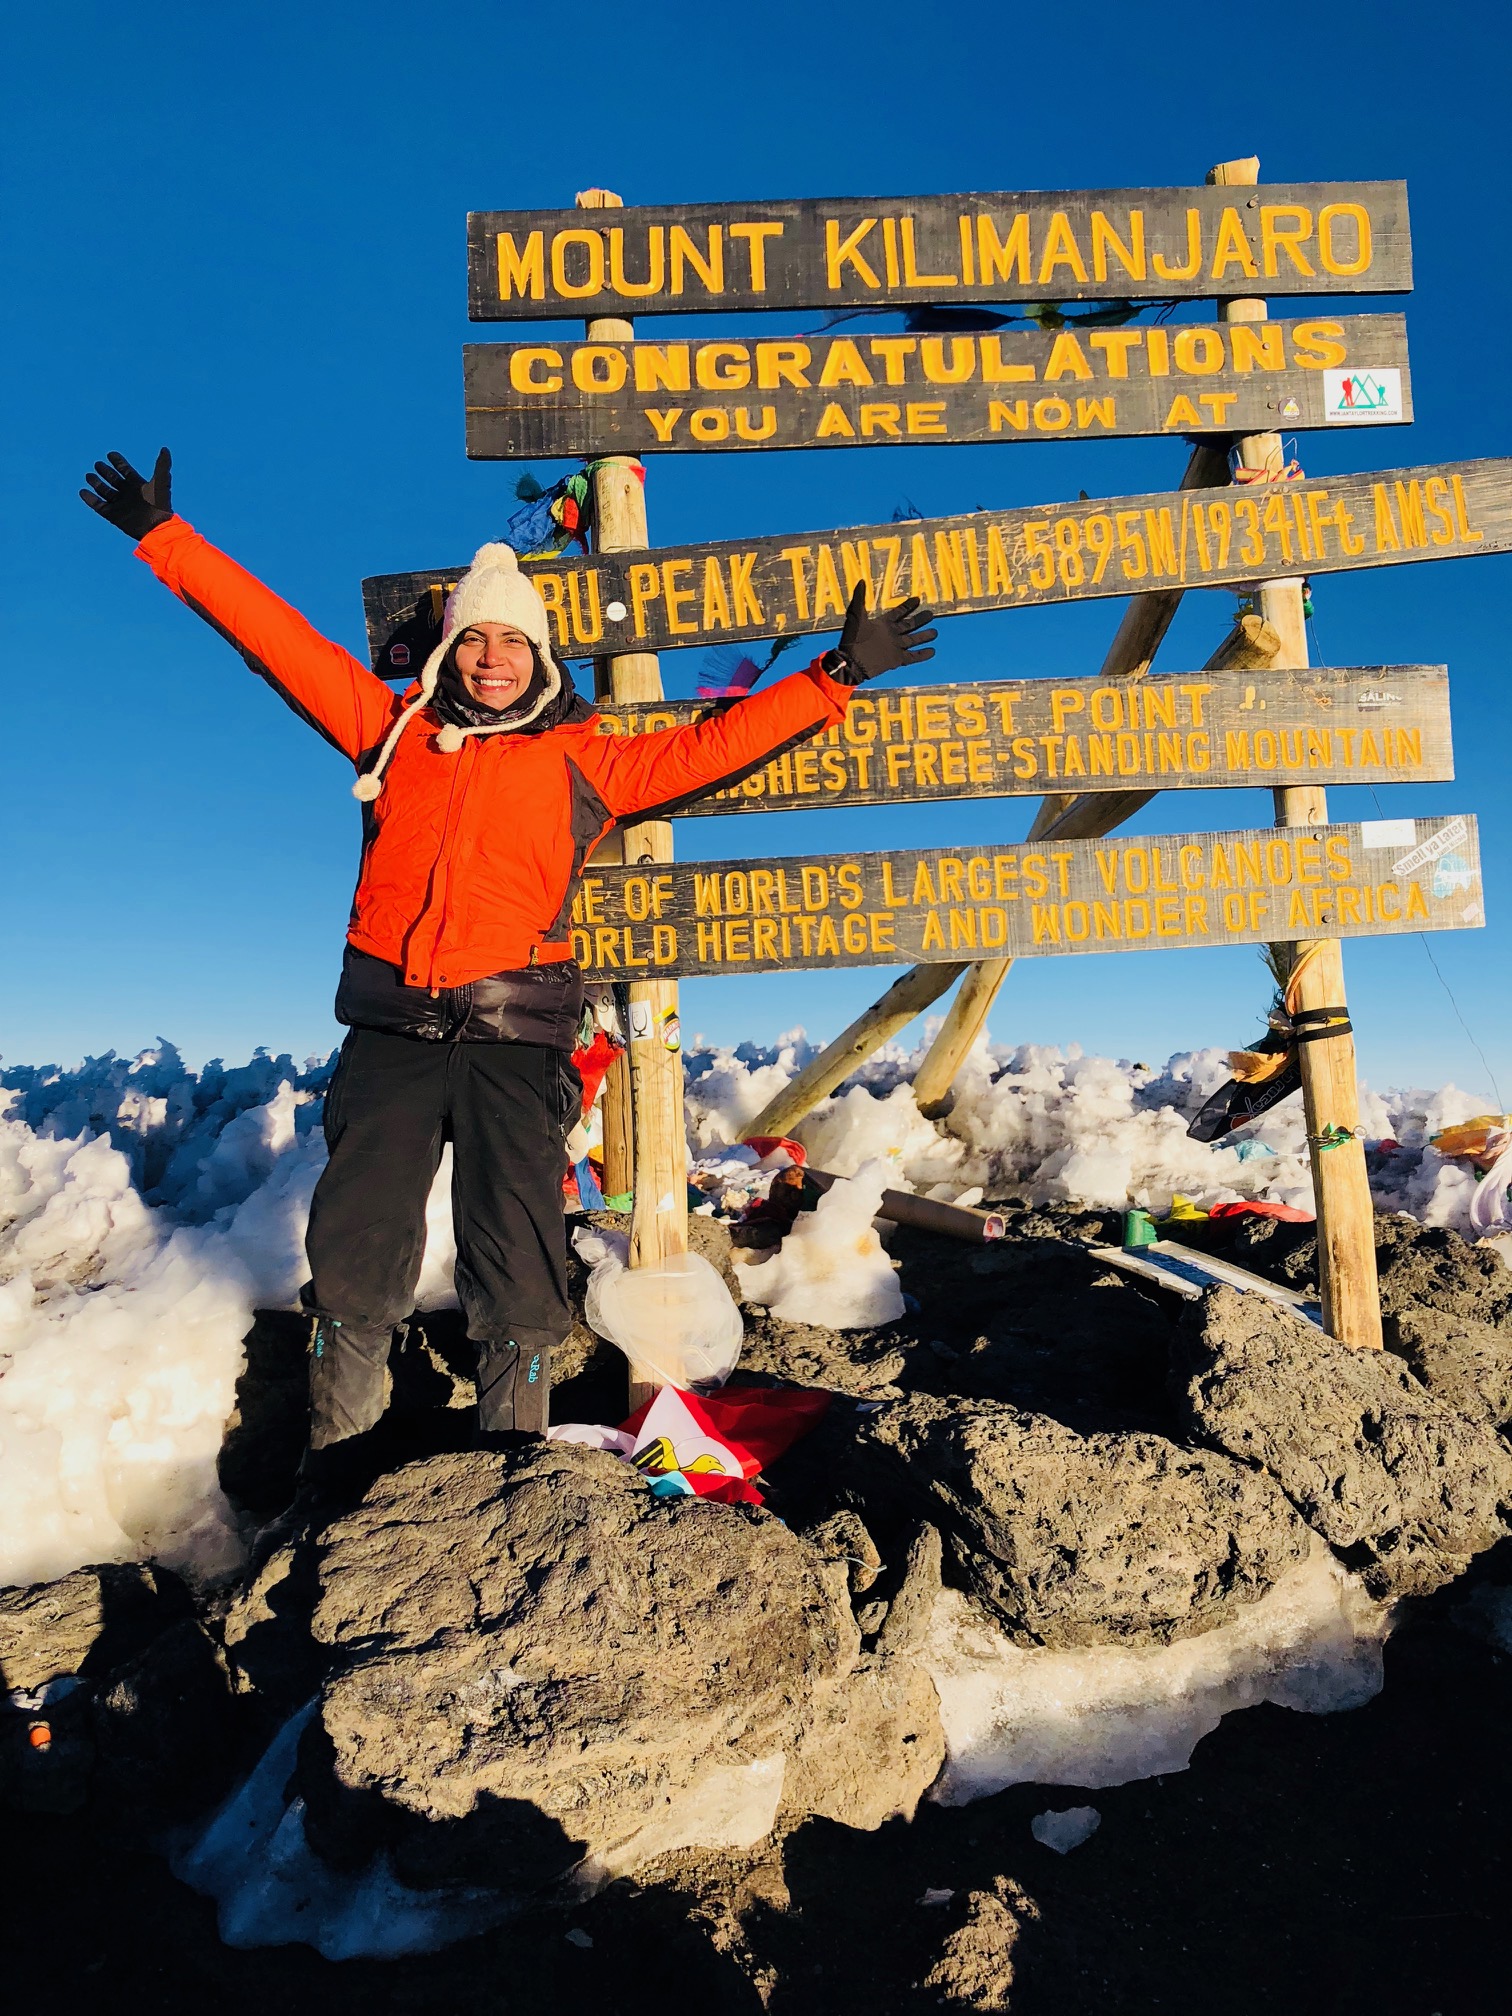
- Stand on the Roof of Africa at 19,341 feet
- Check this classic climb off your bucket list
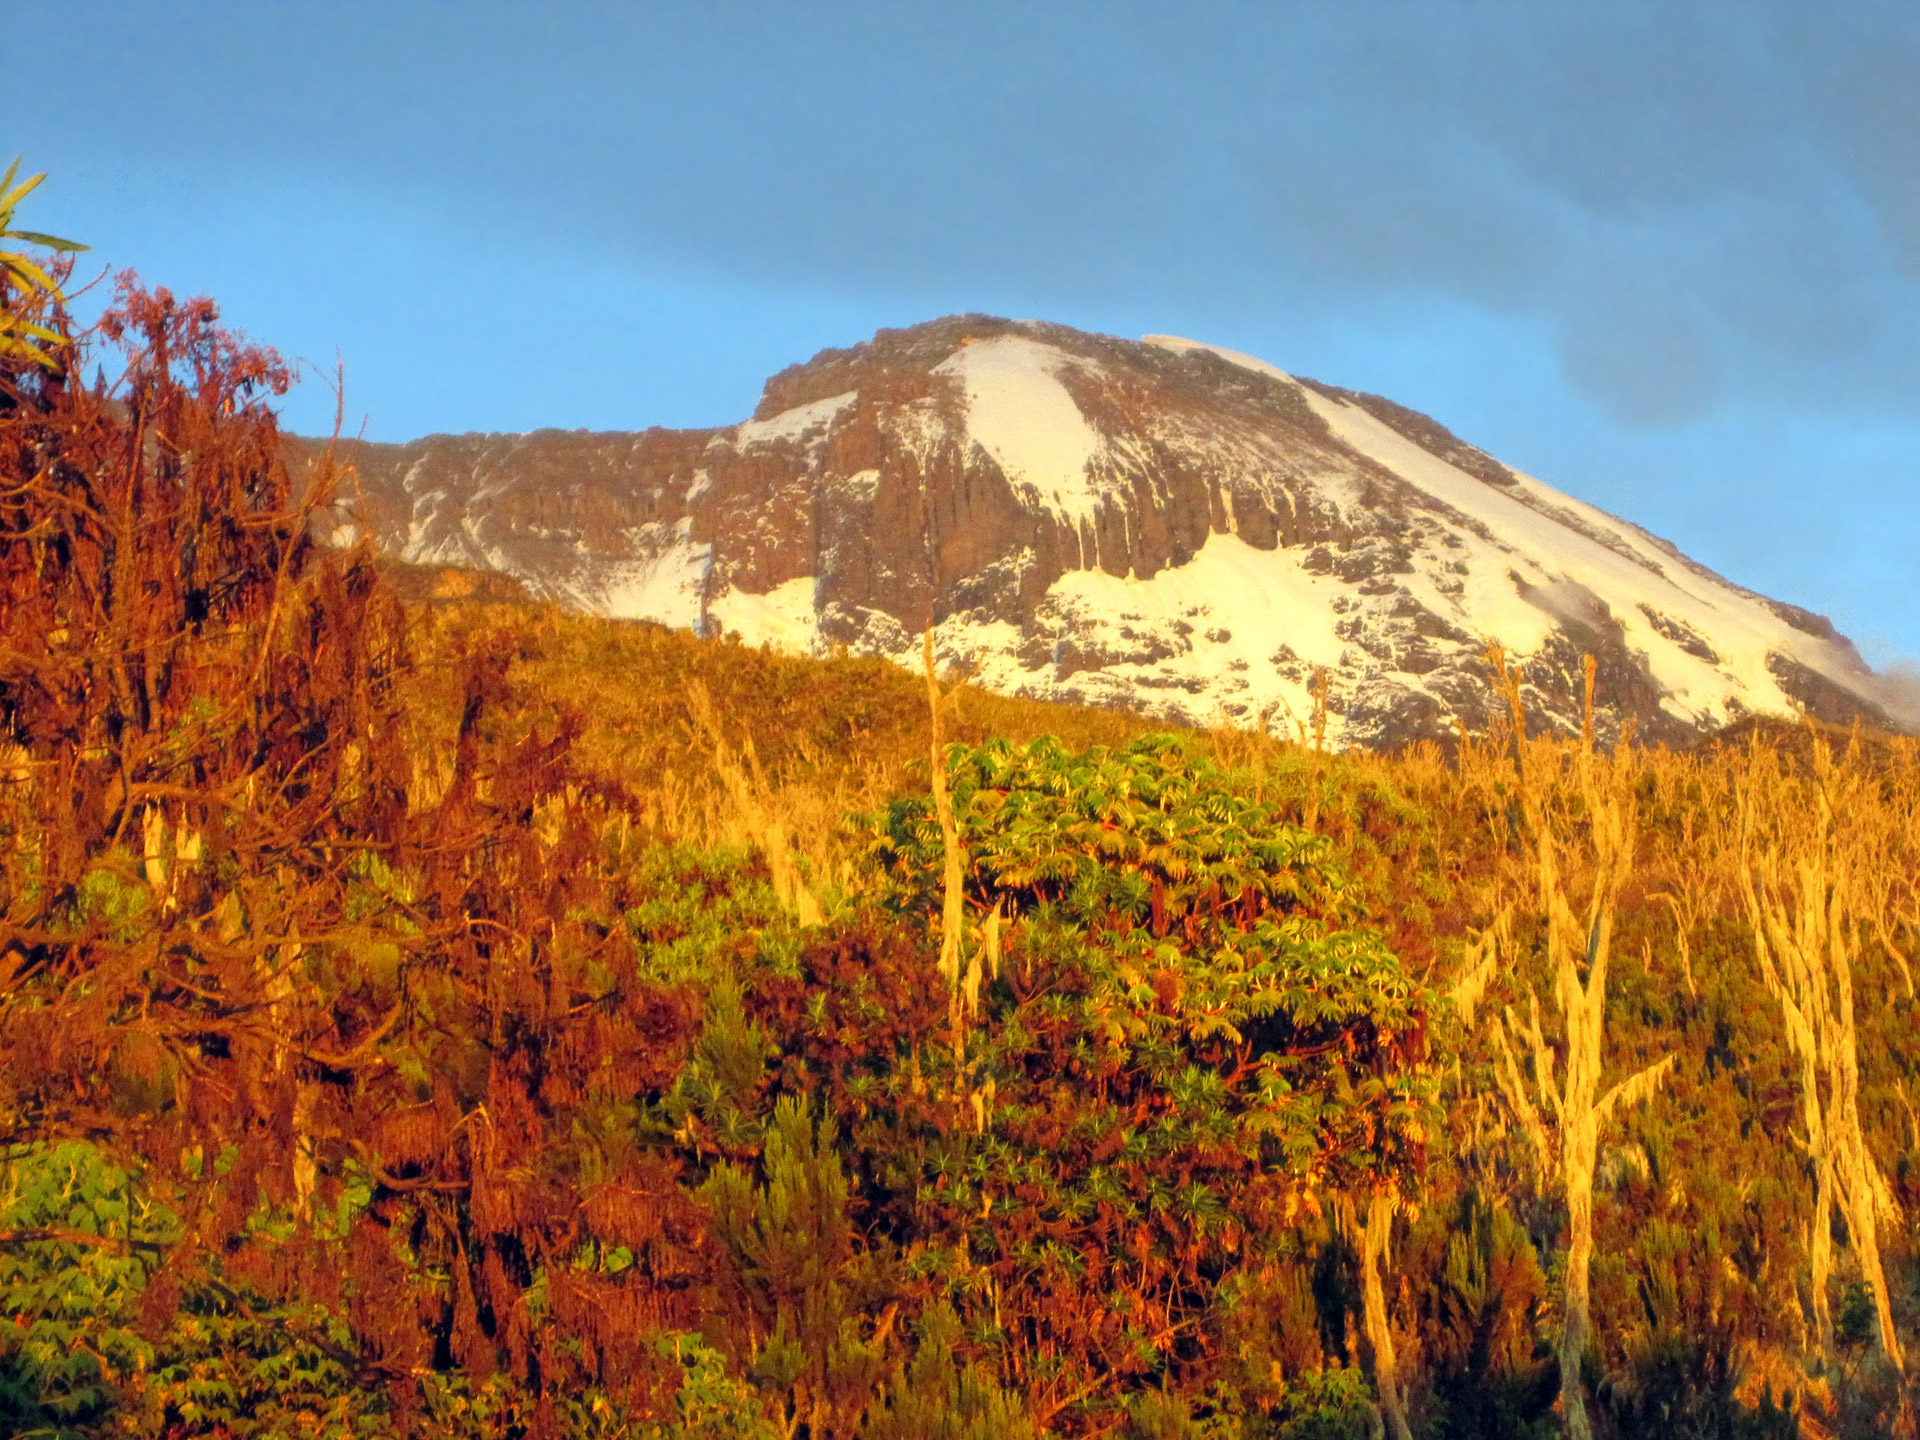
- See the Furtwangler Glacier before it’s gone
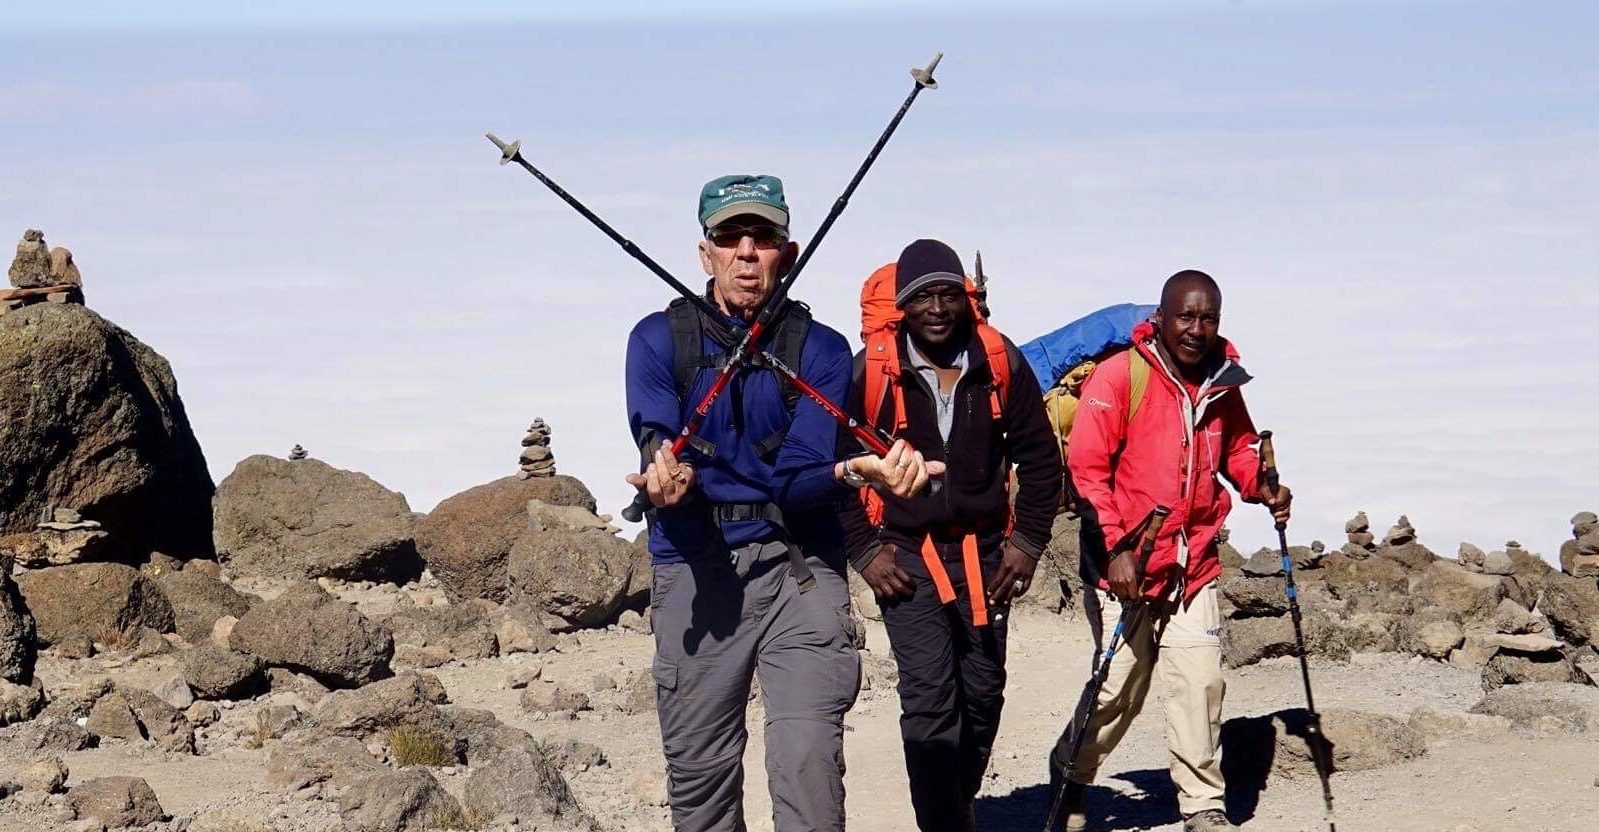
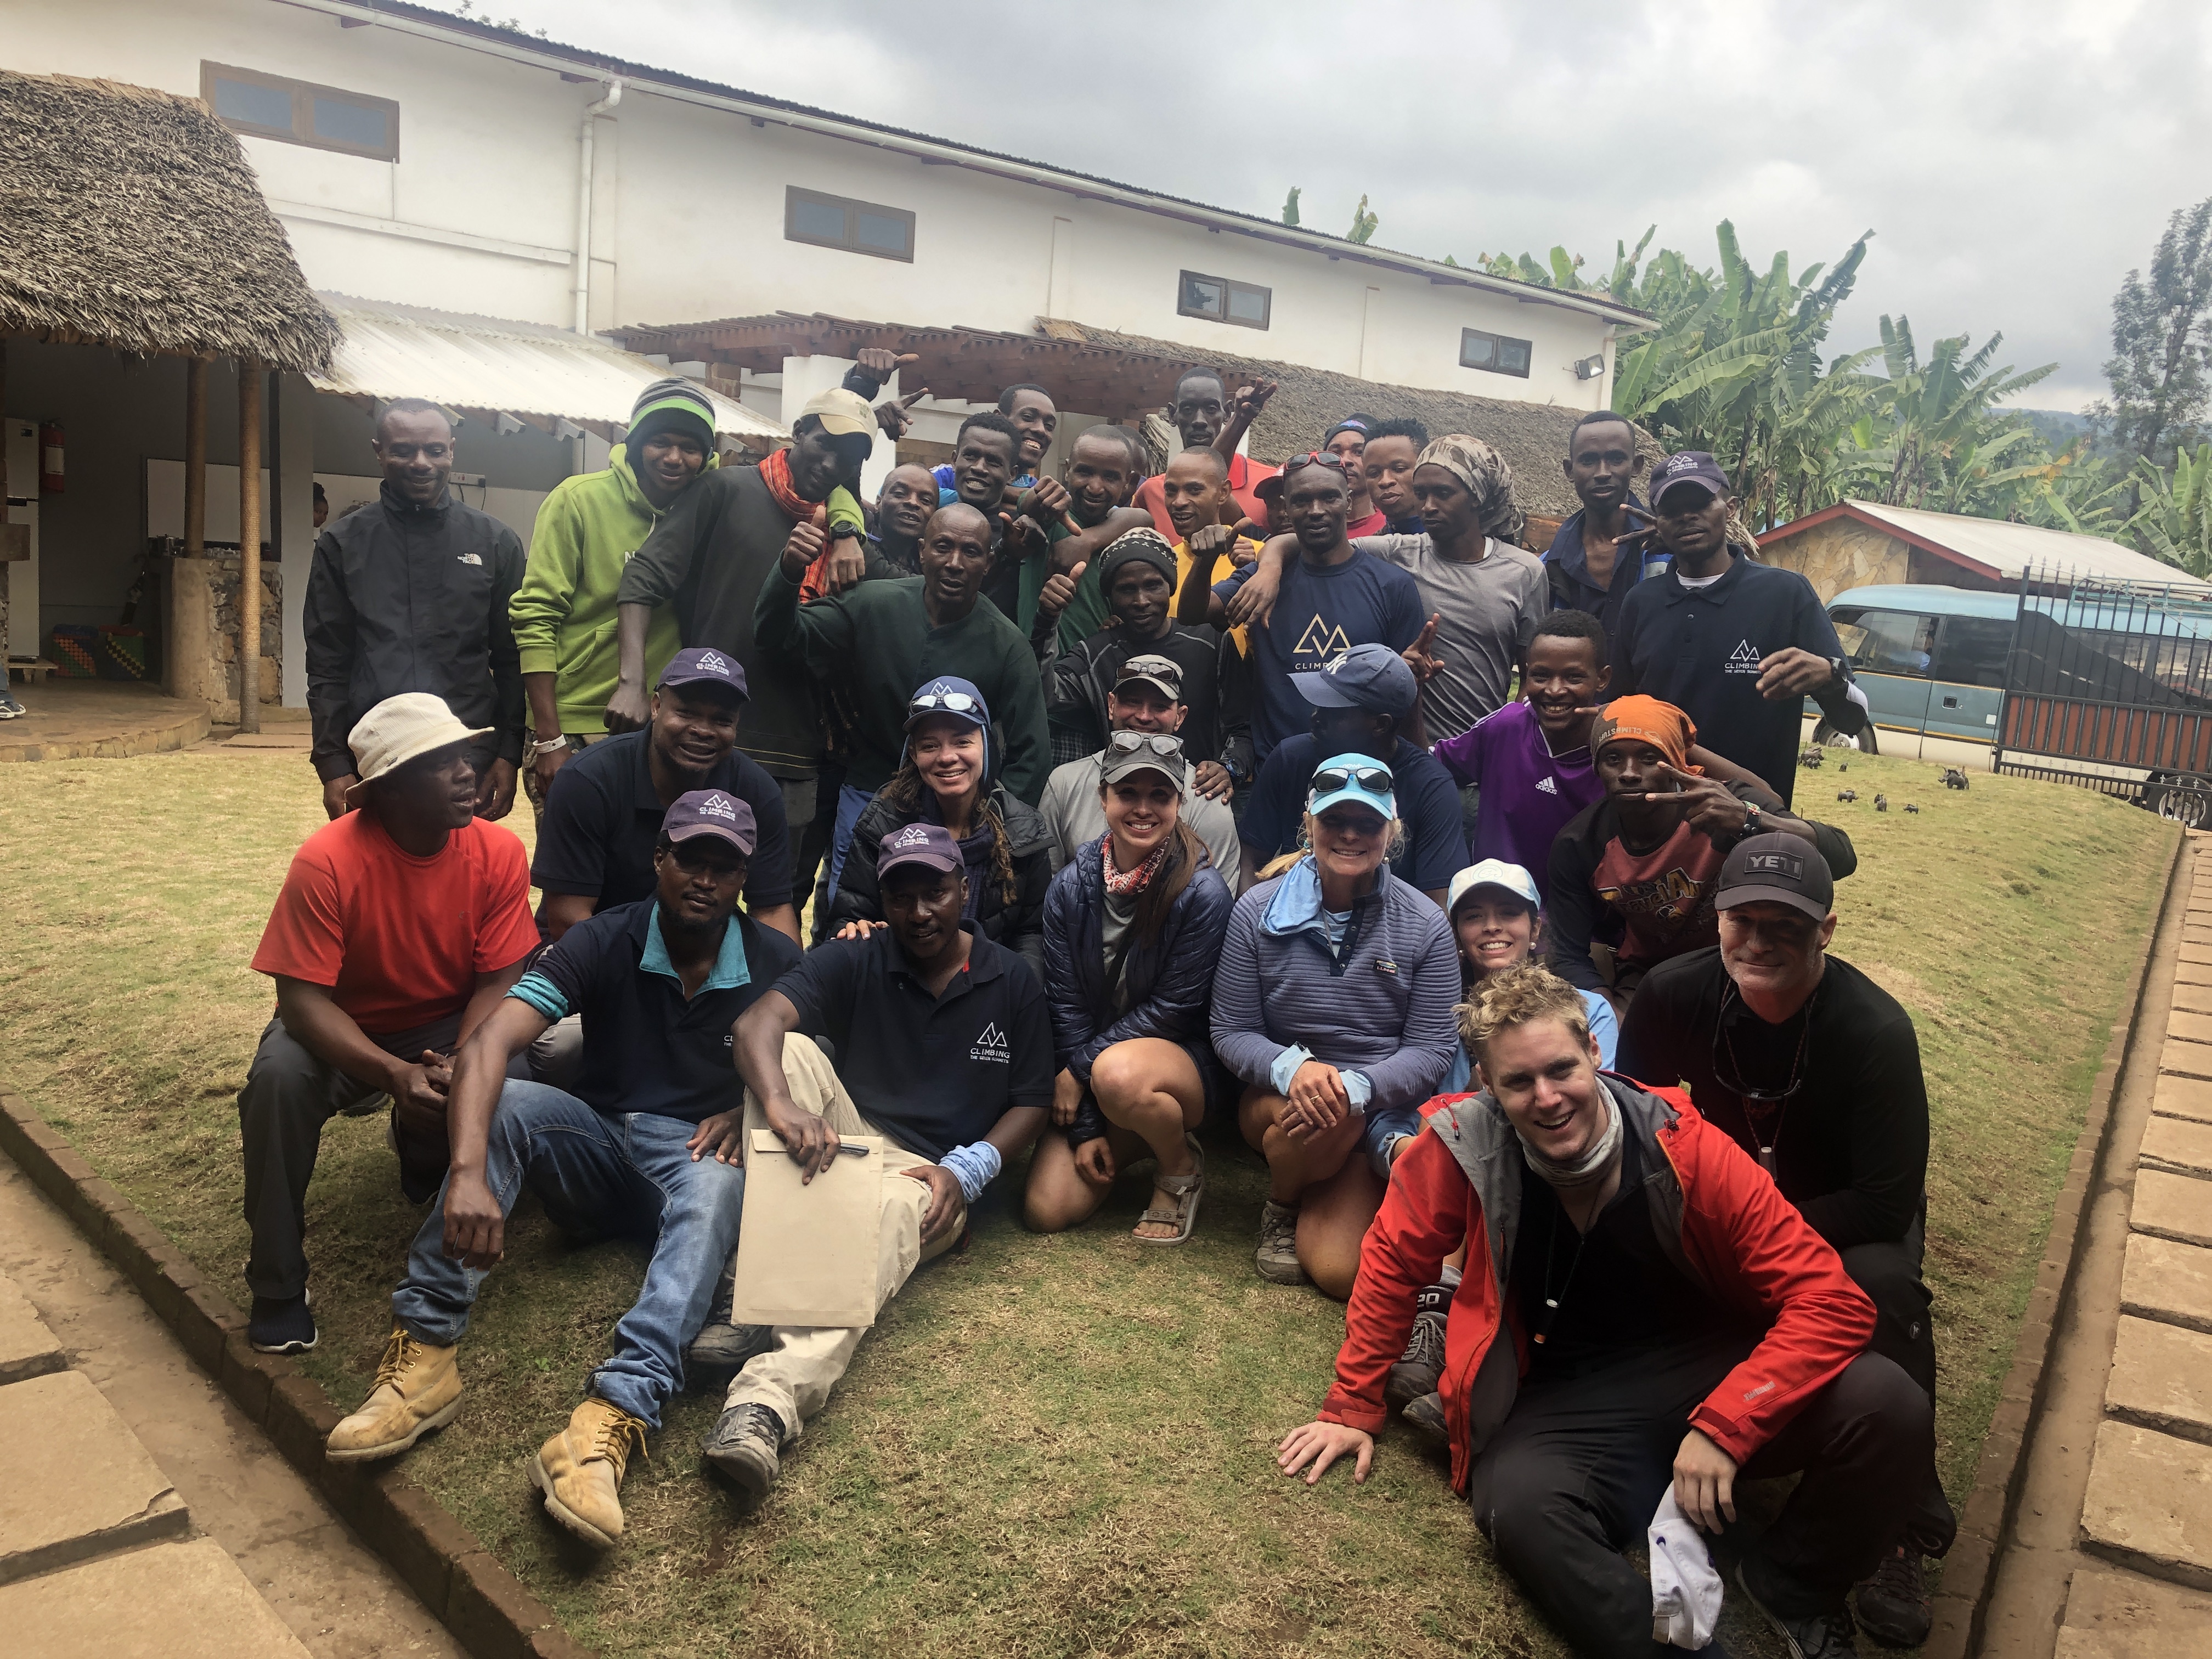
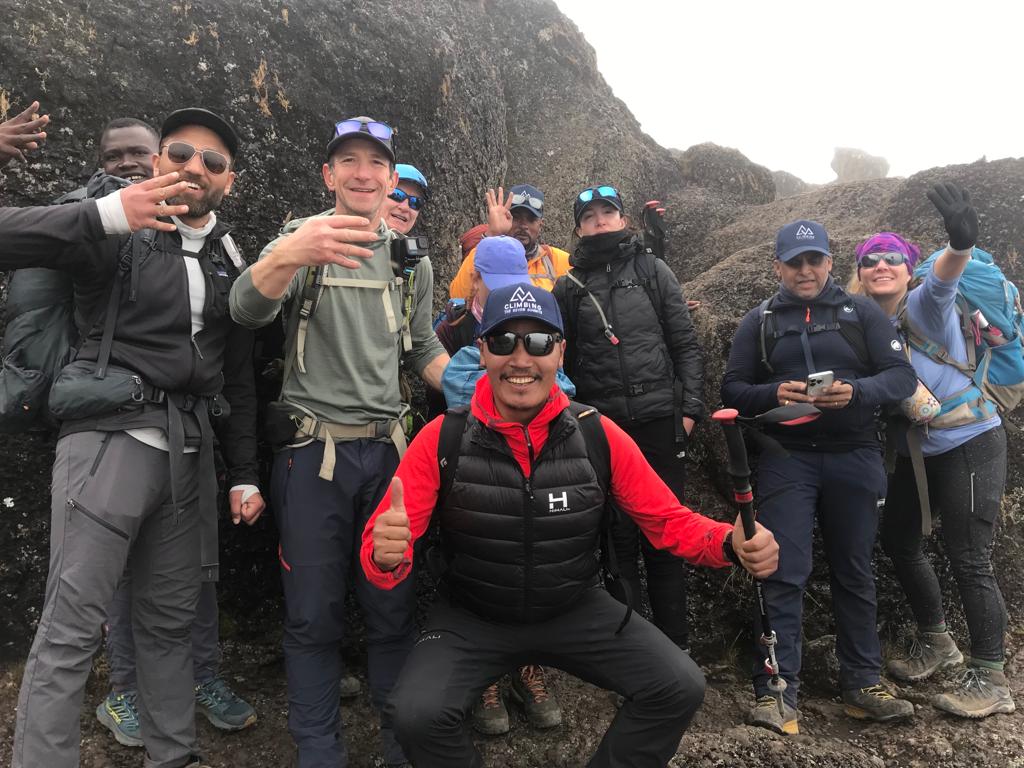
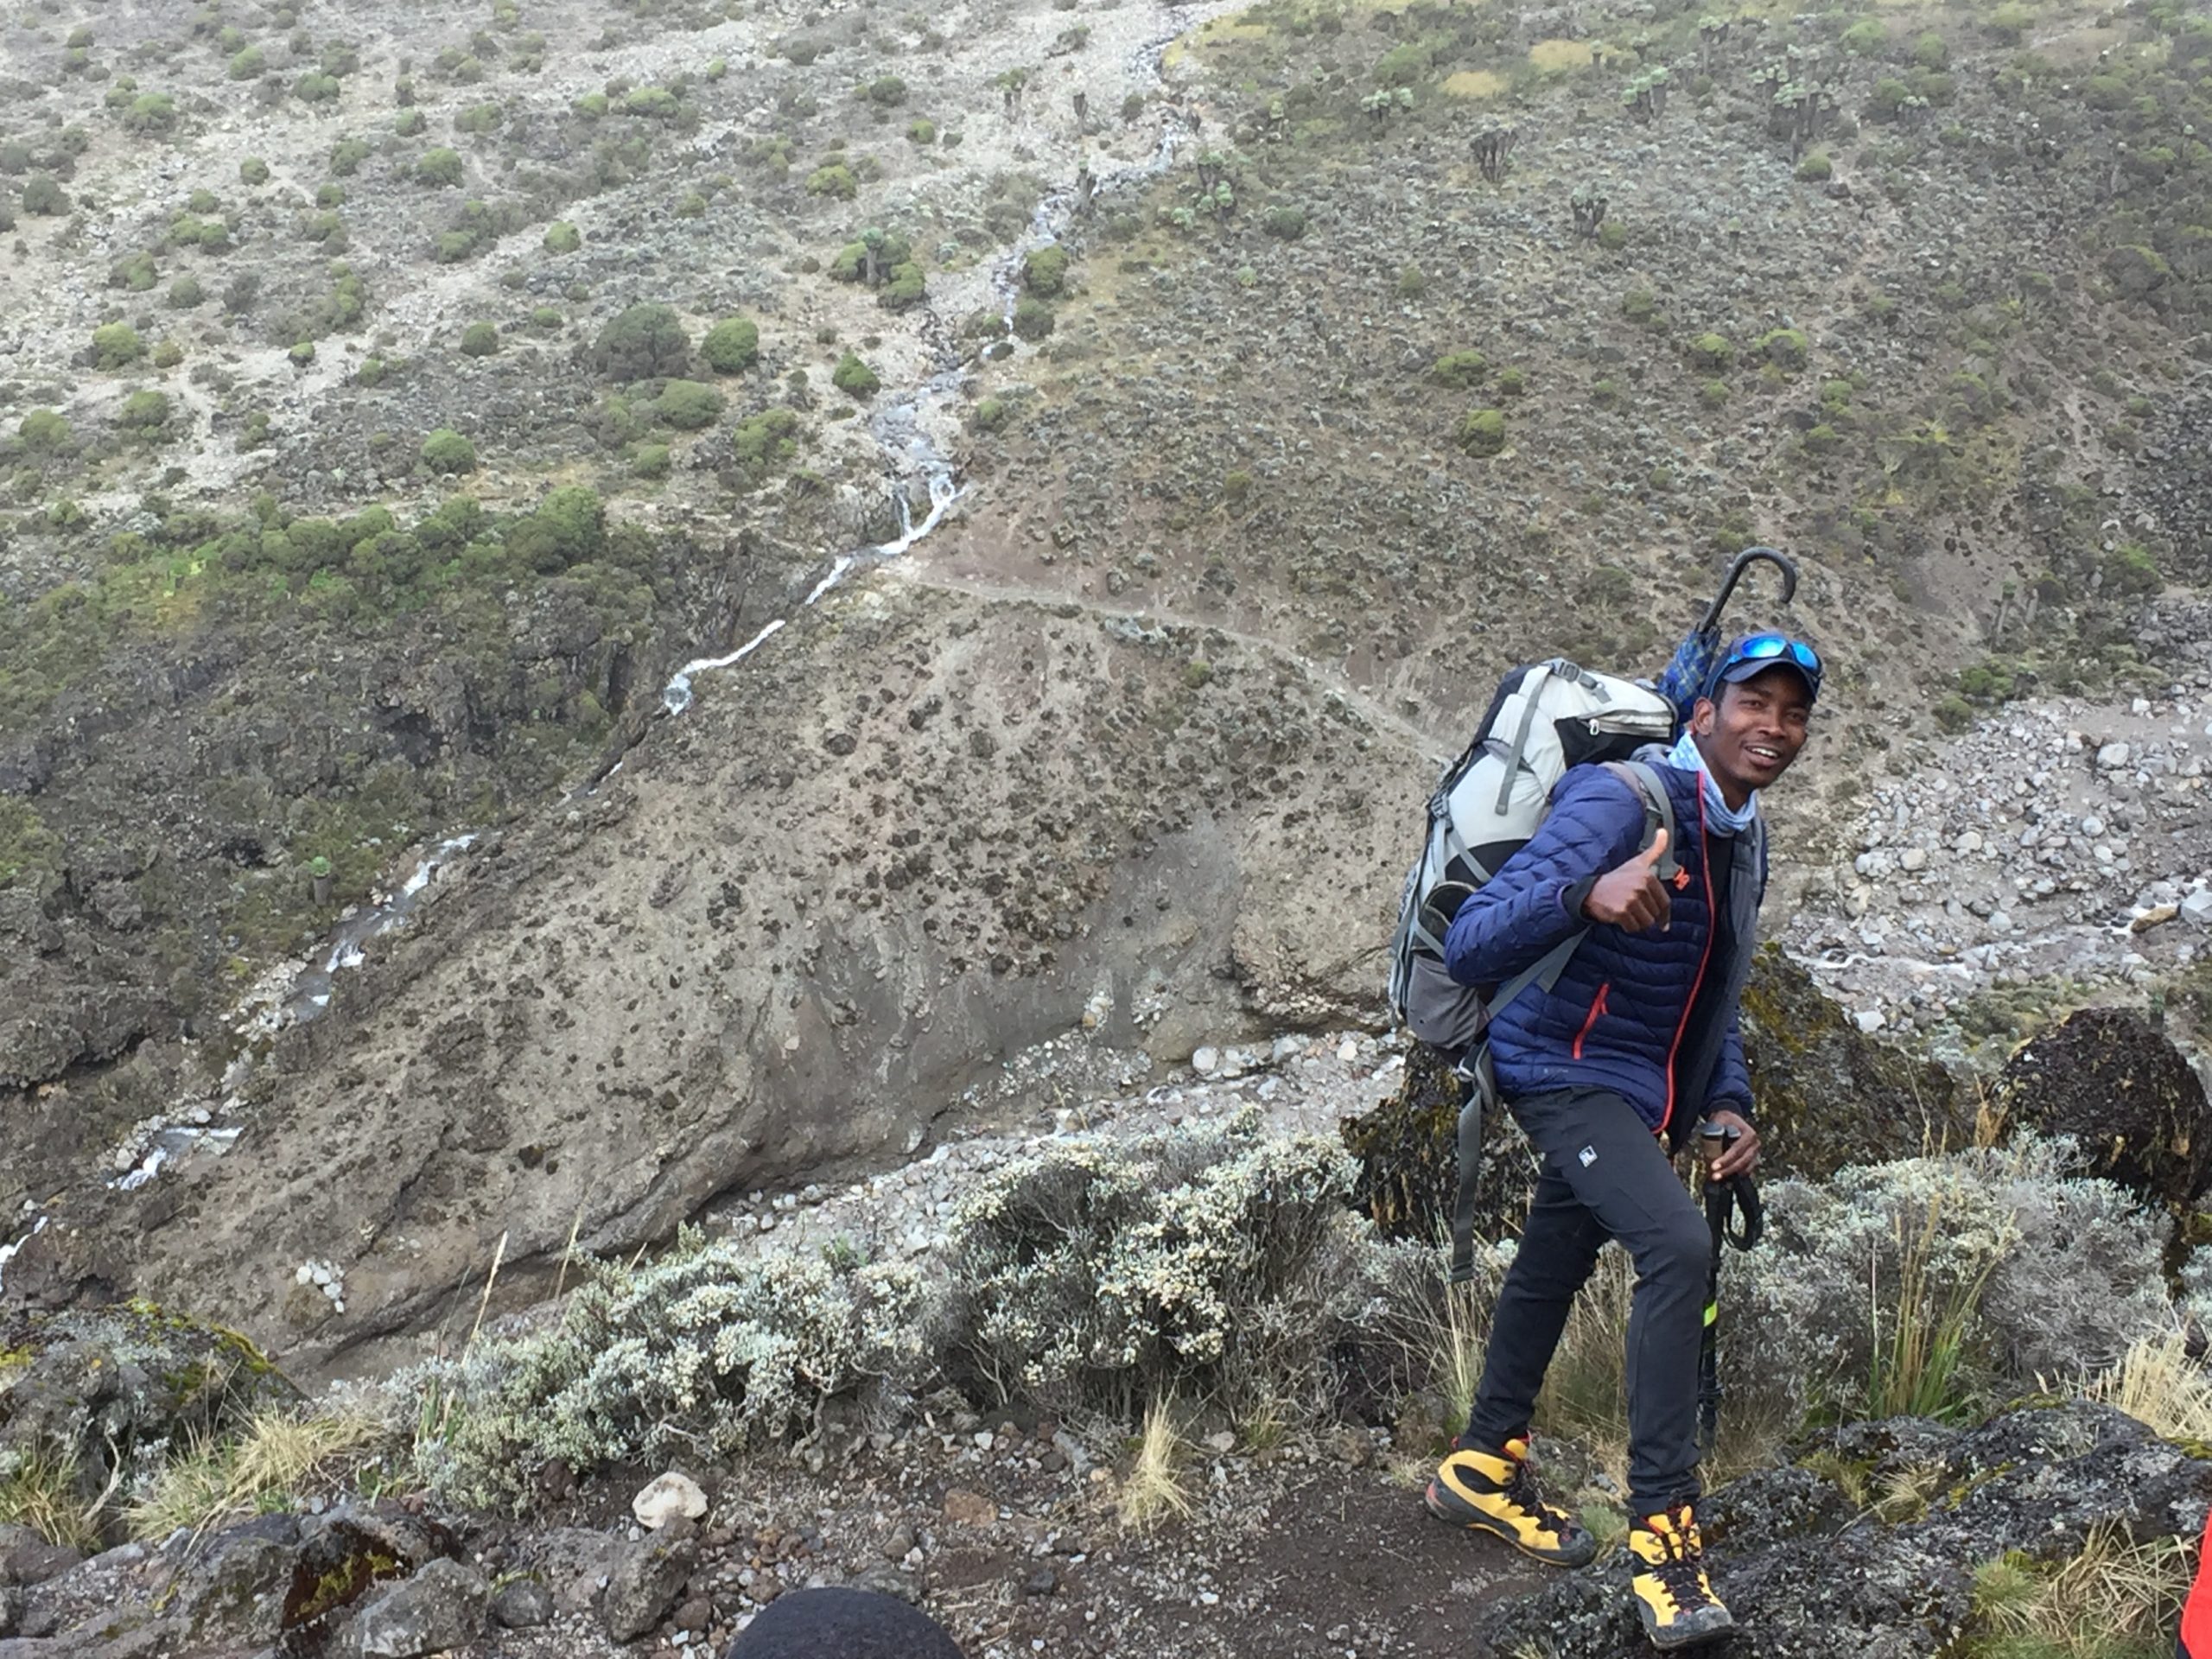
- Listen to our porters sing their famous Kilimanjaro song
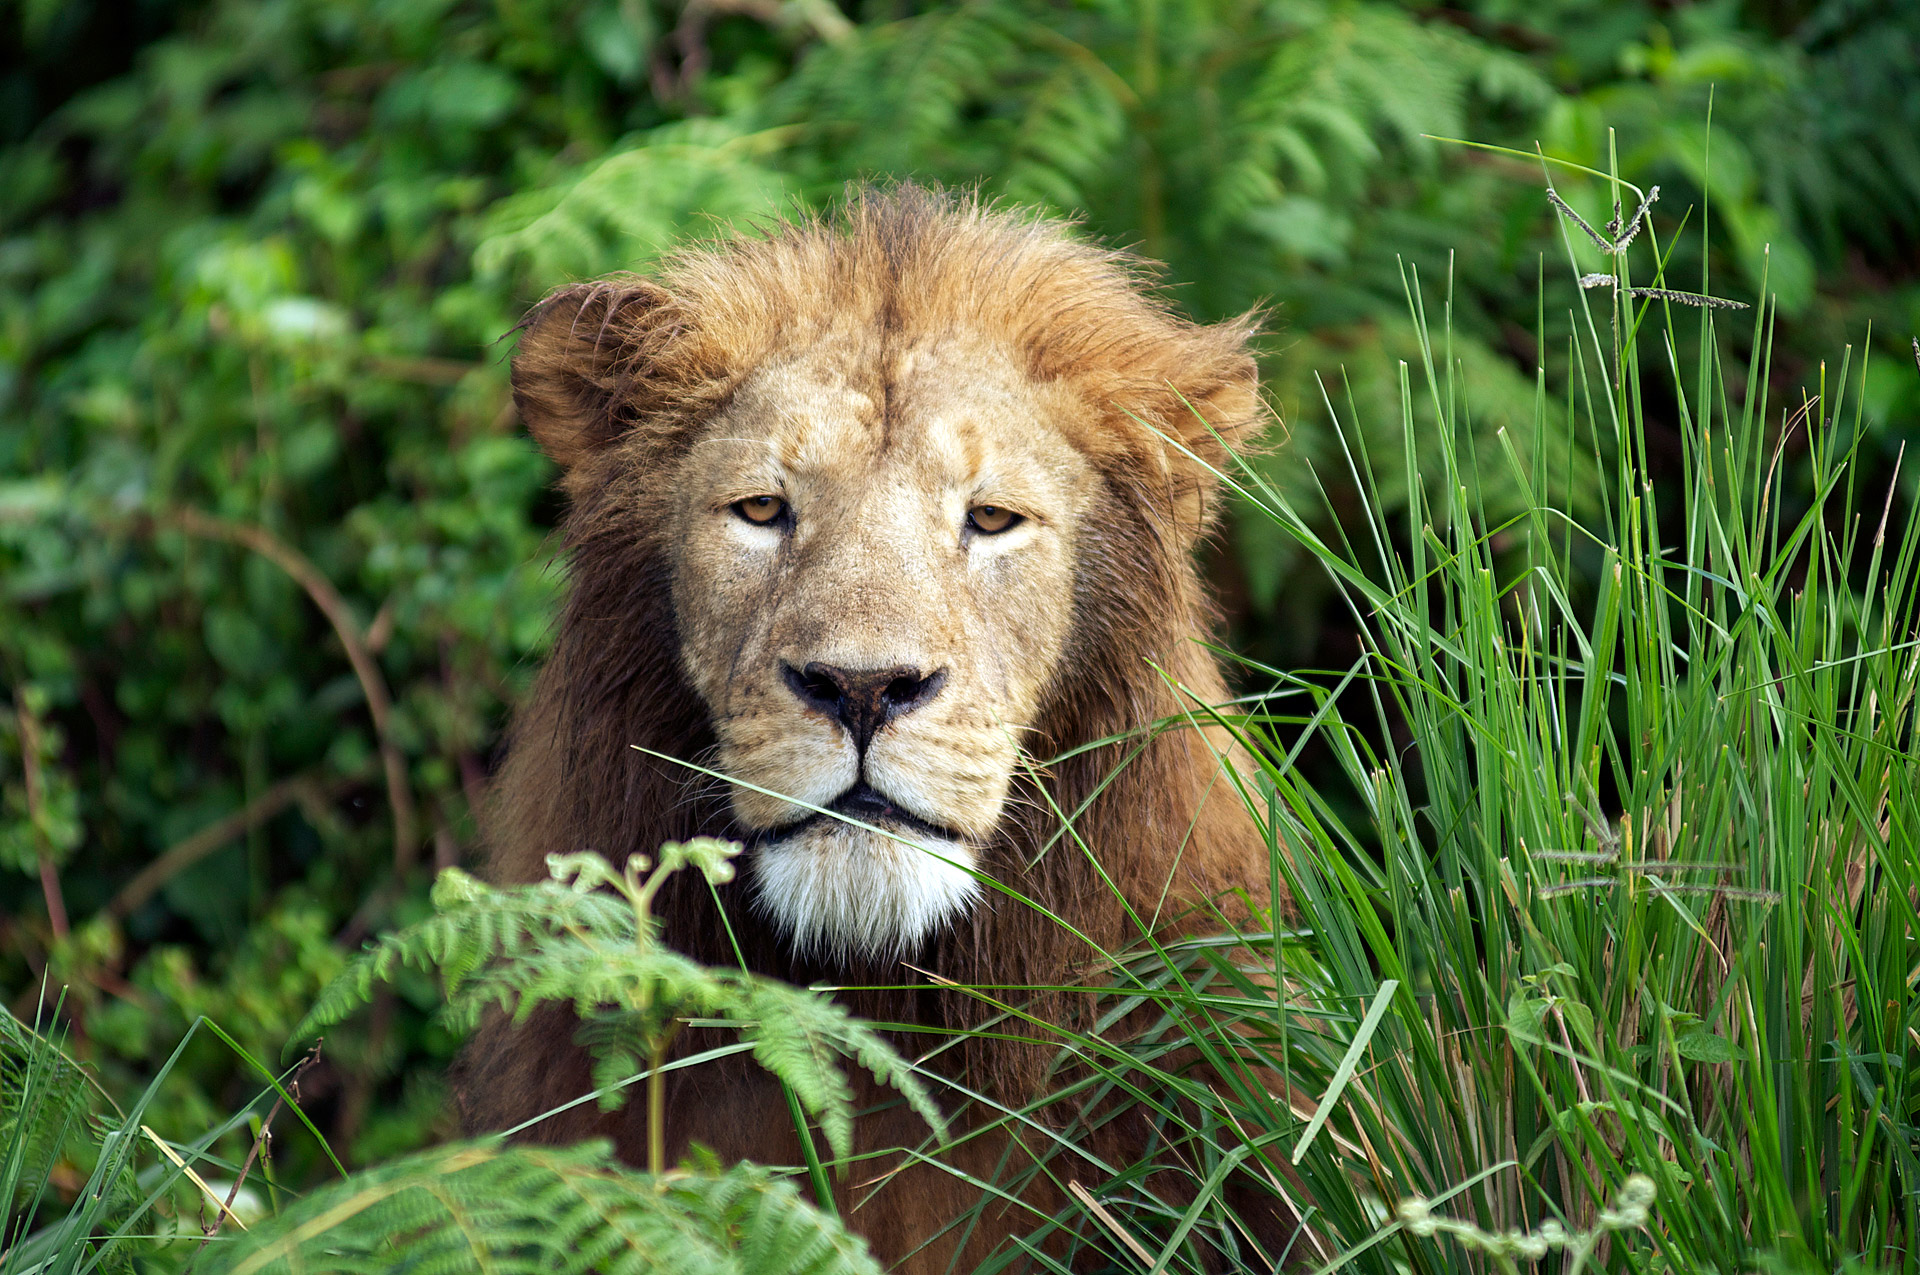
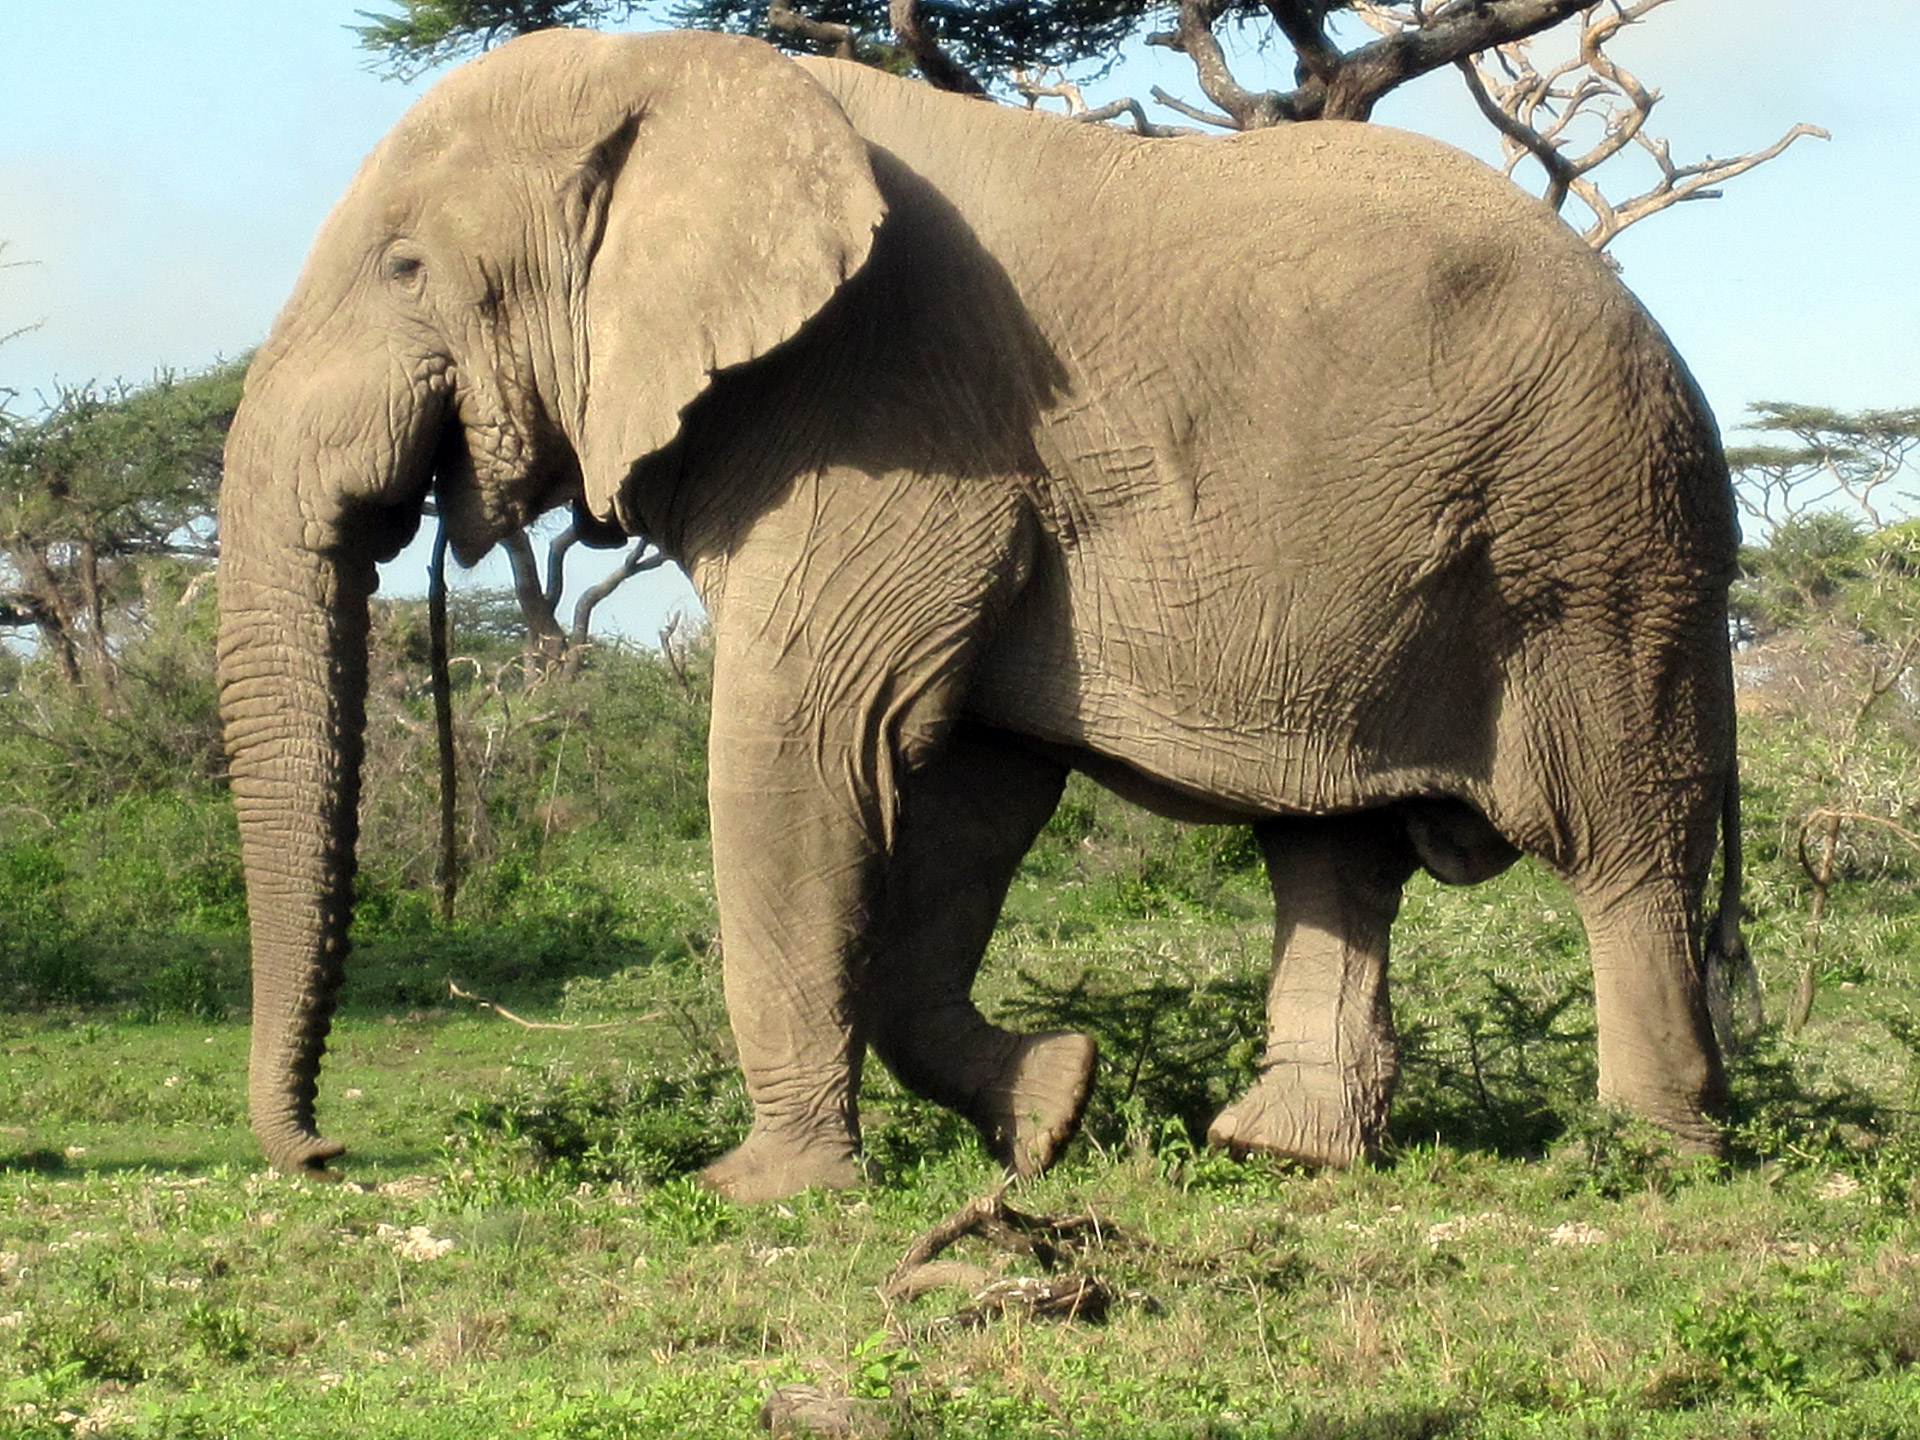
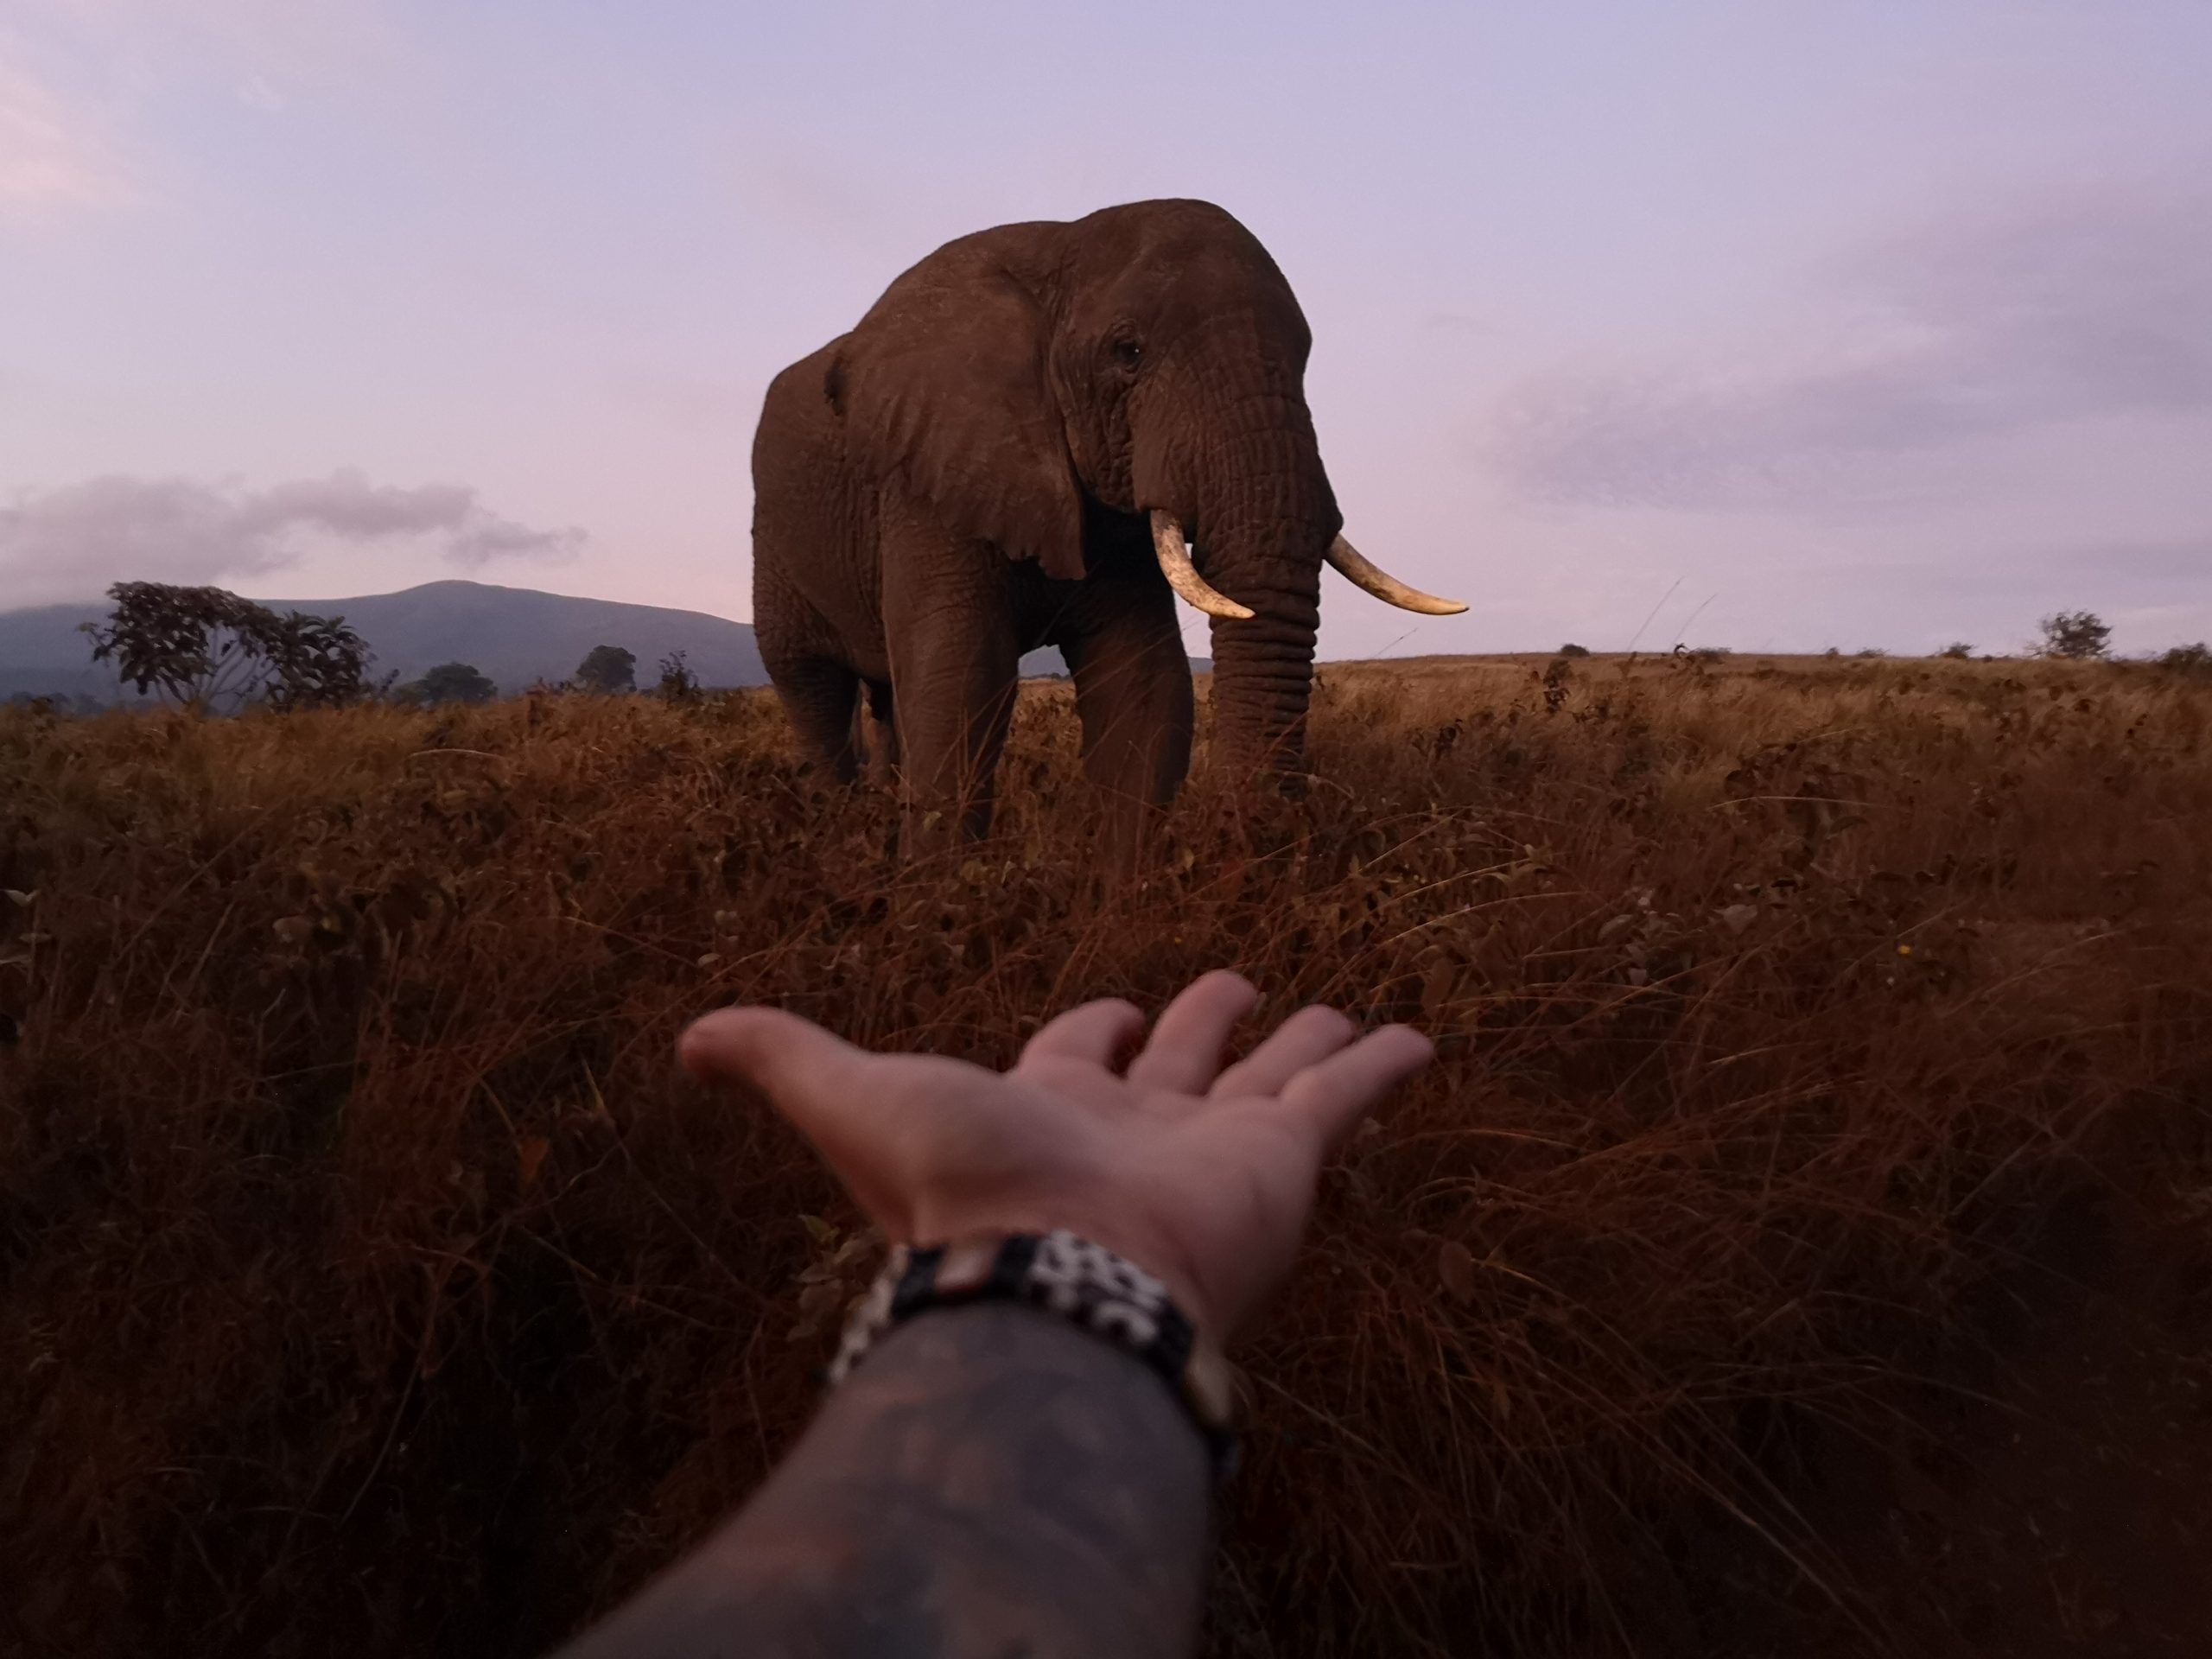
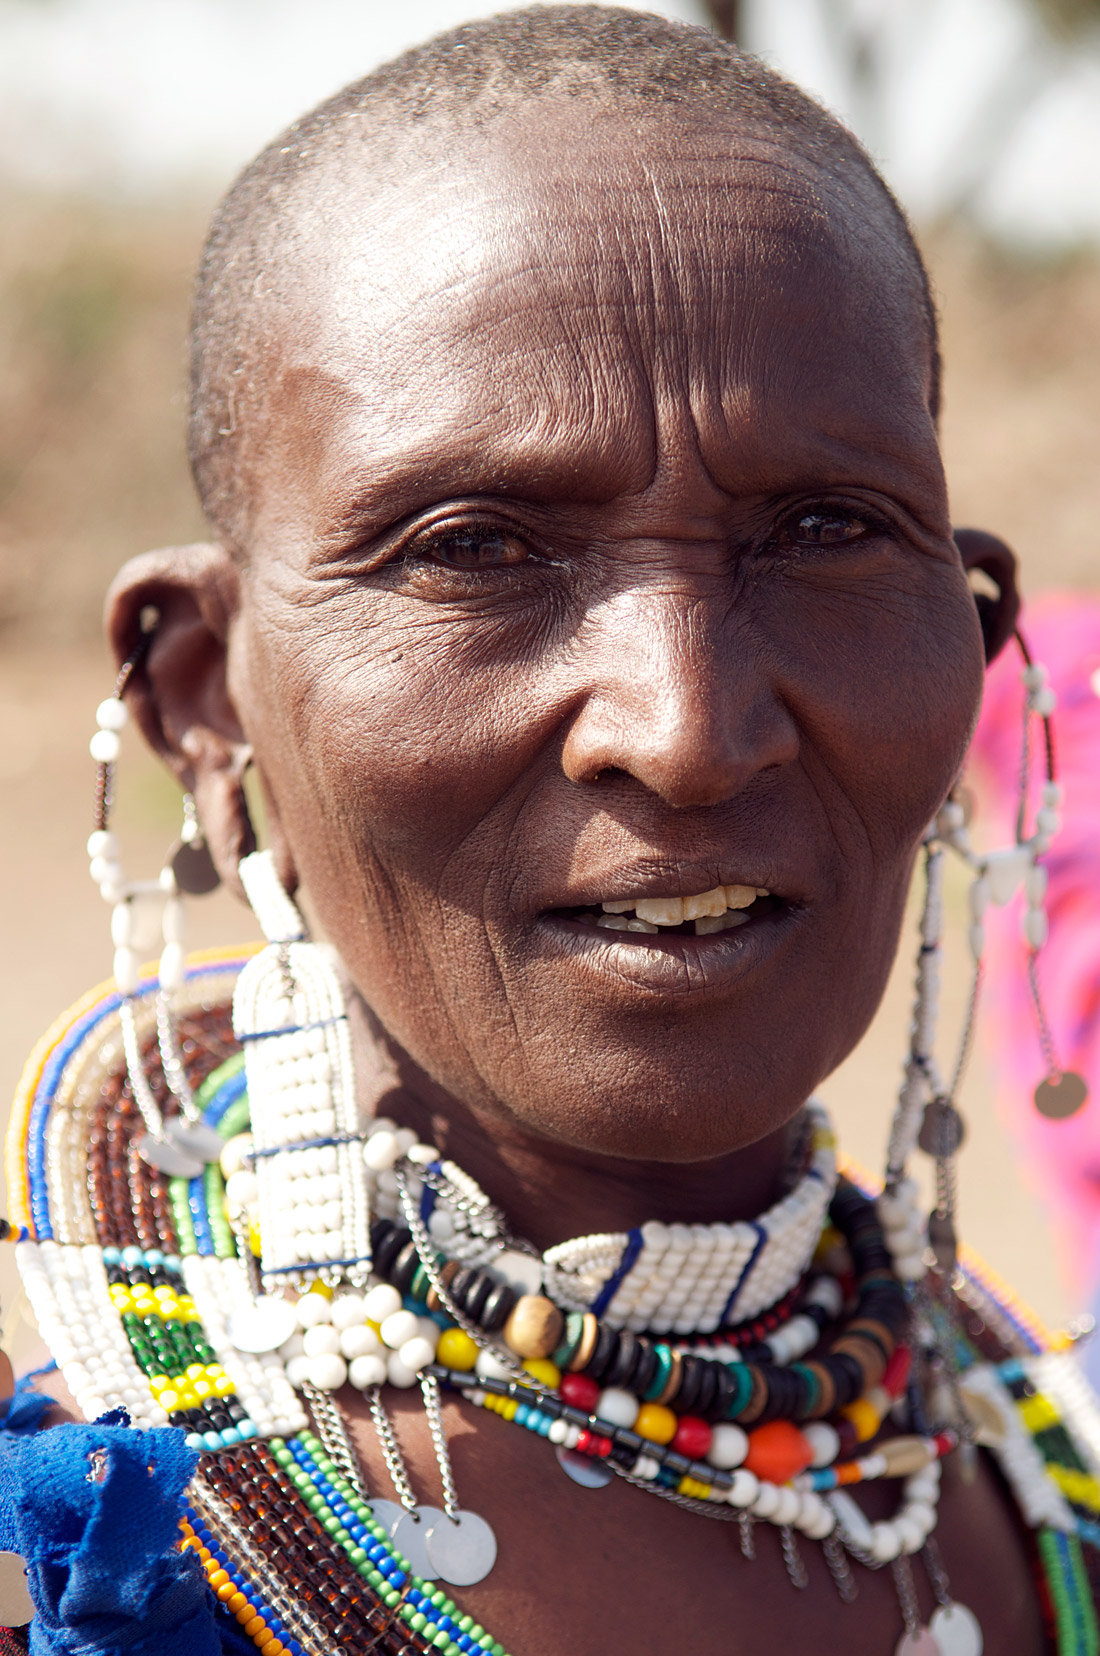
- Experience African life and culture
- Why Porter Welfare Matters

Nothing found.
Choosing the Right Option
At CTSS, we offer a variety of different climb options to customize your Kilimanjaro experience to your climbing style and ability.
Nothing found.
Allowing you to customize your expedition to suit your needs is a huge priority for us.
As mountaineers ourselves, we understand that it’s the little things that can make the difference. Comfortable, well-rested climbers are successful climbers, and climbers who have objectives that are suited to their skill level are happy climbers.
Nothing found.
Are you a member of the Kilimanjaro Porters Assistance Project?
Yes! We are proud to be a partner member of the Kilimanjaro Porters Assistance Project (KPAP). The International Mountain Explorers Connection (IMEC) created the Partner for Responsible Travel Program to recognize tour operators committed to fair treatment practices of their crew. KPAP monitors the companies’ treatment of the crew to determine if a company is meeting the proper treatment guidelines. You can find more information about KPAP and the IMEC by clicking here.
Do I need to have any prior climbing experience?
This trip is open to all individuals in good physical condition. There are no technical climbing prerequisites to join this program.
What is a good fitness and training program for this climb?
- Climbing conditioning – pack-loaded uphill hiking, walking, and stair climbing
- Strength training – for the lower and upper body
- Cardiovascular training – including both aerobic and anaerobic workouts without pack weight
- Flexibility training
Do I need to acclimatize due to altitude?
No acclimatization is necessary for this program.
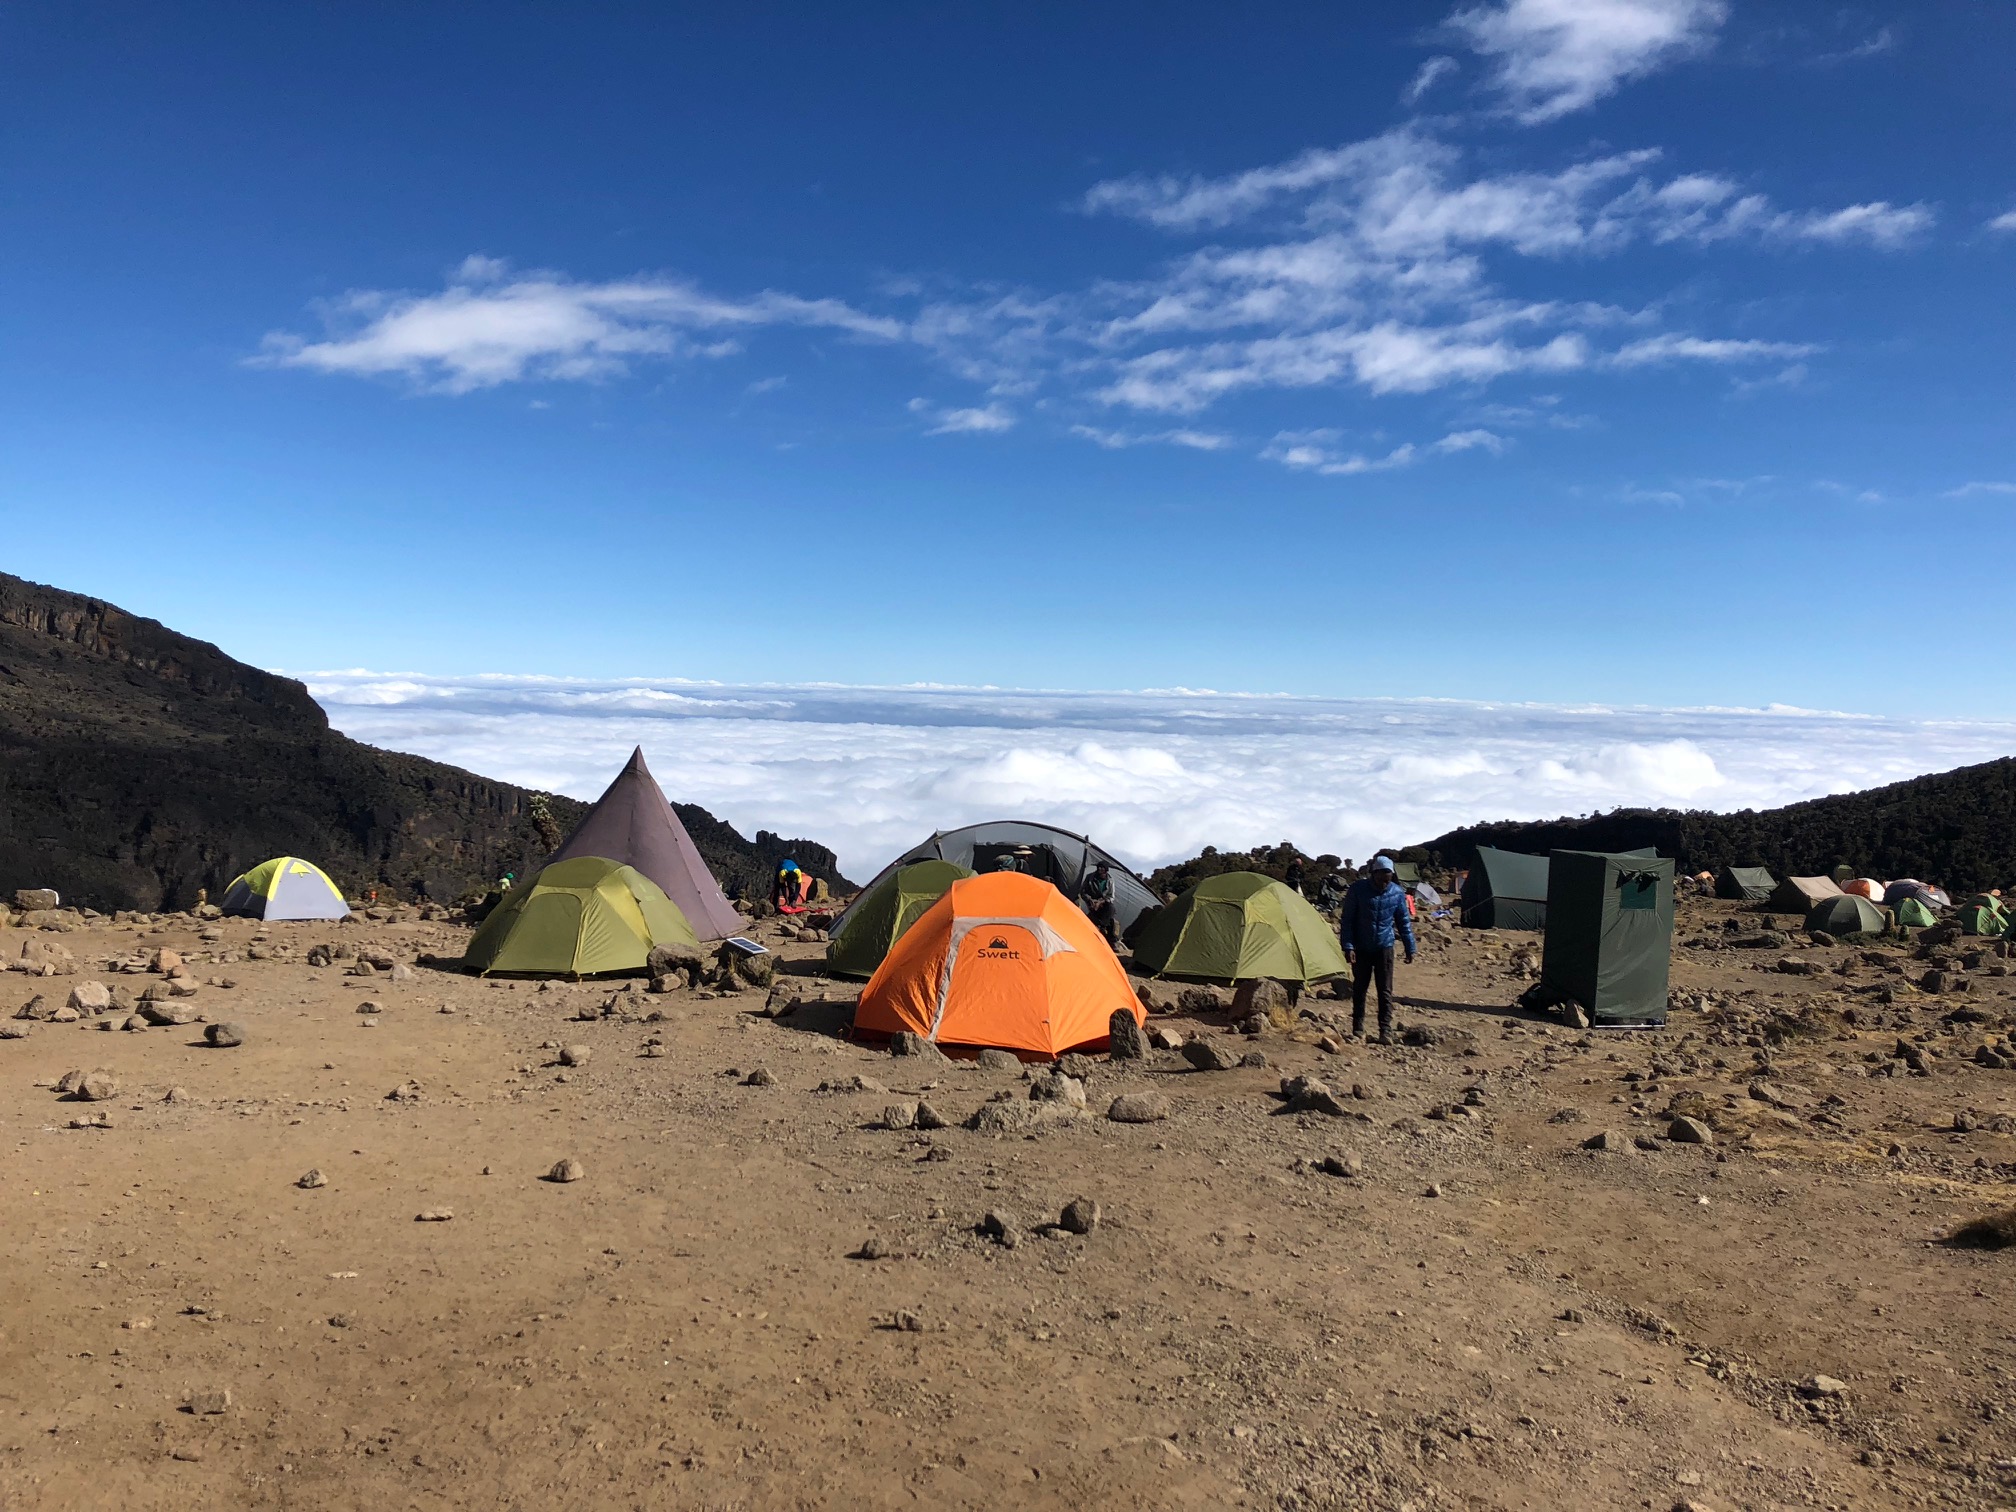
Will I need to share a tent?
Yes, both hotels and tents on the mountain will be shared accommodations due to limited tent space and the weight of carrying extra tents. We do offer a single rooming option for an additional $1000 if you would prefer your own hotel room and tent.
How heavy will my pack be?
In general, climbing packs on Kilimanjaro are quite light due to porters being used while on the climb. You will only need to carry what you need for the day, which shouldn’t be more than 10- 15 lbs (5kg). Note: hiring porters provides jobs and helps the local economy in Tanzania.
Will I need to purchase trip insurance?
Yes. Trip delay and cancellation, rescue, repatriation, and medical insurance are mandatory for this program for your own benefit. We have seen too many times people need to cancel their trip either before or during the expedition for reasons such as injury, health, family, and business matters. With such a long trip and so much at stake, climbers need to be prepared for contingencies.
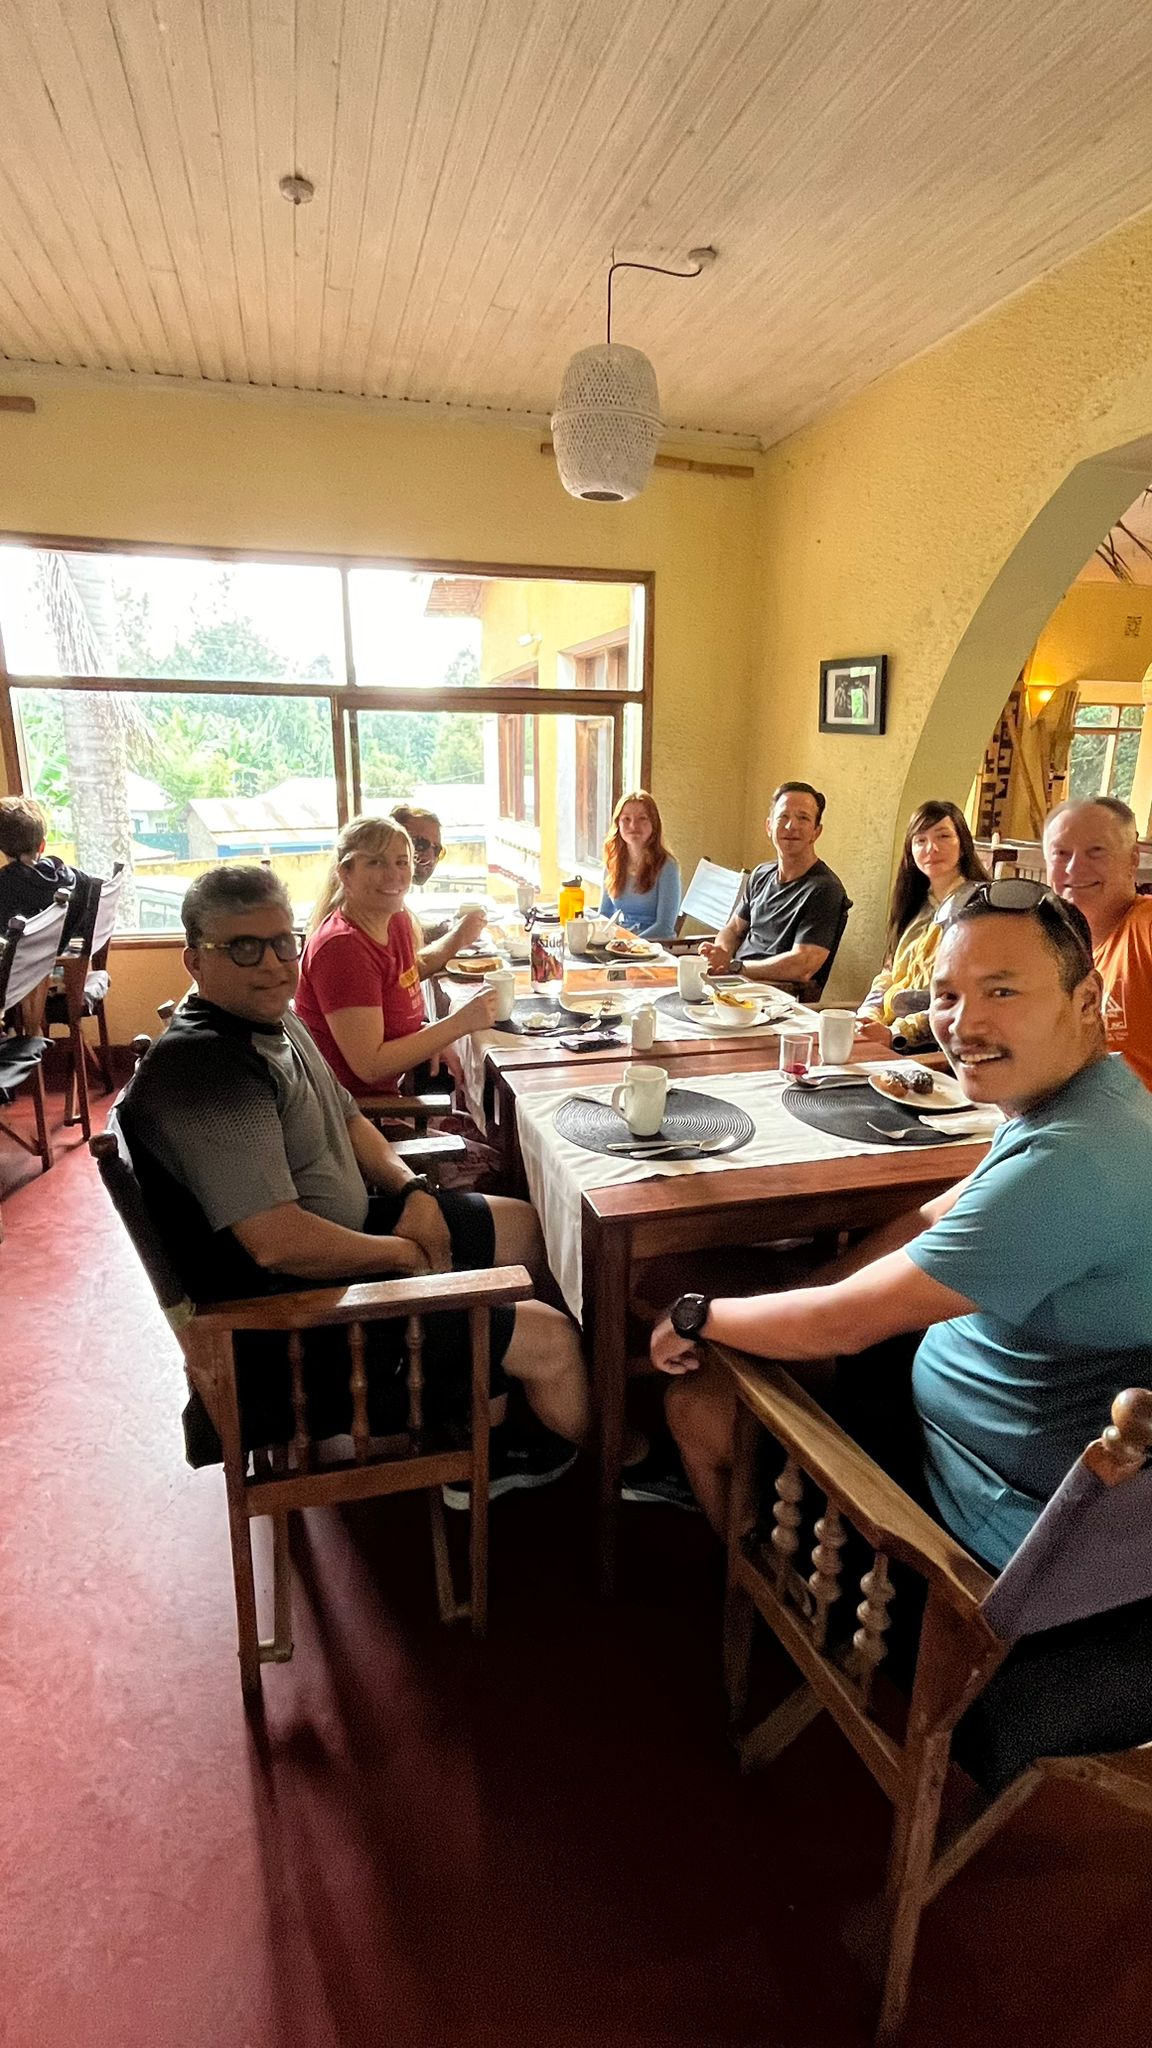
What is the food like on the climb?
In general, our food on and off the mountain is excellent. We eat well at our hotel off the mountain, and on the mountain, we employ a first-rate cook staff to prepare our meals. The food is fresh and healthy, and there is plenty of it!
Didn't find an answer to your question? Don't hesitate to ask us.
Kilimanjaro Adventures


Kilimanjaro Reviews & Success Stories
"There are no words to adequately describe our time together. God knew exactly what we needed for this adventure, and the placement of our guide was perfect! The care and attention he gave us all was unbelievable… thank you so much for all the preparations that went into making this trip carry on without a hitch."
‑ Pam B.
"I will never forget that you believed in me when I didn’t believe in myself. For that I will always be grateful."
- Jason V, USA

“I am transformed forever! If you want a life-changing, positive experience with guides who have heart and tons of experience for your personalized journey to the summit, CTSS and its local guides are the Mount Kilimanjaro choice. Ethical business practices that build up guide/porter team families and the local economy, made me feel happy to be their clients in even more ways. Do it now!”
– Marie M, United States
“I had a fantastic experience with CTSS! Their Kilimanjaro expedition was top-notch, the staff were incredibly helpful and knowledgeable, and they went above and beyond to ensure I was satisfied. I would definitely recommend them to anyone looking for great hiking experience.”
– Henry H, Germany (3rd Expedition with CTSS)
The Seven Summits Series: Kilimanjaro
Kilimanjaro is more than just a trek—it’s a high-altitude climb that demands smart preparation. With varying operators, distinct climatic zones, and the challenges of altitude, the right approach and mindset are key.
Join CTSS Owner Mike Hamill to learn bout essential gear, route options, and what makes our expeditions stand out from the rest. From expert guides to ethical porter care, get ready to climb Africa’s highest peak safely and successfully.
At CTSS, we believe your expedition starts long before you reach the mountain.
That’s why we provide every climber with holistic, personalized pre-expedition support, no matter the objective.
When you join a CTSS expedition, you become part of the family. You’ll be paired with a dedicated Expedition Manager and backed by our full team of experts, with guidance on everything from personalized strategy and progression planning to gear selection, training, travel logistics, and insider tips to help you get the most out of your climbing journey.
We’re here to make sure you show up prepared, confident, and ready to thrive on the mountain and beyond.
6x Reasons to Choose CTSS
Safety
Your safety and success are our top priorities, in that order. We make conservative decisions, plan redundancies, and all our guides have wilderness medical training, safety and rescue plans, and access to doctors around the clock to help keep you safe.
Value for $
We keep our overheads low to pass savings on to you. We are proud to offer the best service at the most competitive price, without compromising on safety or taking shortcuts in logistics, staffing, or infrastructure.
Holistic Approach
Our service goes far beyond the mountain. Think of us as your climbing coach; we'll be there from start to finish to prepare, debrief, and plan your progression as a mountaineer, whether your goal is a single summit or the Seven Summits.
Guides & Team
Guides can make or break your climb. We hand-pick the most qualified, tenured, tested, and personable guides and Sherpas in the world. Owner and mountaineer Mike Hamill personally oversees the logistics and management of each expedition.
Our Values
We care about you, our people, and the planet. A portion of every expedition goes to the Tiger of the Snows Fund, supporting outdoor tourism workers and their families. We follow strict Leave No Trace principles and live by our No D*ckheads Policy, because who you climb with matters.
Success
We have an unparalleled summit success rate. How? We do it in a myriad of ways; like a great chef's secret sauce, we've fine-tuned the recipe over decades. Most importantly, we believe in you & your ability to achieve your goals, and we are invested in putting you on top.
Kilimanjaro Inquiry Form
Ready to Progress?
Consider these expeditions
Chimborazo Summit!
Our Ecuador Volcanoes private expedition wrapped their trip with a successful summit of Chimborazo (20,702ft) on Sunday.
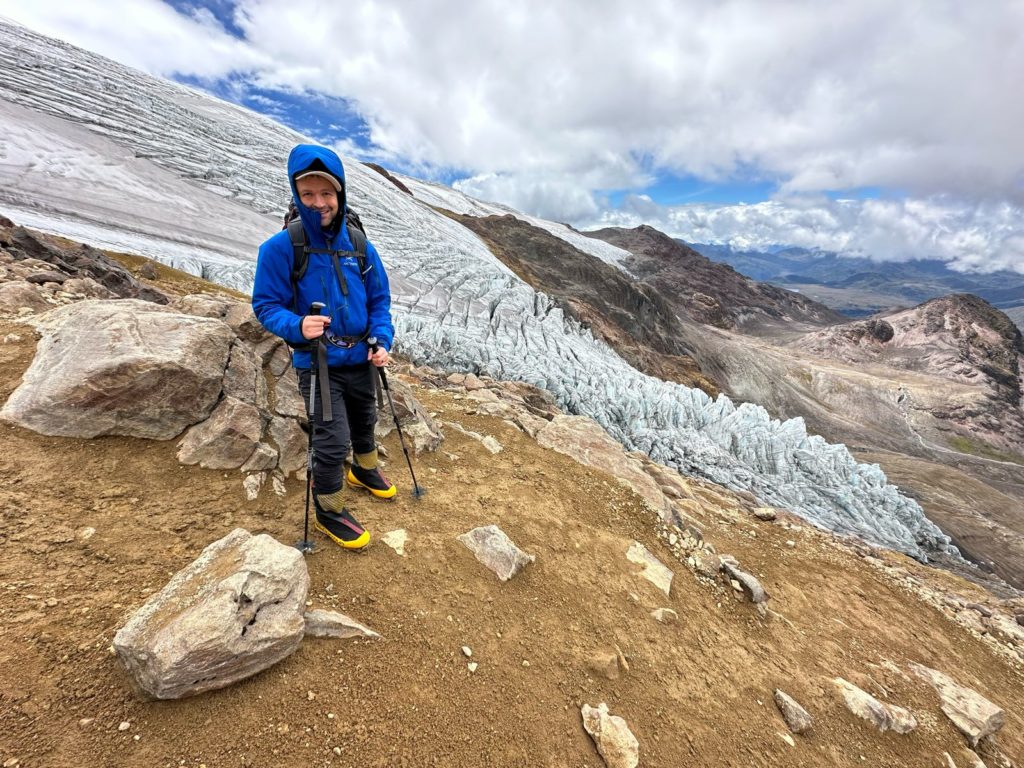
On Saturday, the team trekked from the Chimborazo parking lot (15,748ft) to Chimborazo High Camp at 17,552 feet. The weather was fickle, with plenty of clouds and snow, but they arrived ready for a late lunch / early dinner.
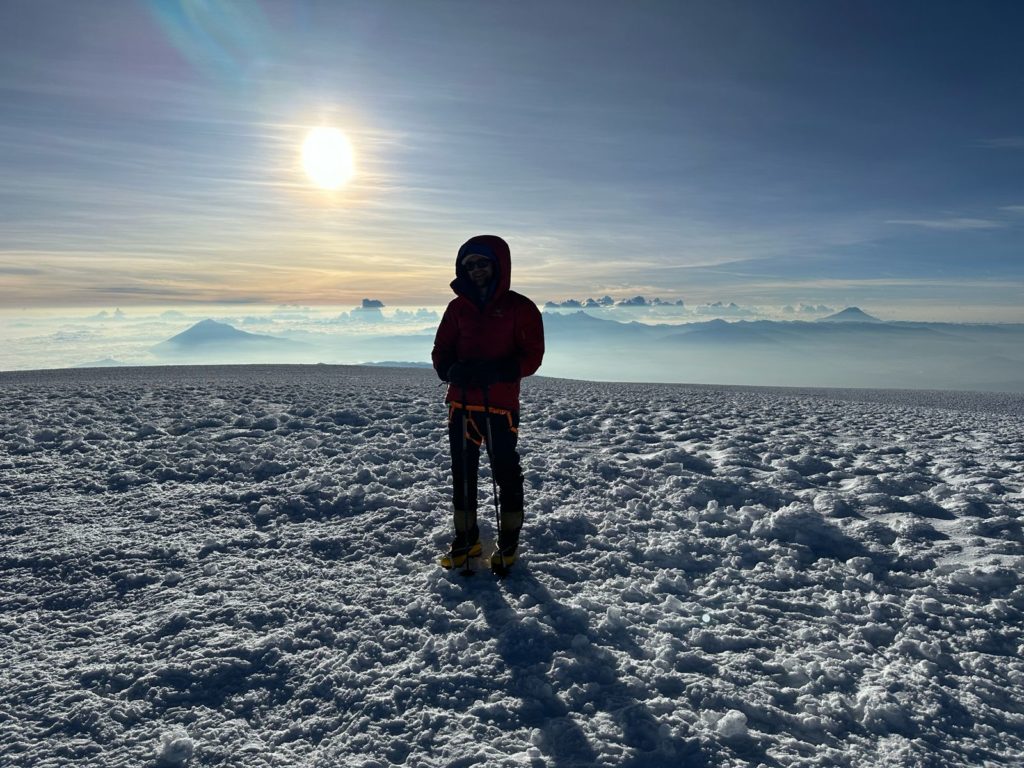
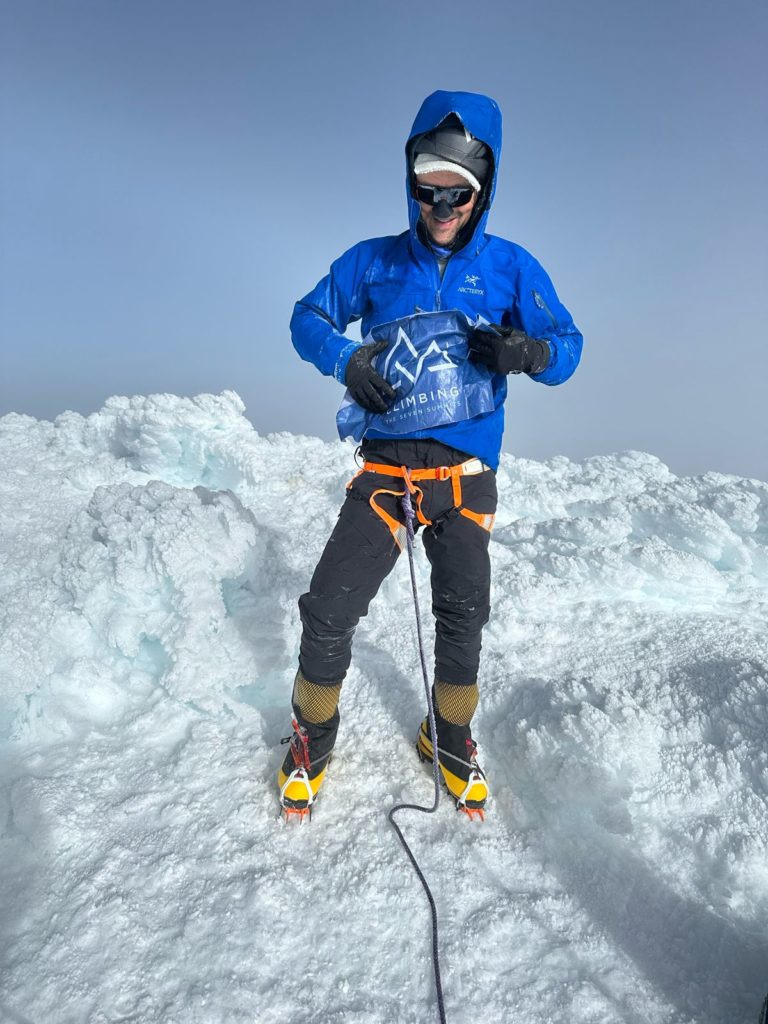
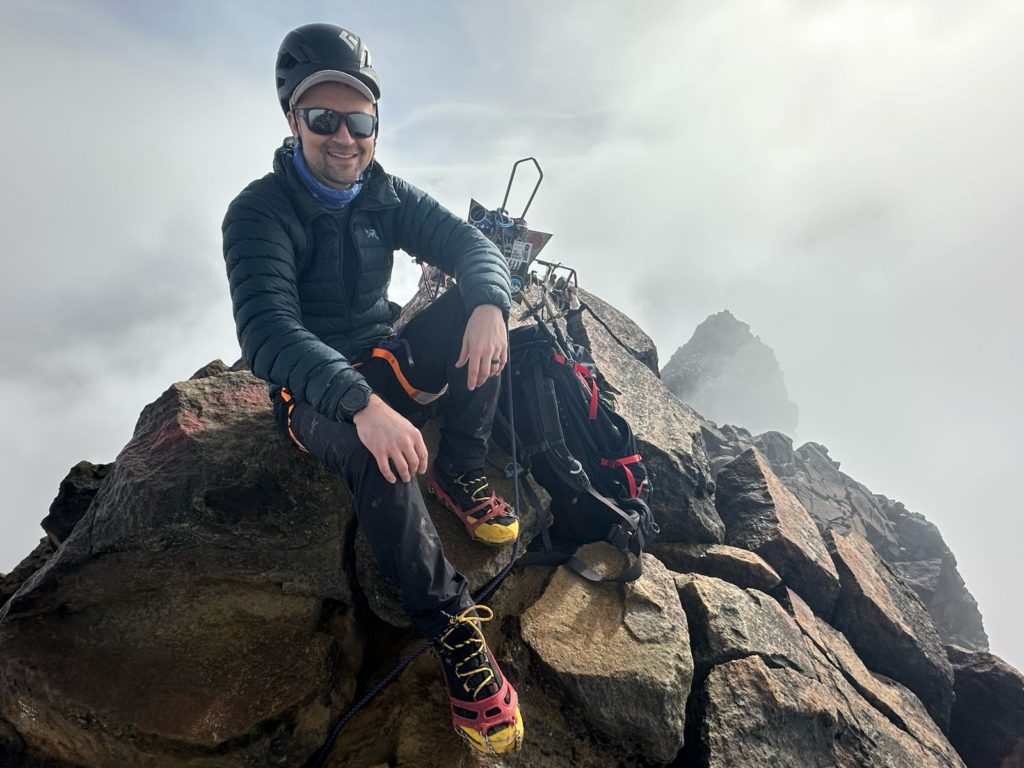
Summit day arrived quickly with a 9:30 pm wake-up call. By 10:00 pm, the team started their ascent from Chimborazo High Camp to the summit. After 8.5 hours of trekking, the team reached the summit of Chimborazo (20,702ft) under spectacular weather conditions! After a few smiles and photos from the summit, they hiked back down the mountain, packed up High Camp, and returned to the van.
The team is now soaking up the rich, oxygenated air in Baños de Agua Santa, where they will rest and enjoy some waterfall sightseeing as they make their way back to Quito.
Congratulations to the team on not one, not two, but THREE successful summits!
Photos from CTSS Guide Edgar Parra
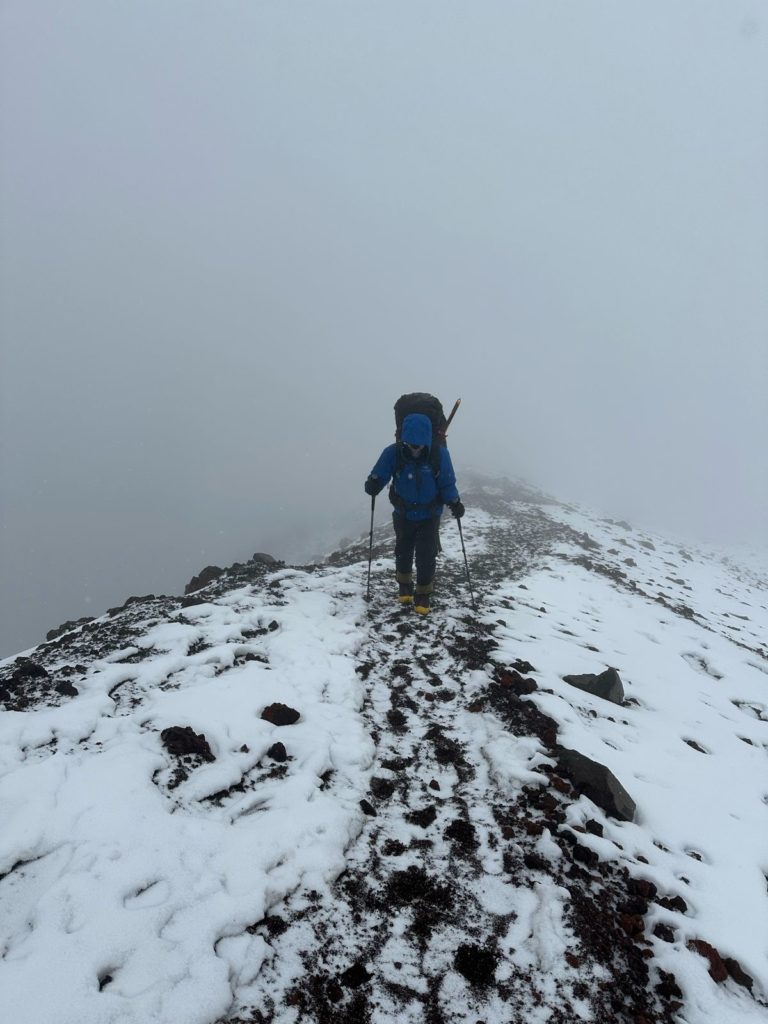
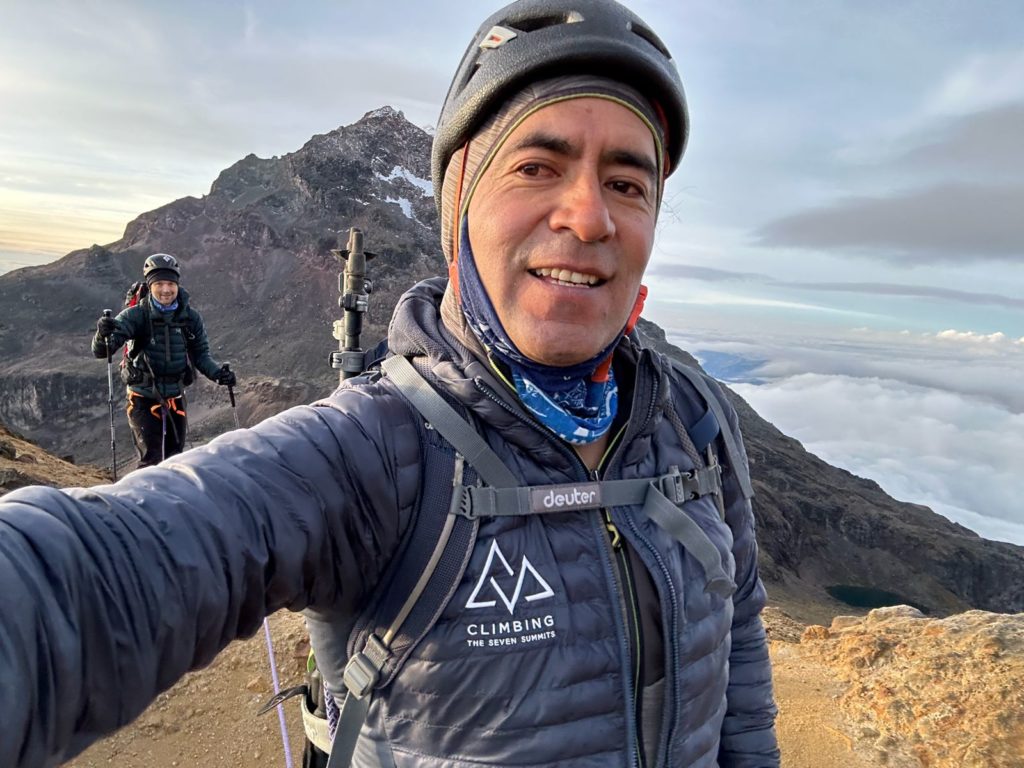
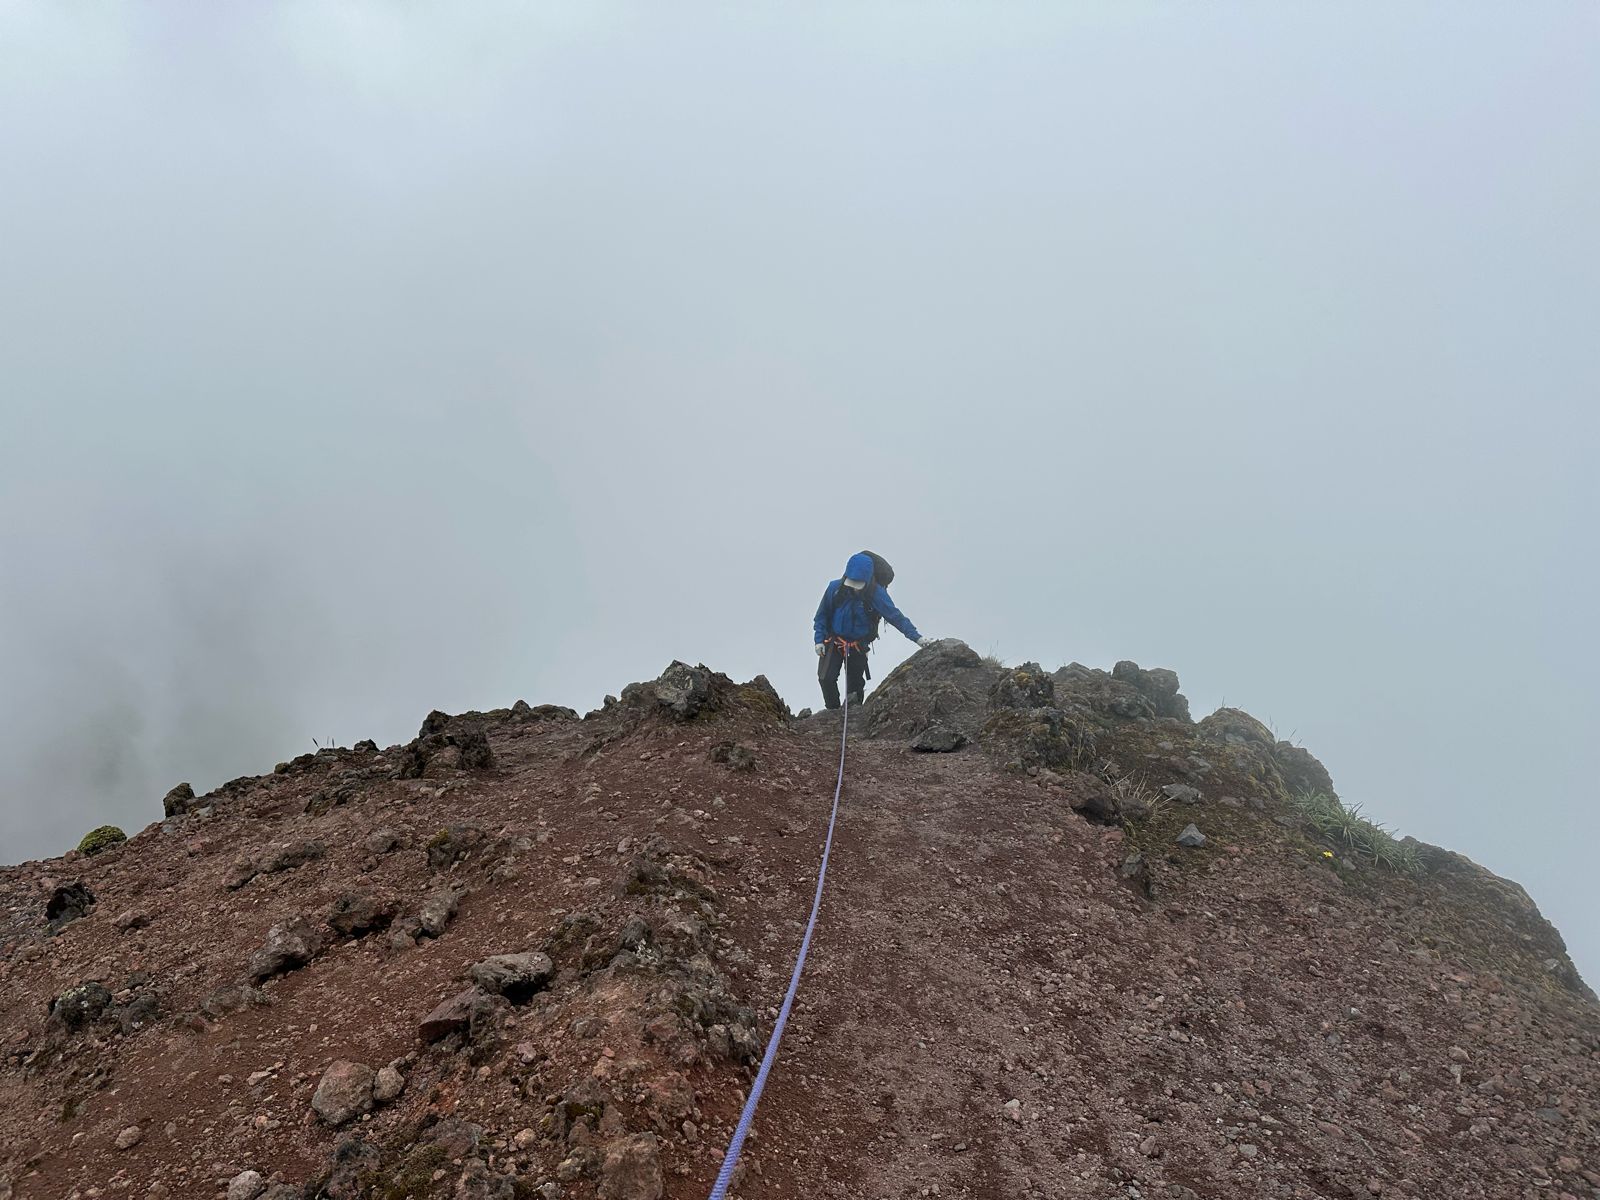
Socked in on the way to Chimborazo High Camp (17,552 ft)
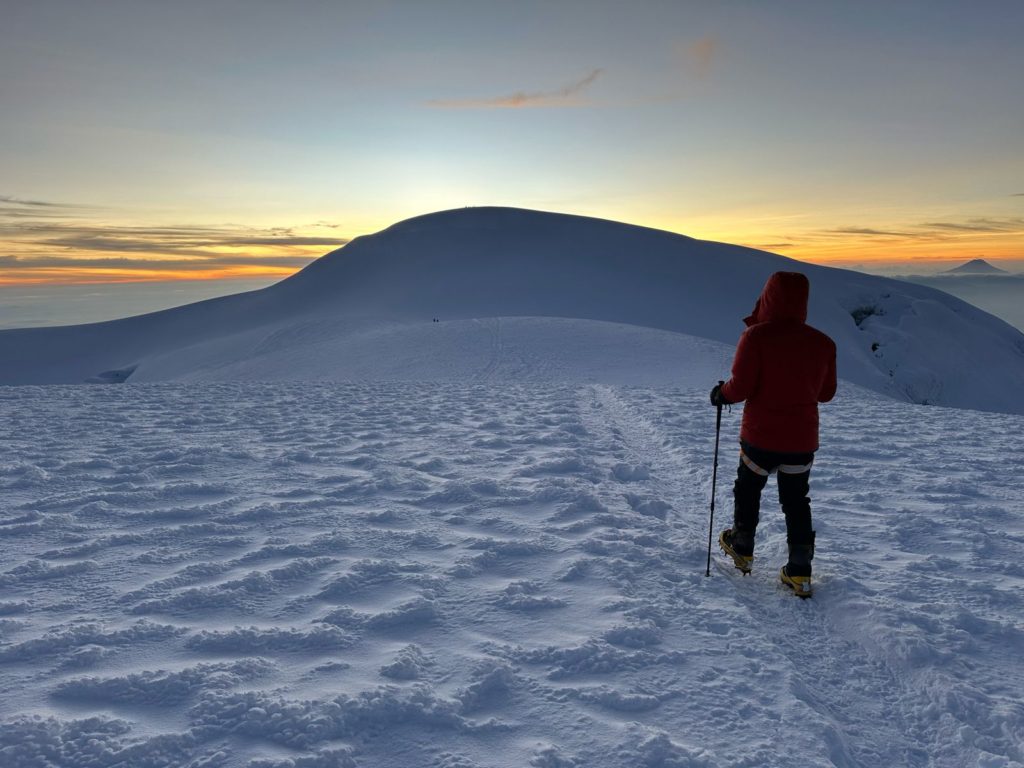
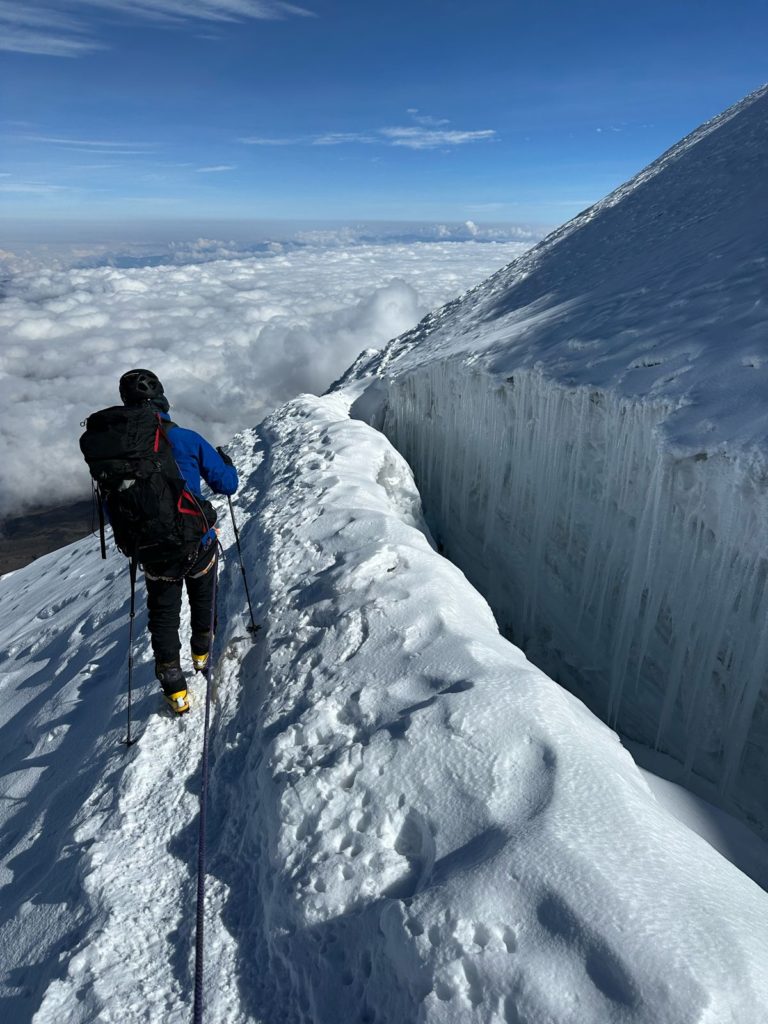
Full steam ahead for the summit of Chimborazo (20,702ft)
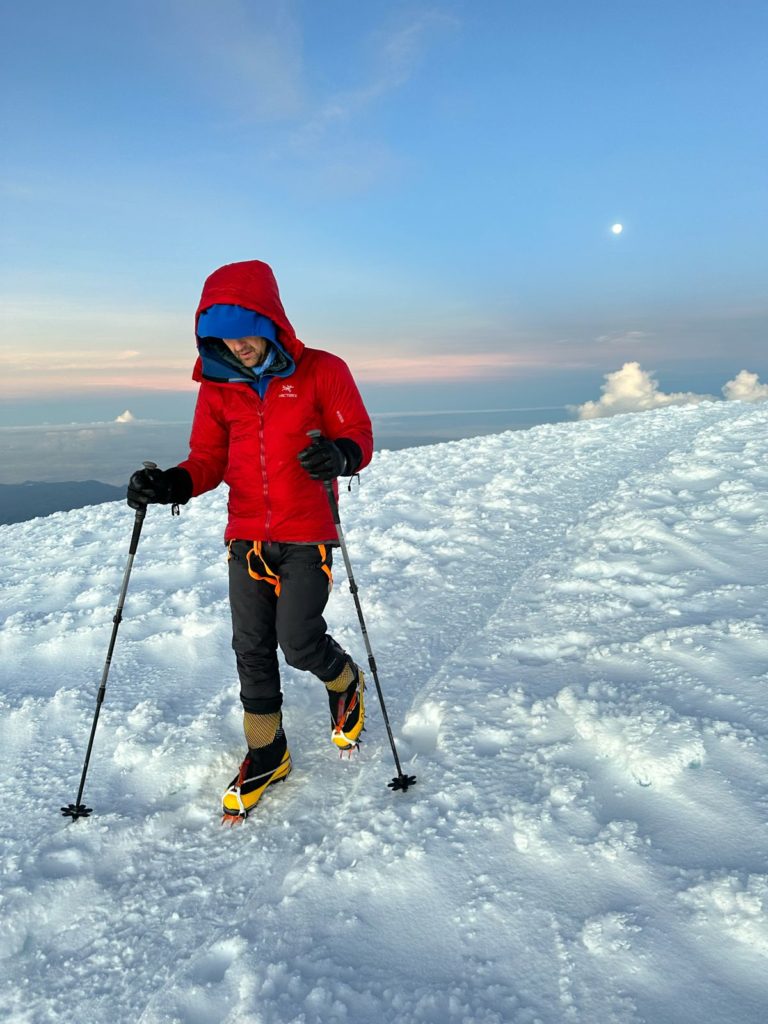
A waning full moon greets our team as they ascend Chimborazo (20,702ft).
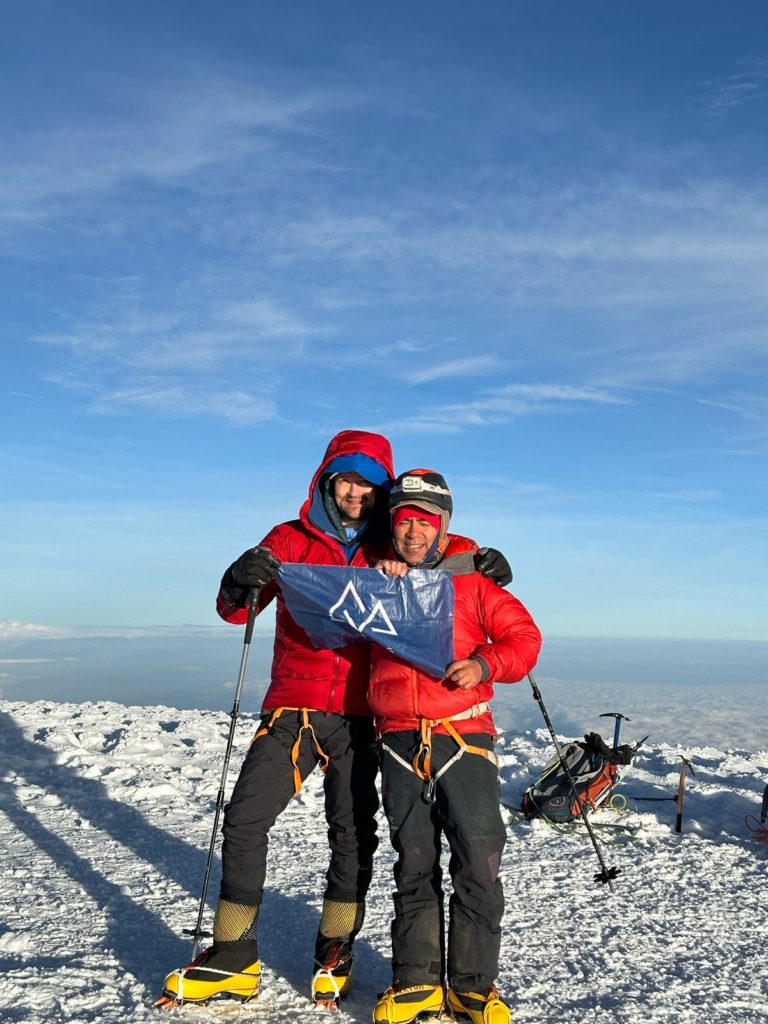
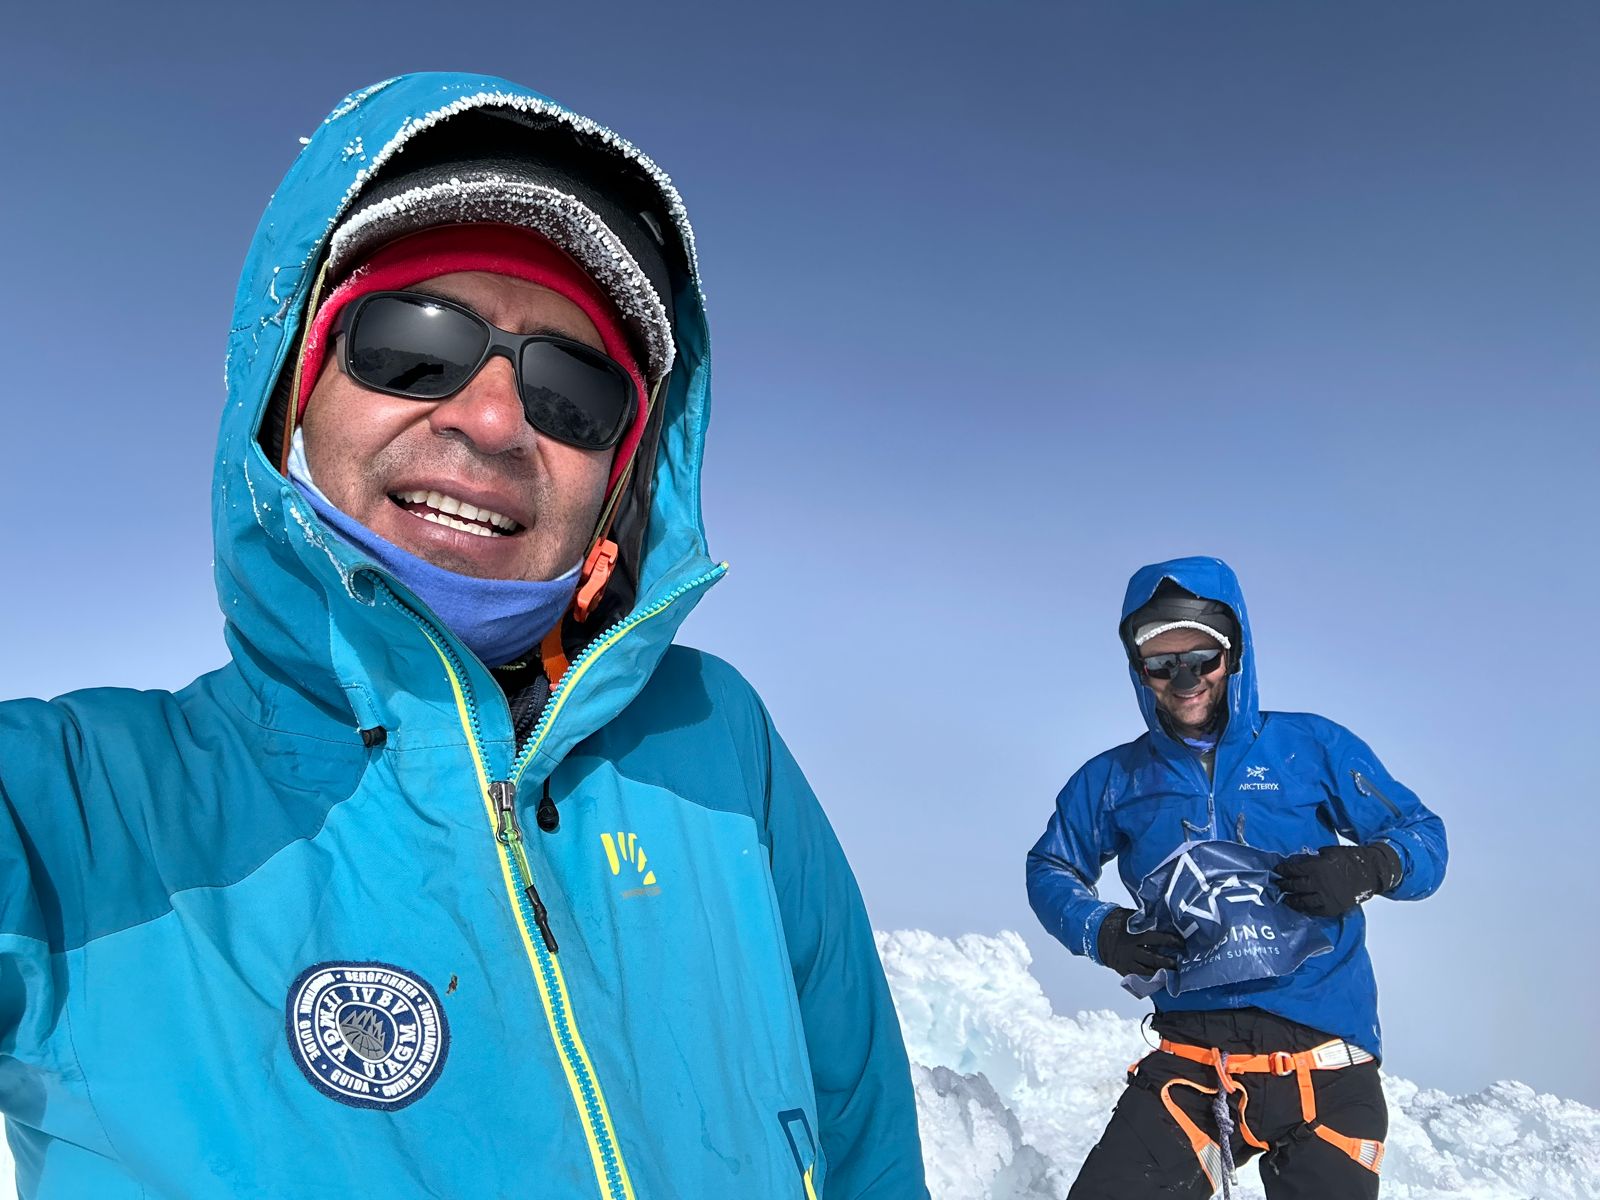
This is what it's all about! Smiles from the summit of Chimborazo (20,702ft).
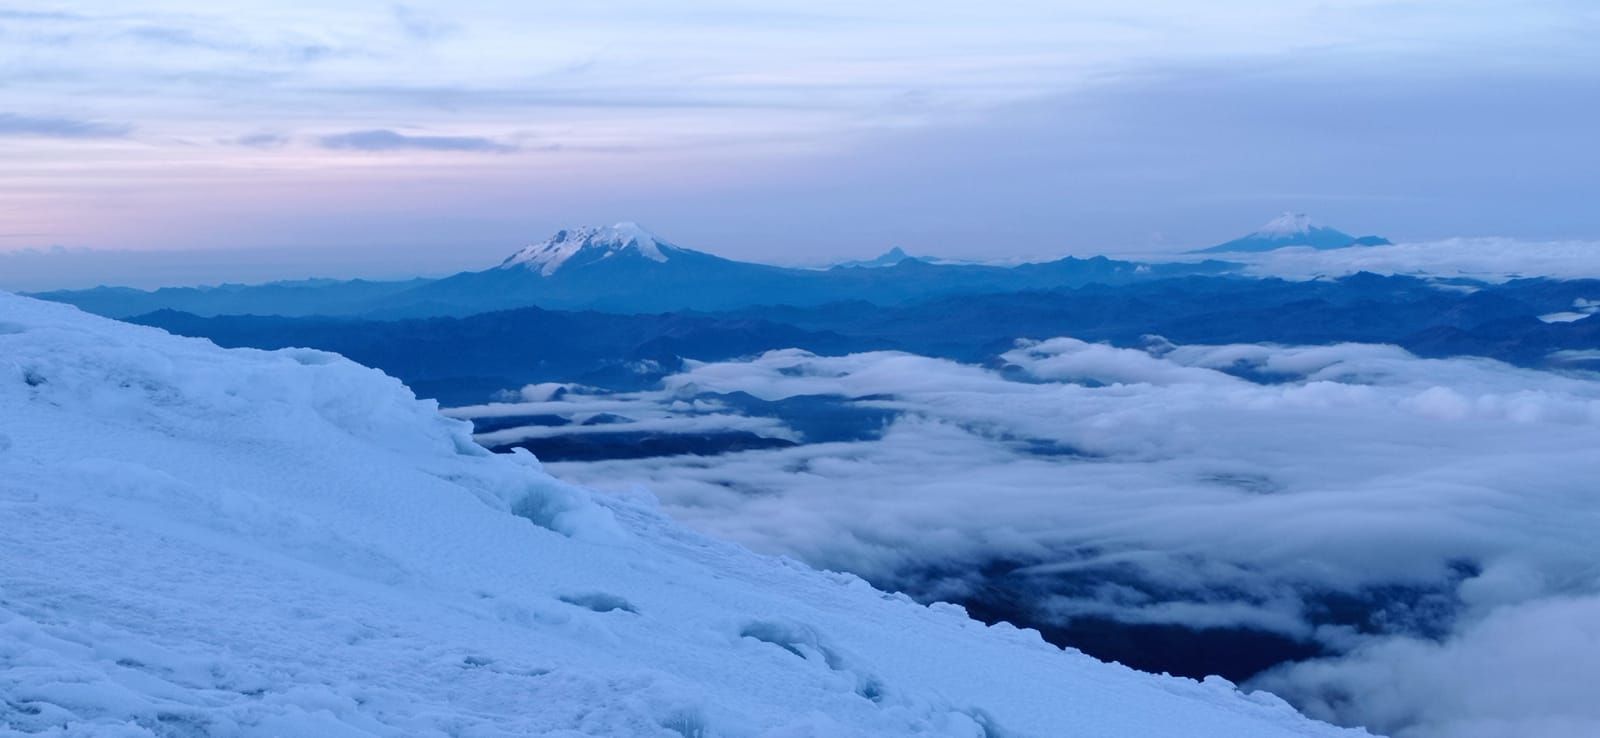
Ecuador at it's finest from Chimborazo (20,702ft).
Headed home! A quick descent to hot springs, waterfalls, and oxygen rich air.
A Summit Streak in Ecuador
Our Ecuador Volcanos private expedition is cruising along as their summit streak continues!
After climbing Illiniza Norte, the team headed to Cayambe. They pushed through windy and cloudy weather and contended with less than ideal terrain conditions, but at 8:00 am local time yesterday, they proudly stood on the summit of Cayambe at 18,996 ft!
From Cayambe, the team headed to the Papallacta Spa Resort, where they relaxed and enjoyed the thermal waters - one of our favorite post-climb activities in Ecuador. But the fun begins again today as they head to Chimborazo Lodge (13,123 ft) to start their final climb of the expedition to the summit of Chimborazo (20,548 ft)!
We are hoping for continued success for the team. Stay tuned for an update on Chimborazo in the coming days!
Photos from CTSS Guide Edgar Parra
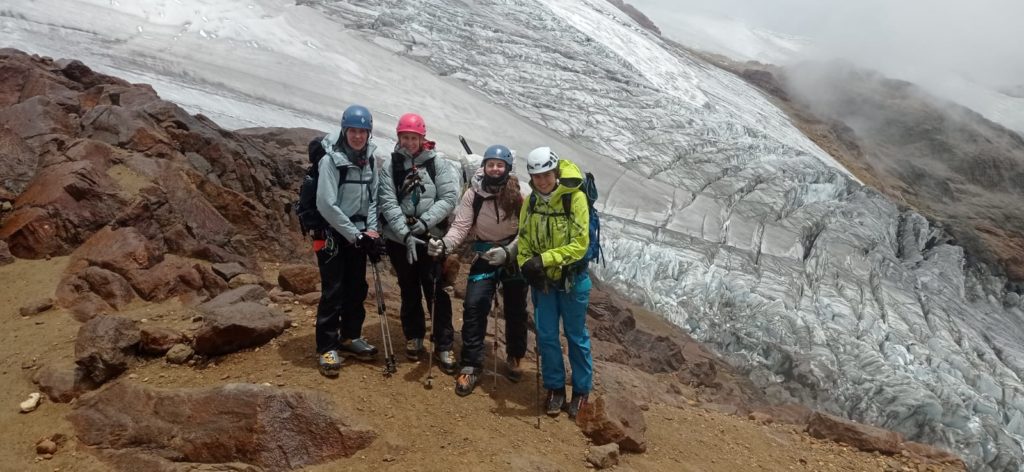
It was windy and cloudy but it didn't stop our private team on Cayambe.

Making their way across the glacier on Cayambe.

A few breaks in the clouds offered up impressive views of the Ecuadorian landscape below.
A summit success at Cayambe (18,996 ft) - congrats to the team!
More Ecuadorian Summits: Cayambe and Illiniza Norte
Our Ecuador Volcanoes private expedition continued onto Illiniza Norte (16,818ft) with a successful summit. The weather held out, and rain greeted them at the summit, but that didn’t slow them down. The team climbed from the hut to the summit and back to the hut in just 5 hours! Go team!
Our Alpine Athletics team started Monday with a glacier skills session on Cayambe. After a hearty dinner, they began their summit ascent at 10 pm local time. Our guide reported beautiful weather on the summit with a team of happy (and tired) climbers!
The following climbers summited Cayambe (18,996ft):
- Lisa T.
- Courtney H.
- CTSS Guide Lucy M.
From there, they explored the beautiful markets of Otavalo, then transferred to Papallacta Hot Springs to enjoy and relax after their successful climb. Congrats to the entire Alpine Athletics team!
Photos from CTSS Guide Edgar Parra
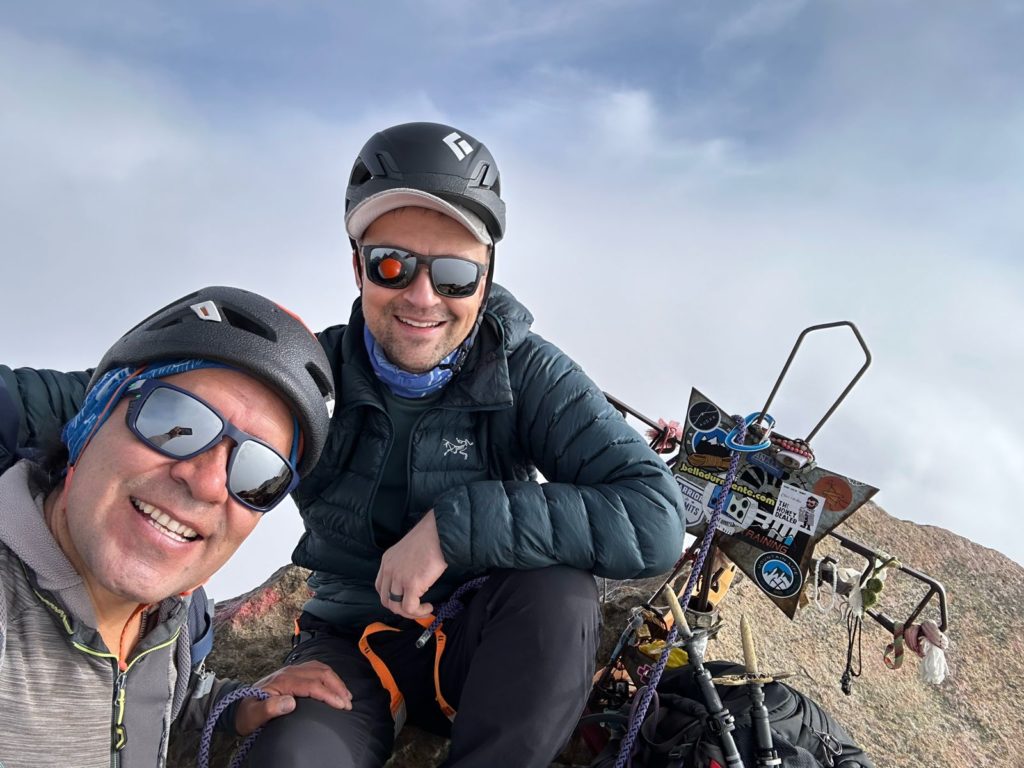
Feeling good on the summit of Illiniza Norte (16,818ft).
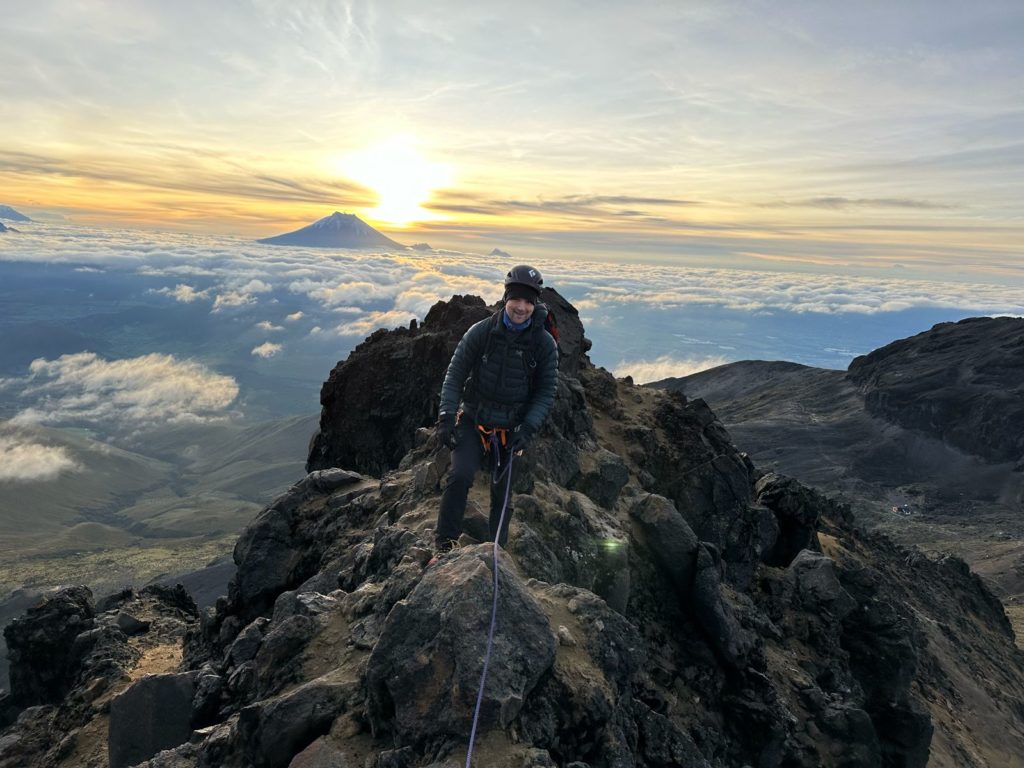
Ecuador's volcanic landscape comes to life at sunrise!
Congrats on the successful summit of Illiniza Norte (16,818ft)!
Our Ecuador Volcanoes private expedition on the descent from Illiniza Norte (16,818ft).
Photos from CTSS Guide Lucy Mejia
Our Alpine Athletics team on Cayambe (18,996ft).

Glacier skills on slopes of Cayambe (18,996ft).
Ecuador Summits
Our Ecuador Volcanoes private expedition is off to a fantastic start! Over the weekend, the team hit the ground running. On Saturday, they hiked and summited Pasochoa (13,878ft), an extinct volcano. On Sunday, they climbed and summited Corazon Peak (15,708ft). Next, they are headed to the Nuevos Horizontes Hut, where they will gear up to climb Illiniza.
Our Alpine Athletics team is busy climbing in Ecuador! The weather turned around for them, and they had fantastic climbing conditions this weekend. The team is currently on Cayambe (18,996ft) with perfect weather still lingering, and we hope for a summit today!
Photo from Lucy Mejia

All eyes on Cayambe for our Alpine Athletics team
Photos from CTSS Guide Edgar Parra

Acclimating and feeling good for our private team!
Pasochoa summit (13,878ft/4230m) under perfect conditions.
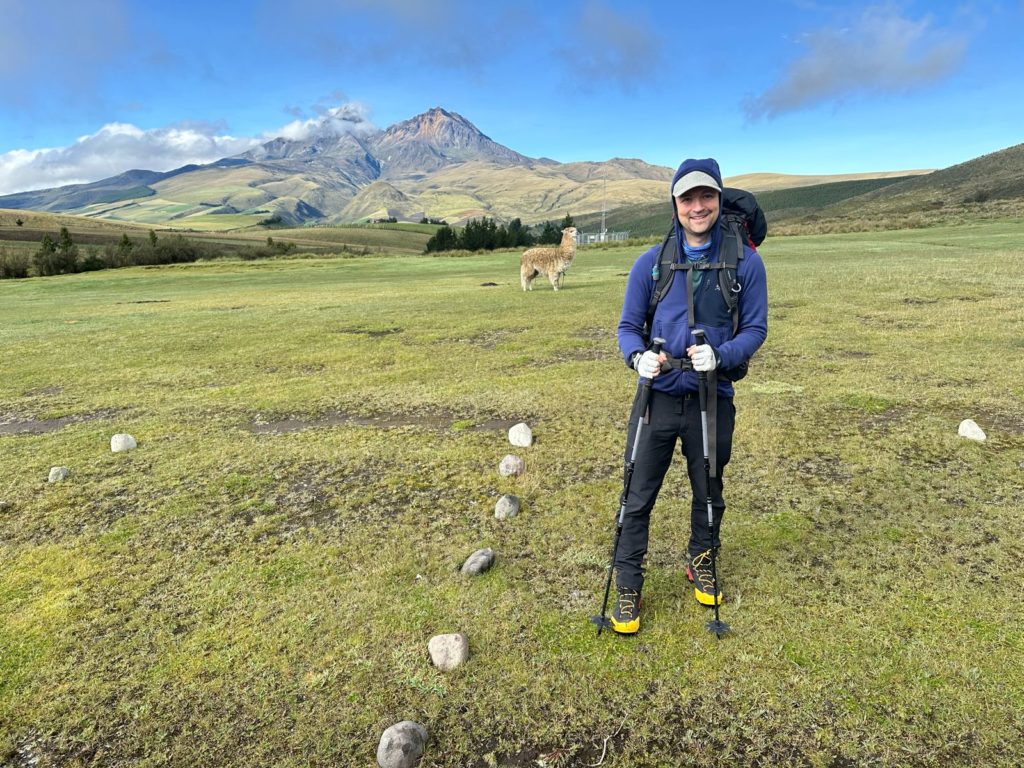
We love llamas, just about as much as we love Ecuador!

8 hours of climbing to Corazon Peak (15,708ff/4,788m) - well done team!
